
2. Cream + Cork/Leather Bows

Next year, I wanted a softer, more natural look with some texture, but wanted to stick with the light/white color scheme. I was also totally inspired by this veneer bow DIY I stumbled upon, so I thought to myself, "I must try this!" Here we go.
Paper: Soft to the touch, matte surface, heavier than gift wrap, beautifully milky cream color. I bought a roll of this paper at Ikea for $4.99. We won't tell anyone that its for child's drawing. It did a wonderful job, and I've been using this paper for many many years to wrap my gifts for various occasions. The paper will make a come back in Part 5 of these series. I also used some cream lid/chocolate brown bottom jewelry boxes for the smaller, hard-to-wrap gifts. The bottom of the boxes had a nice pebbly texture. You can easily find these boxes online for a bargain.


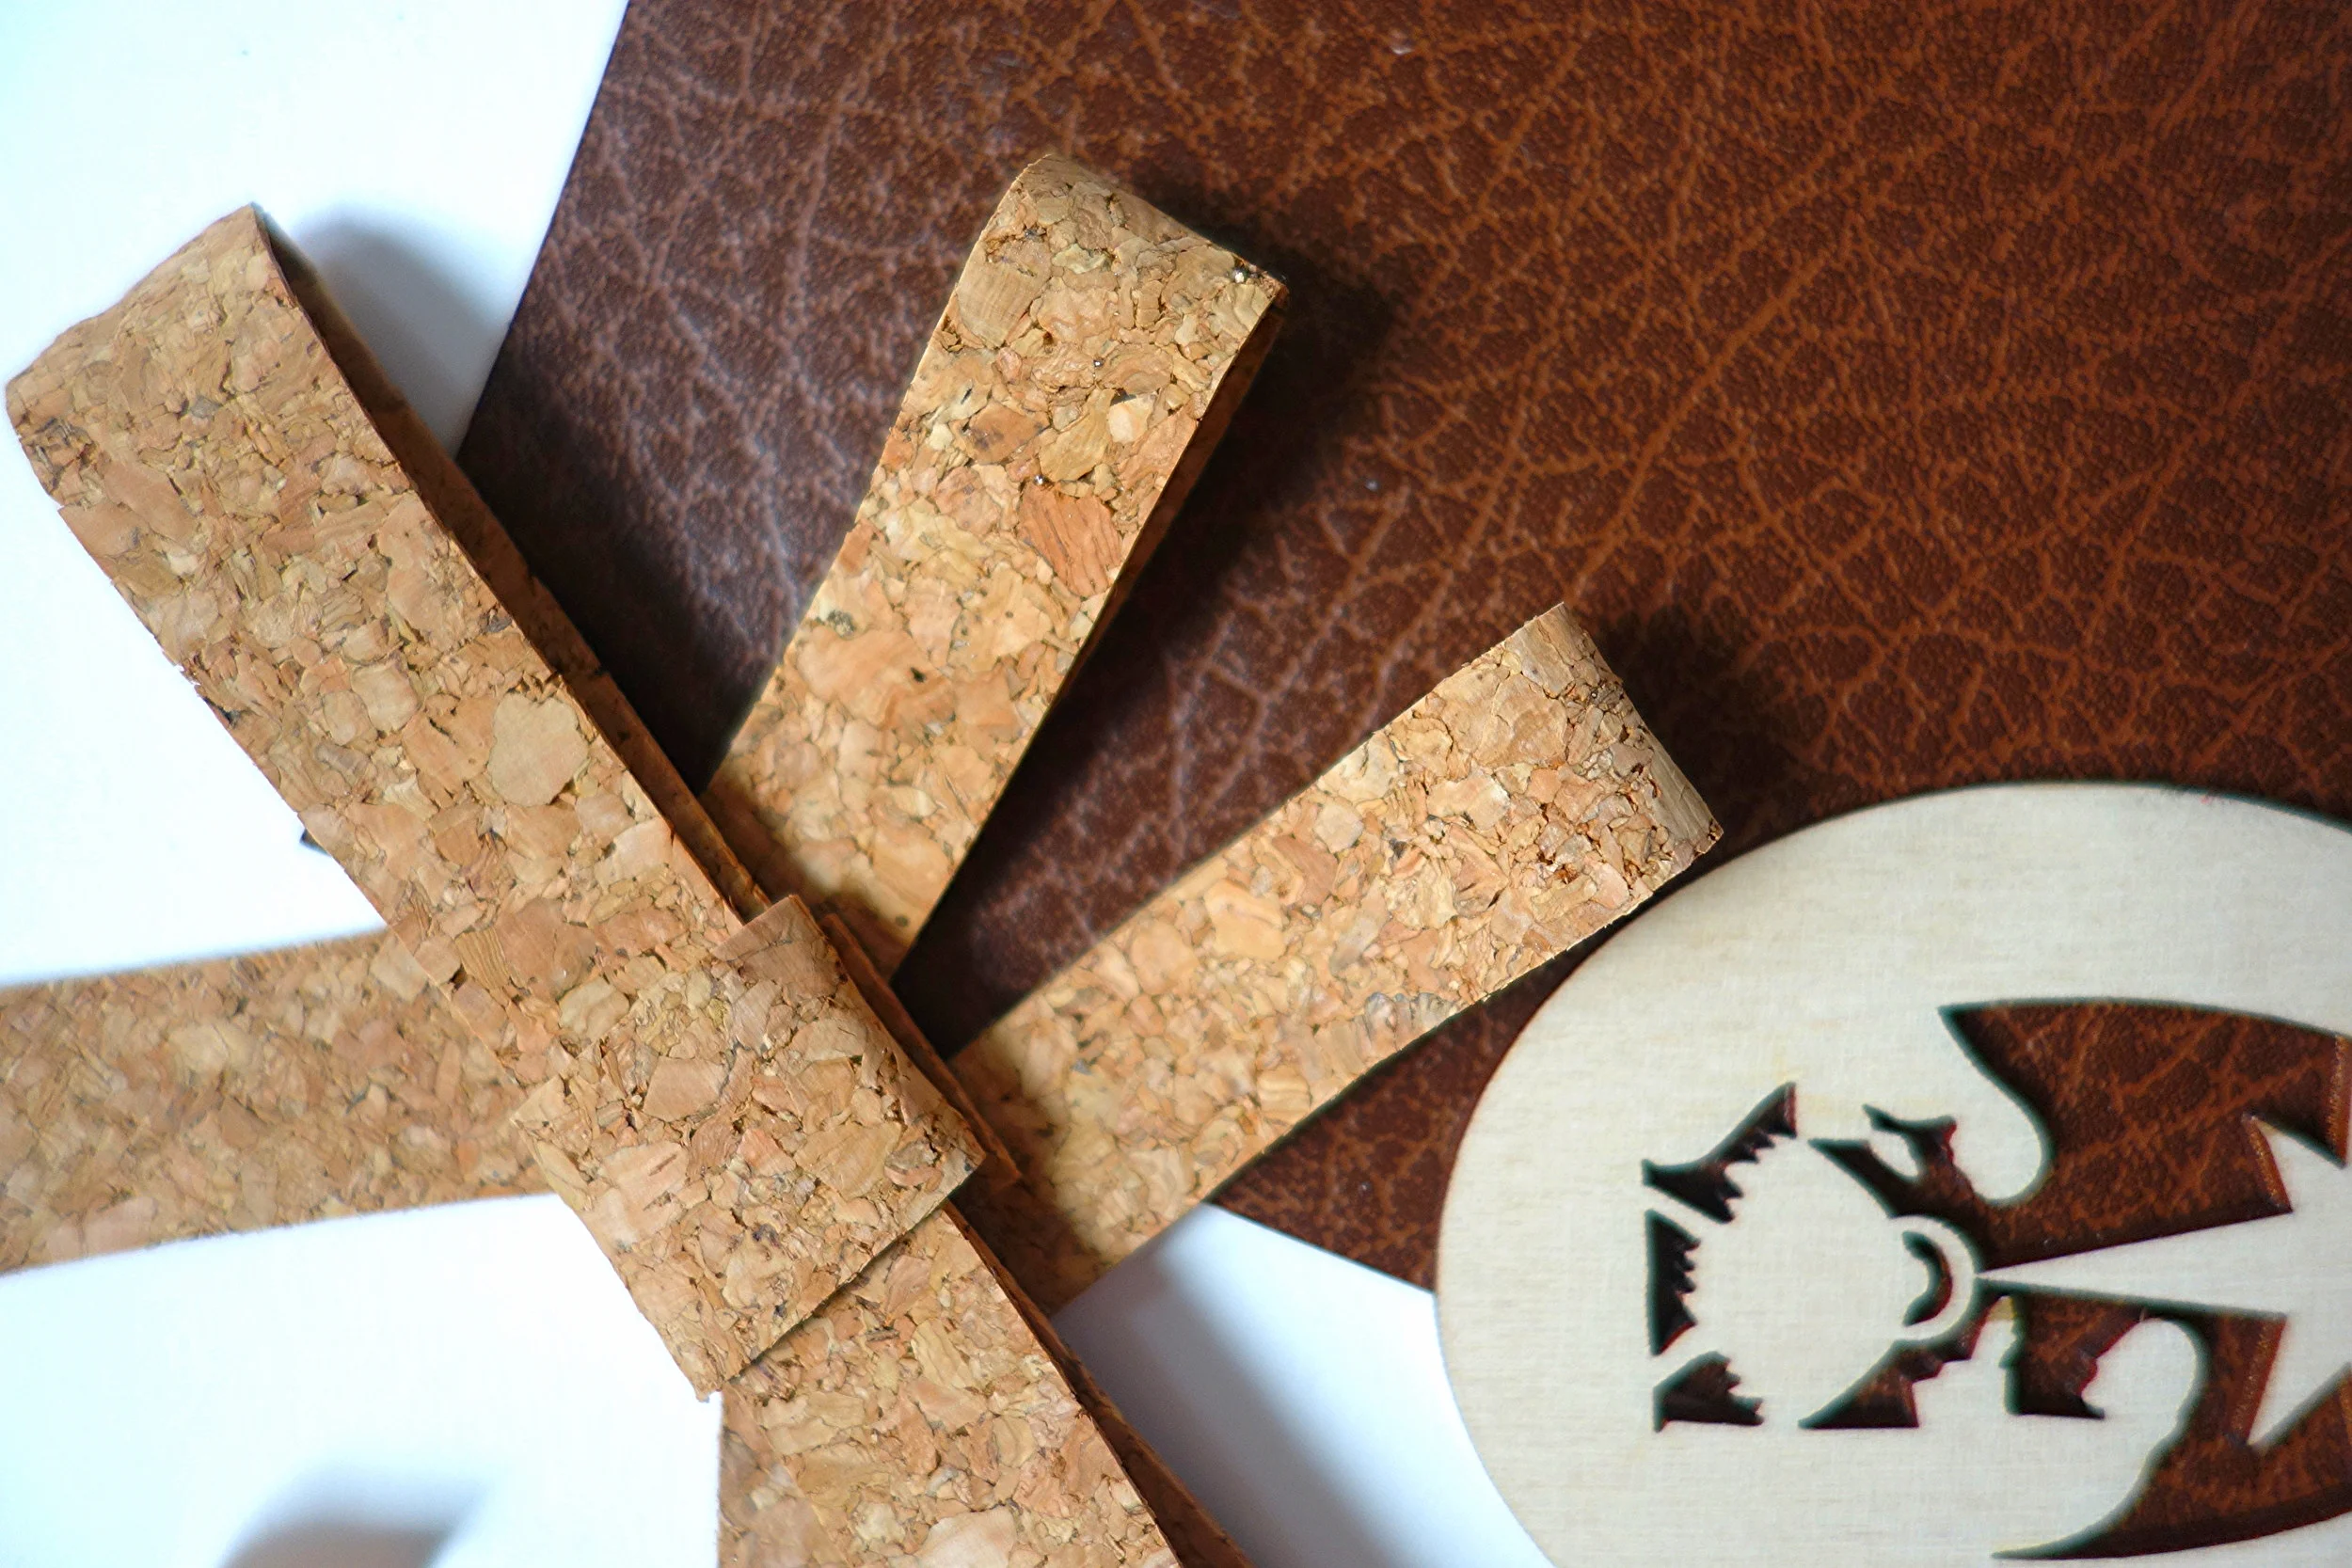
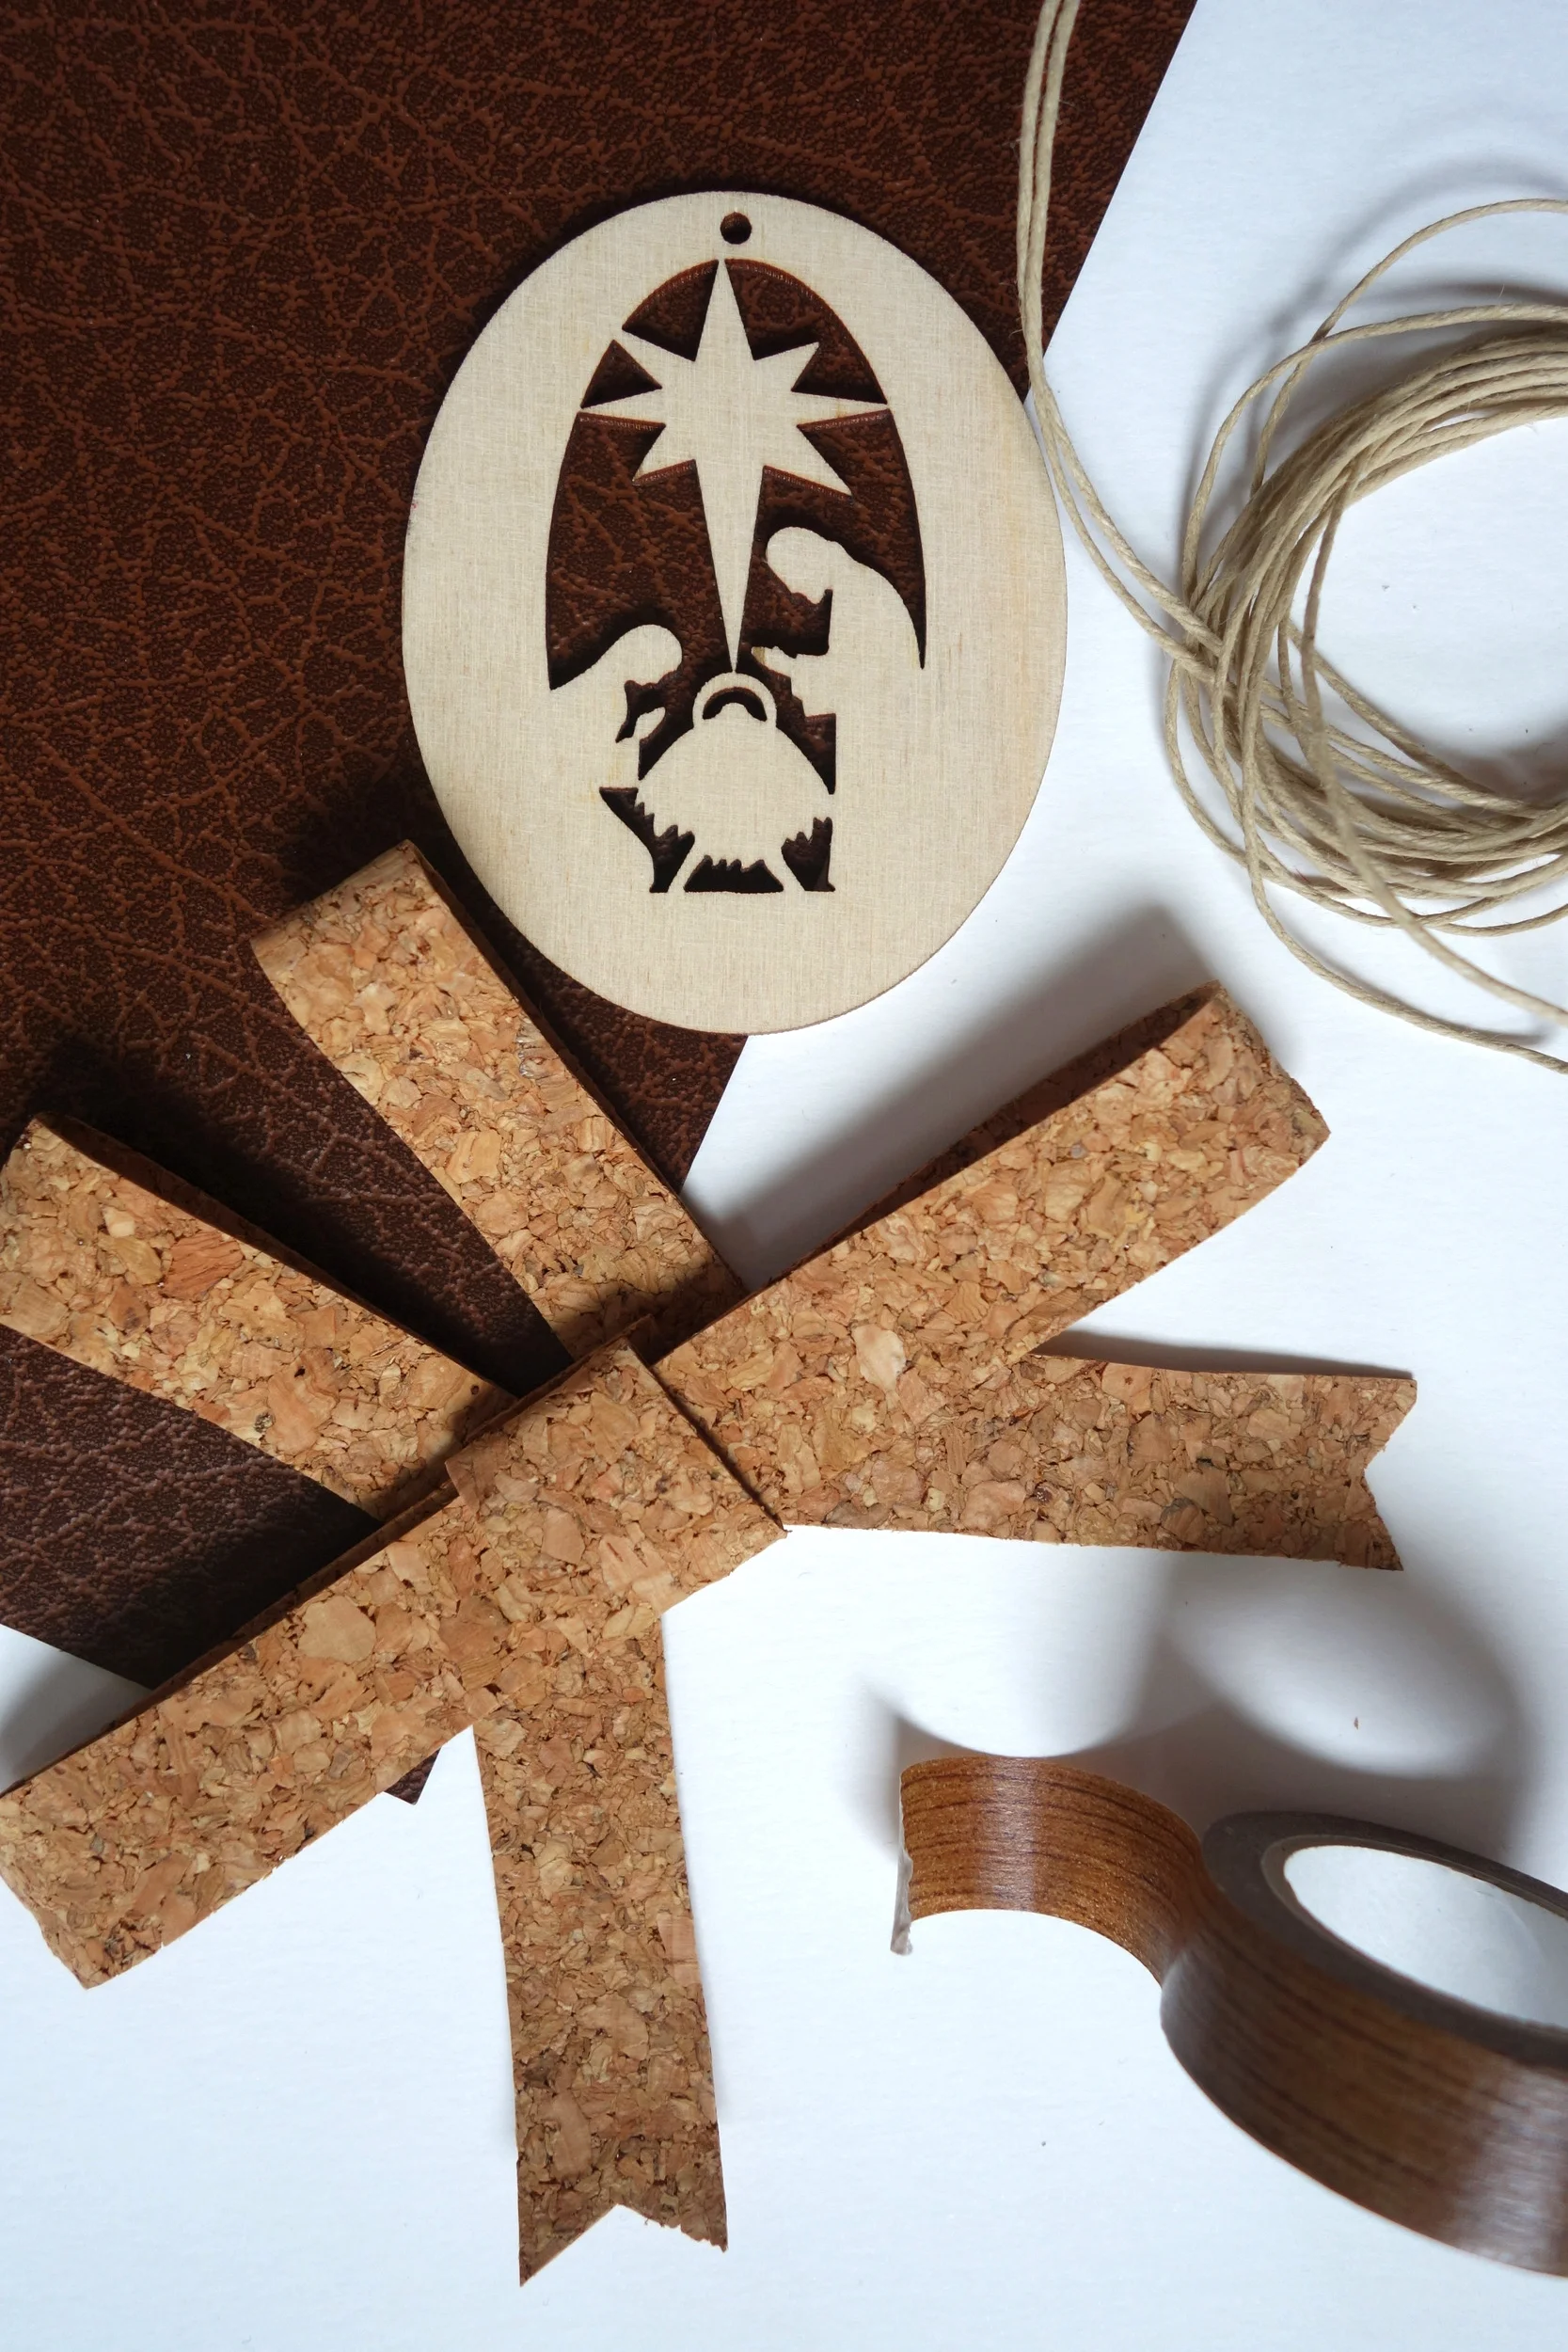
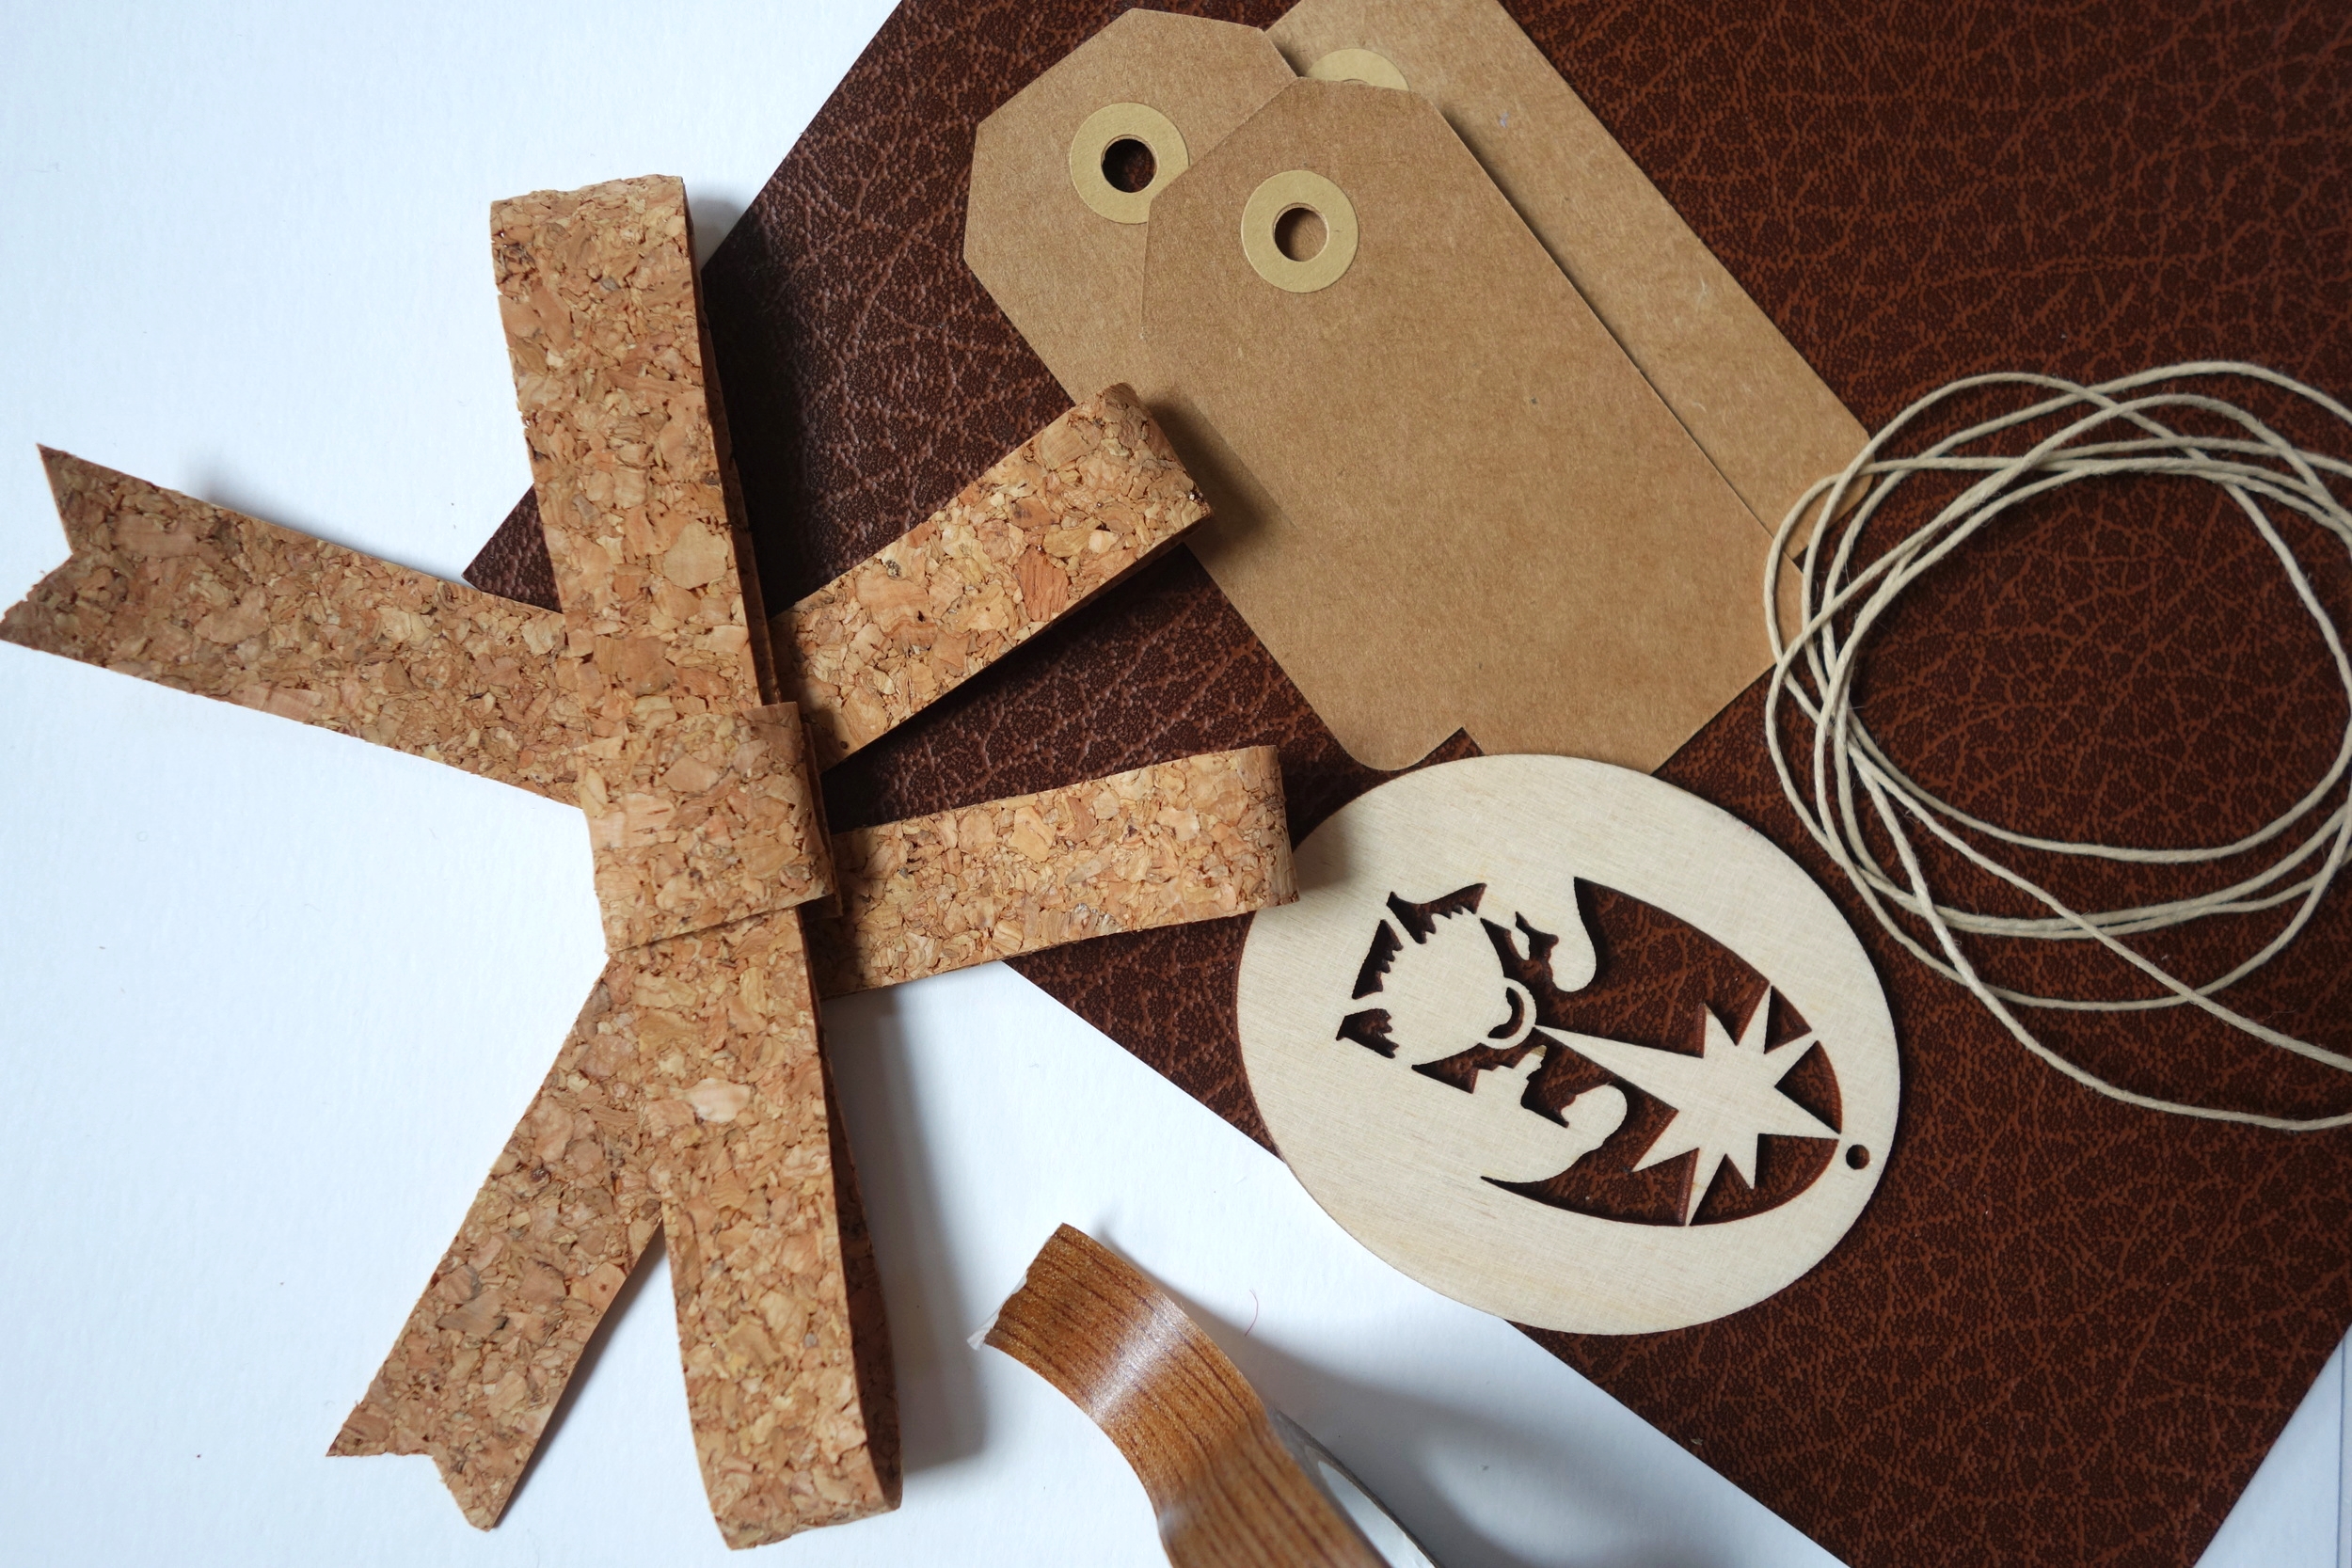
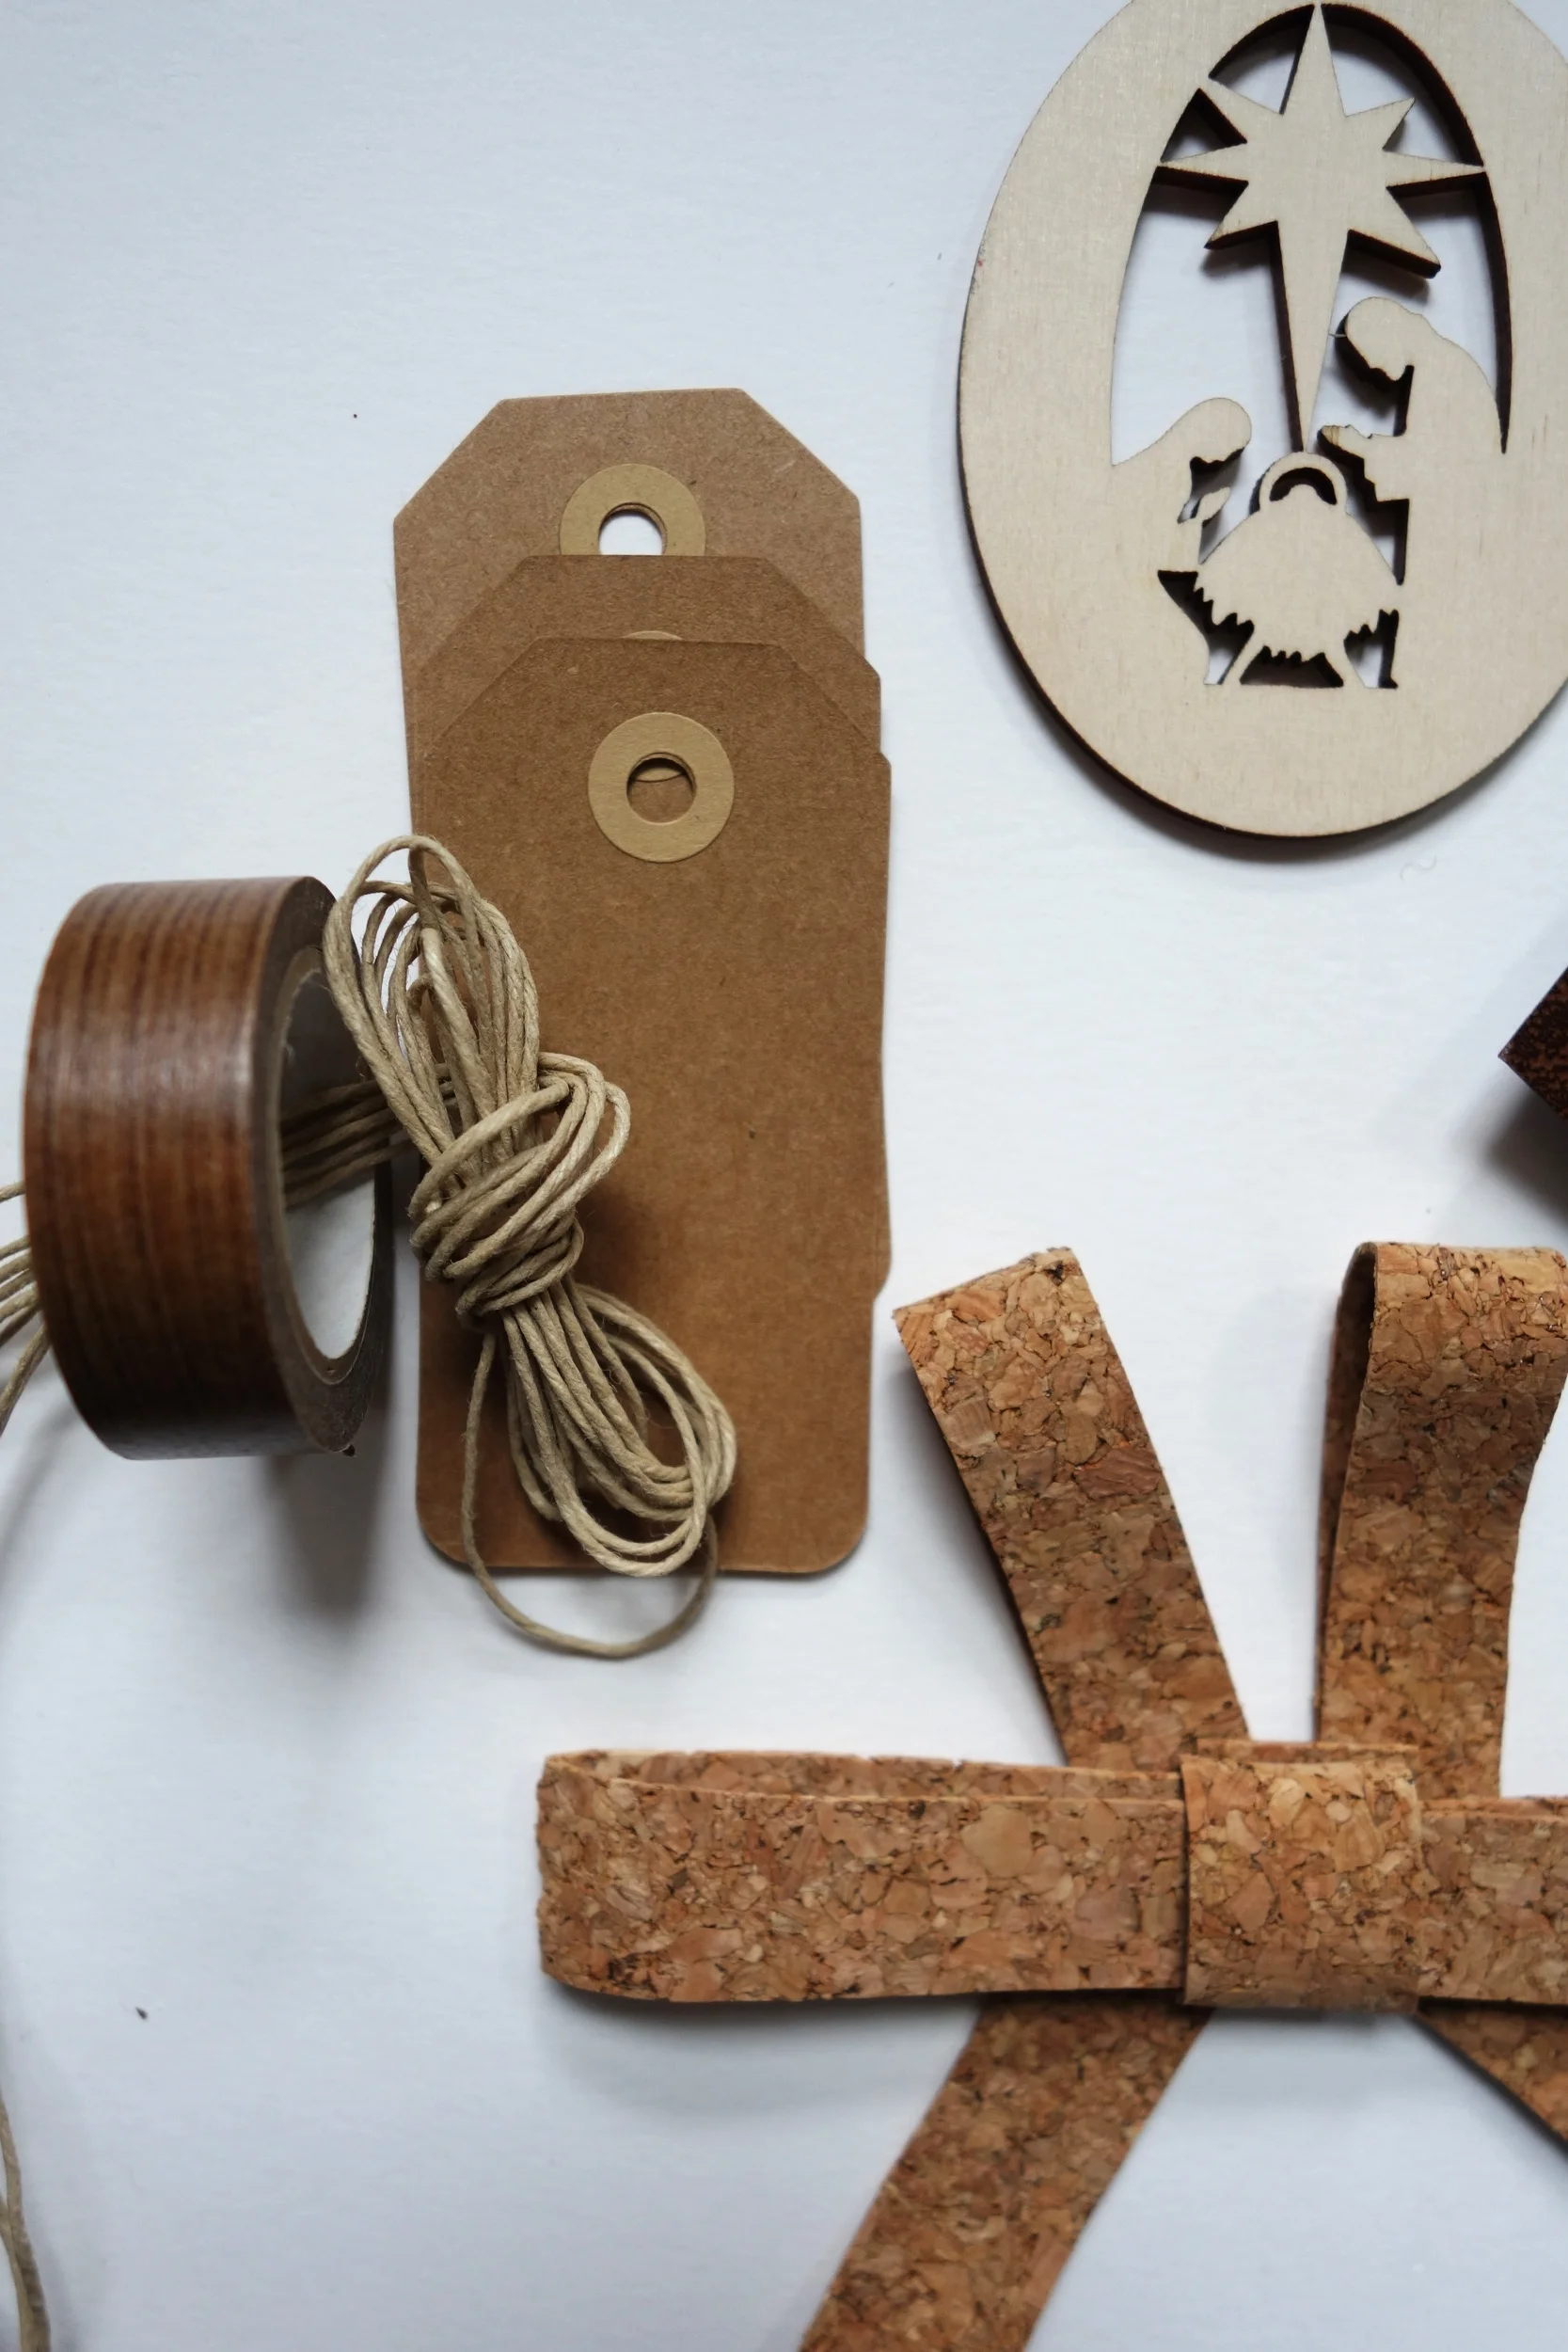
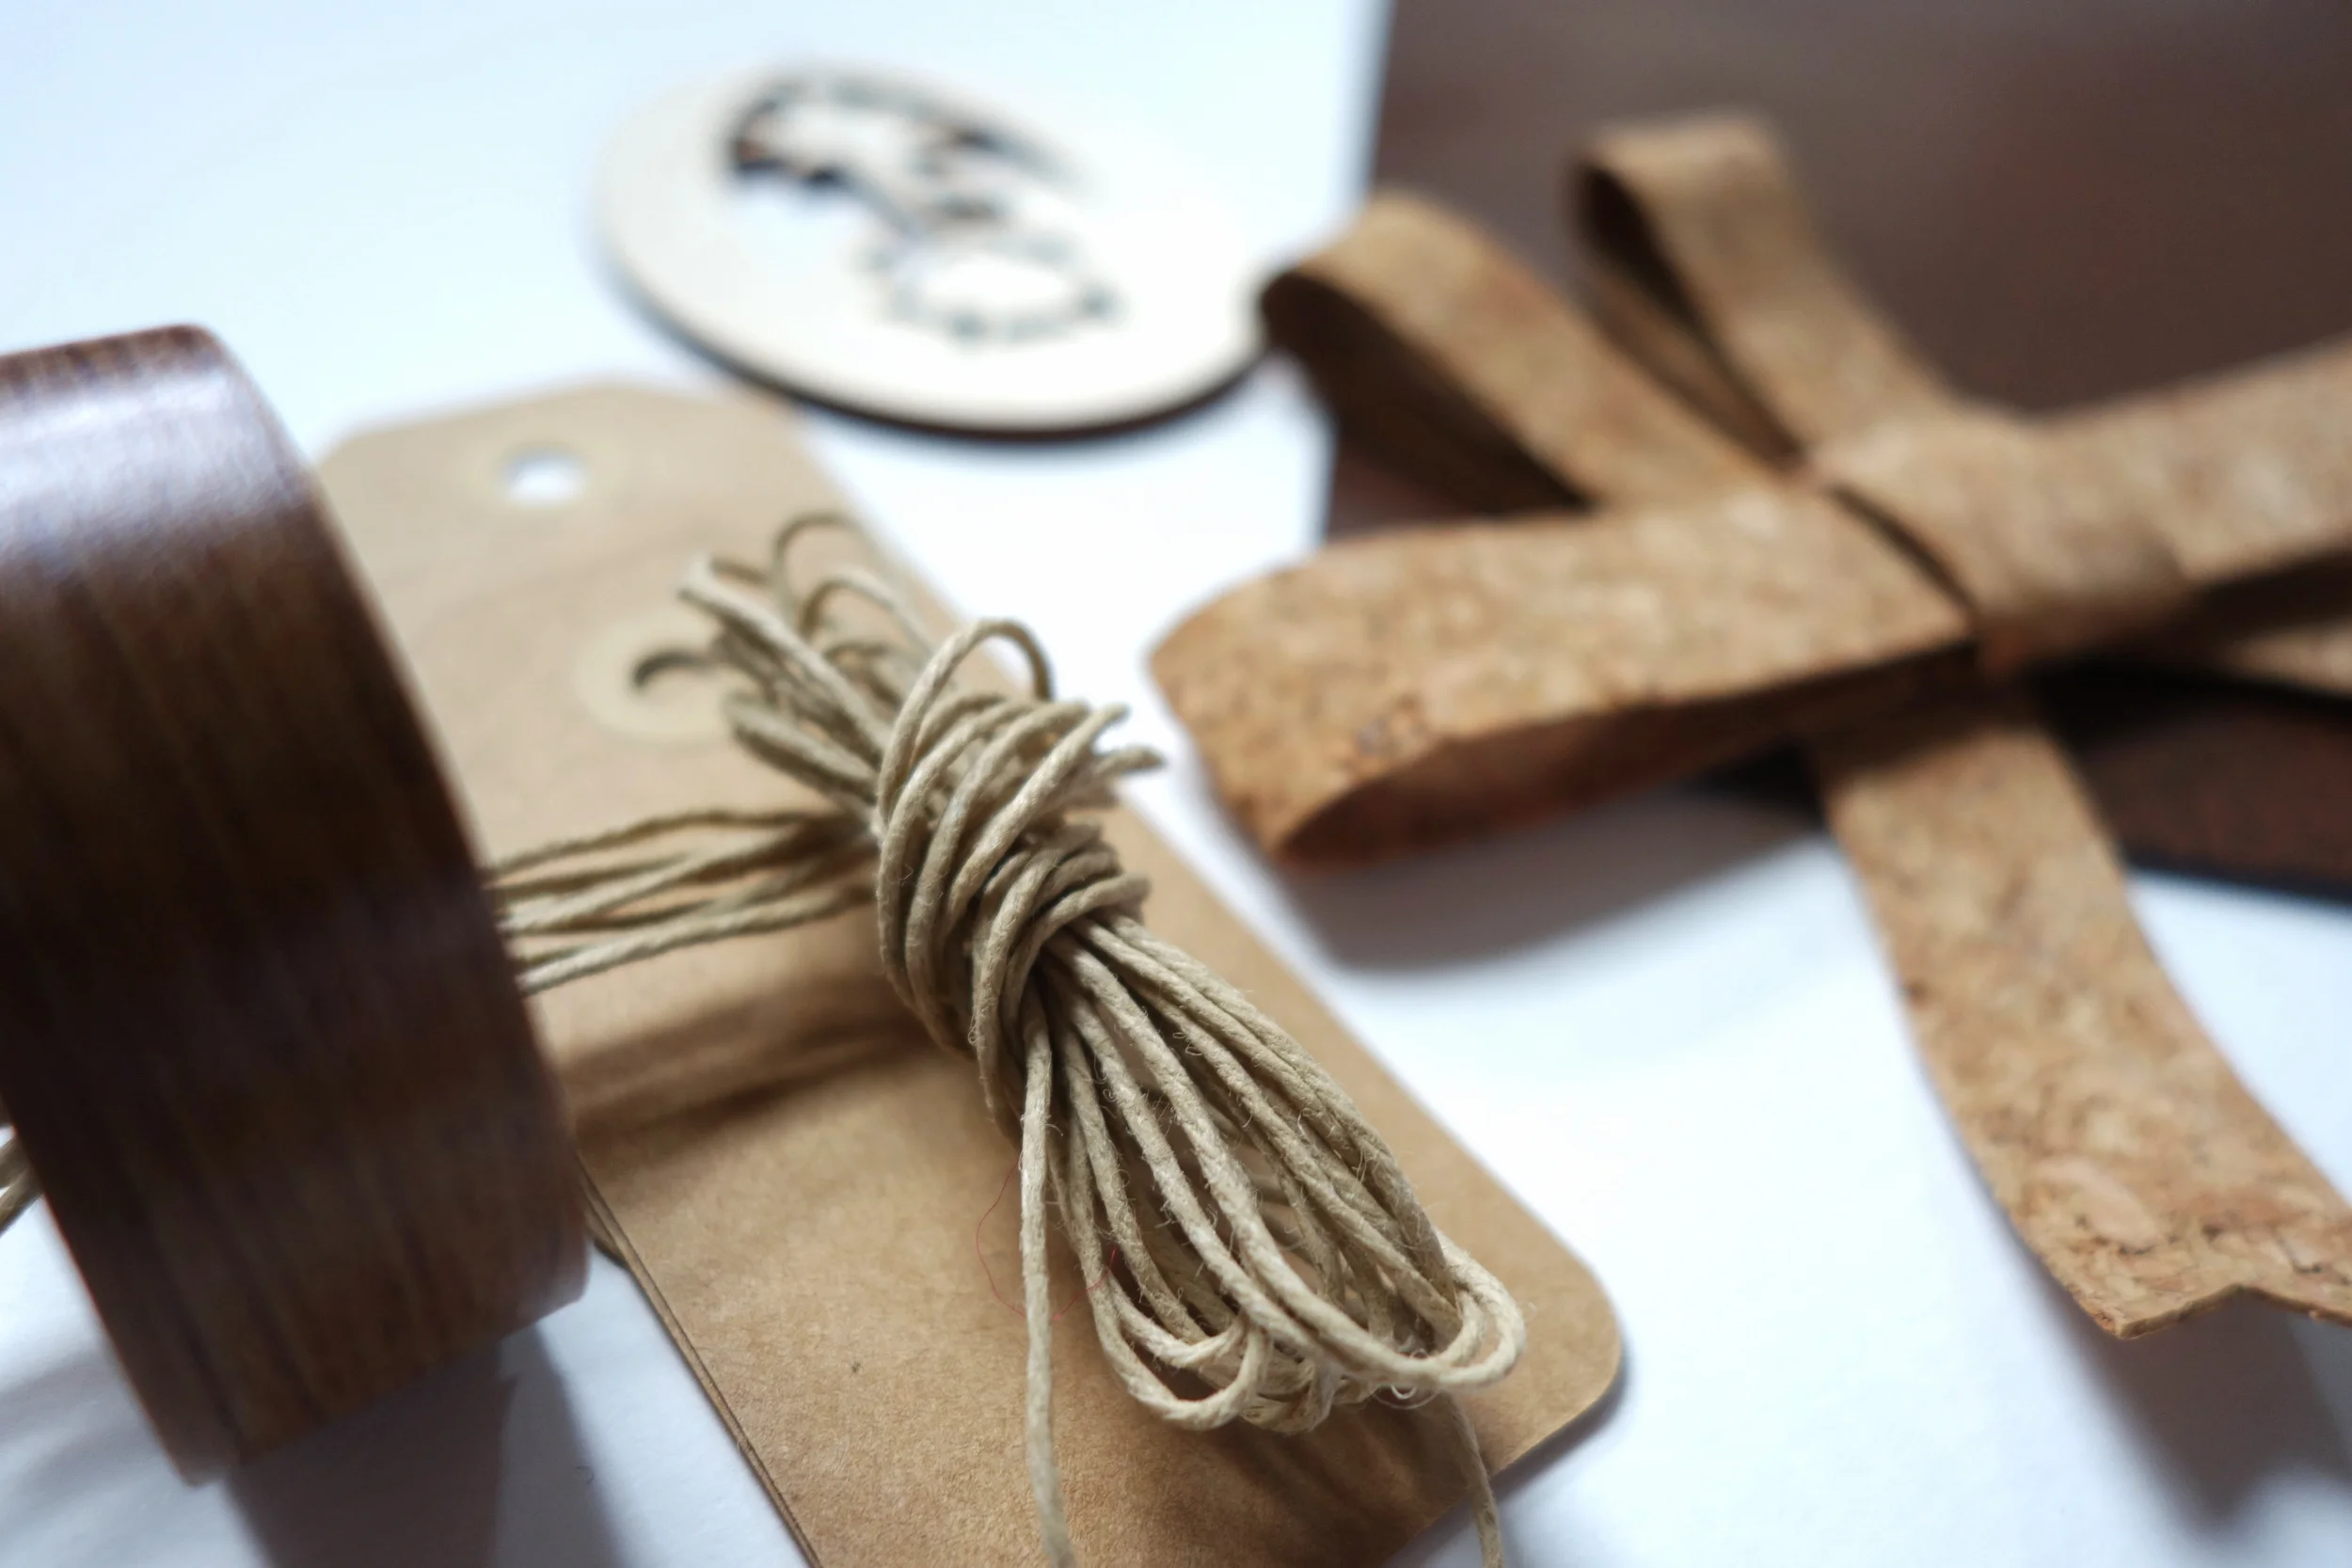
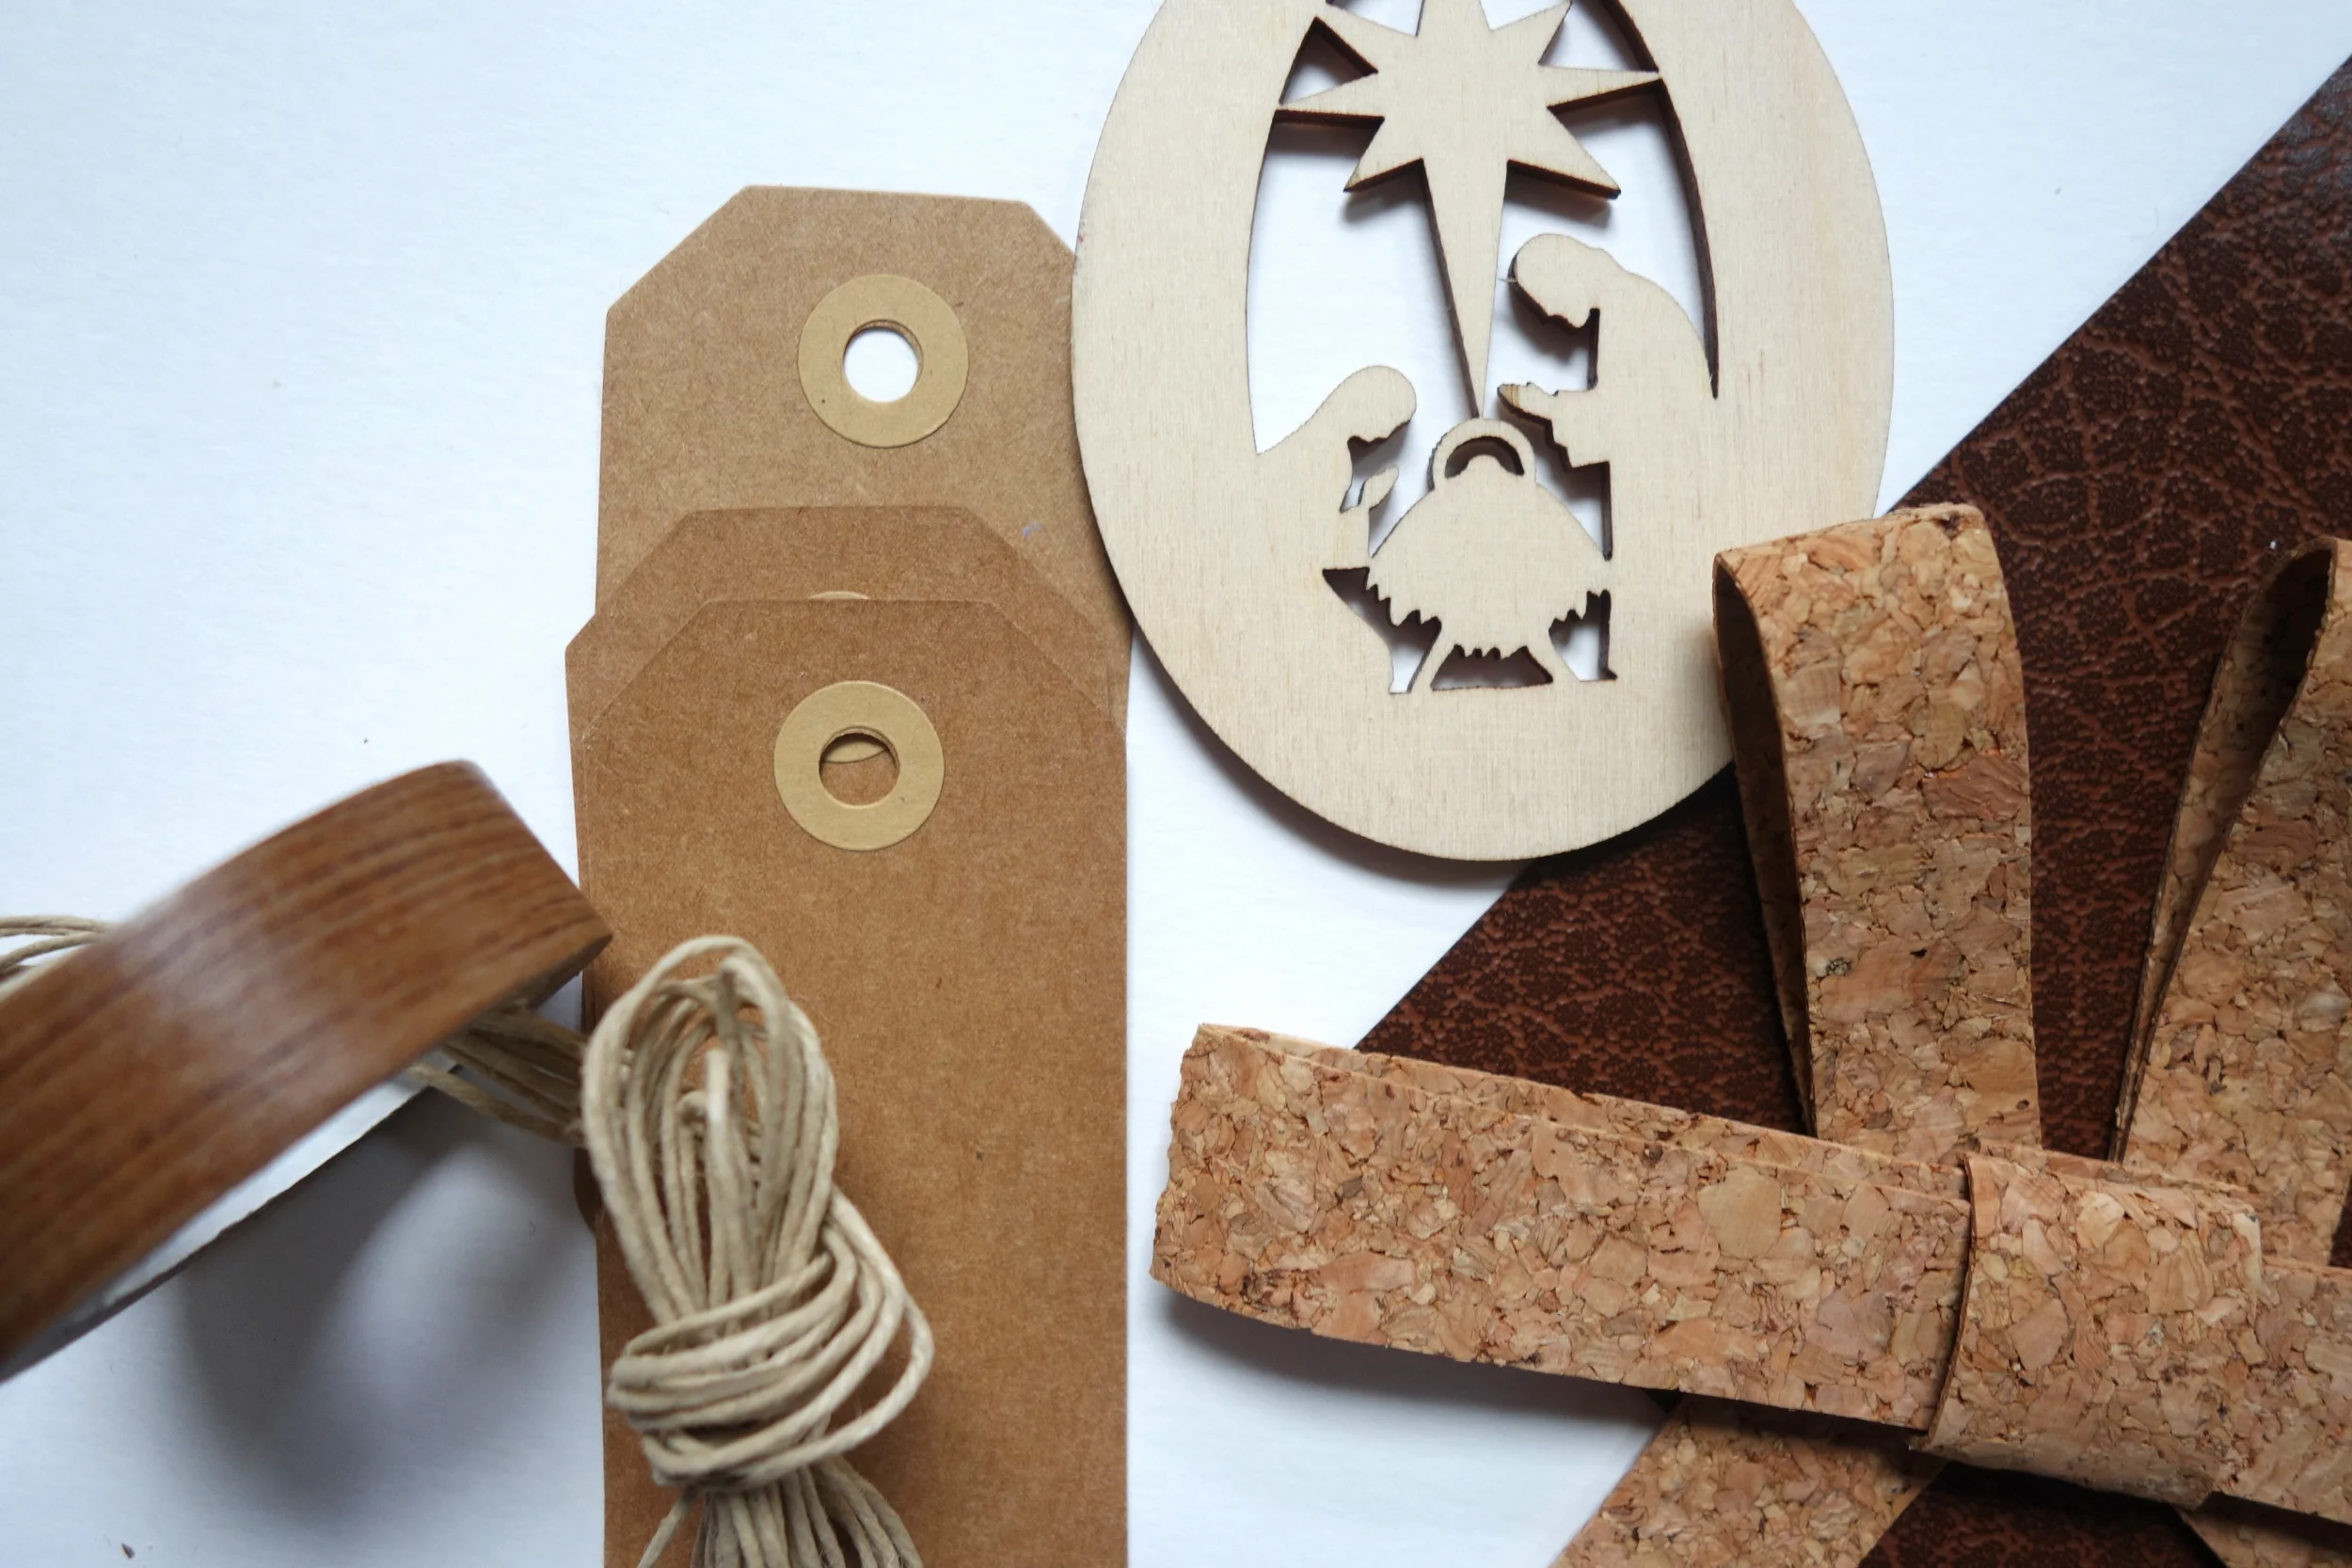
Bows: As mentioned above, the cork bows were inspired by a veneer bow DIY. You can find step by step instructions for it here. I couldn't find any cheap veneer in the local hardware or craft stores (and believe me I called all the Ace, Low's, Home Depots, and local hardware stores in the area) and ordering veneer online was not an option since I was two days away from Christmas. So, I franticly searched Michael's for something even remotely similar. Enter cork sheets! These are much much thinner than the ones used for bulletin boards, so they bend easily and do not break. You can find these among the scrapbooking papers. I also bought a few sheets of a dark chocolate leather look-a-like paper with a nice grainy texture. You can cut the sheets into strips as wide as you with the bows to be. I connected all the pieces of the bow and connected the bow to the boxes using glue dots (a life saver). Although the cork sheets are very flexible and rather durable, still be somewhat careful to not exert too much pressure on the curves of the bow, as they will fold and break.


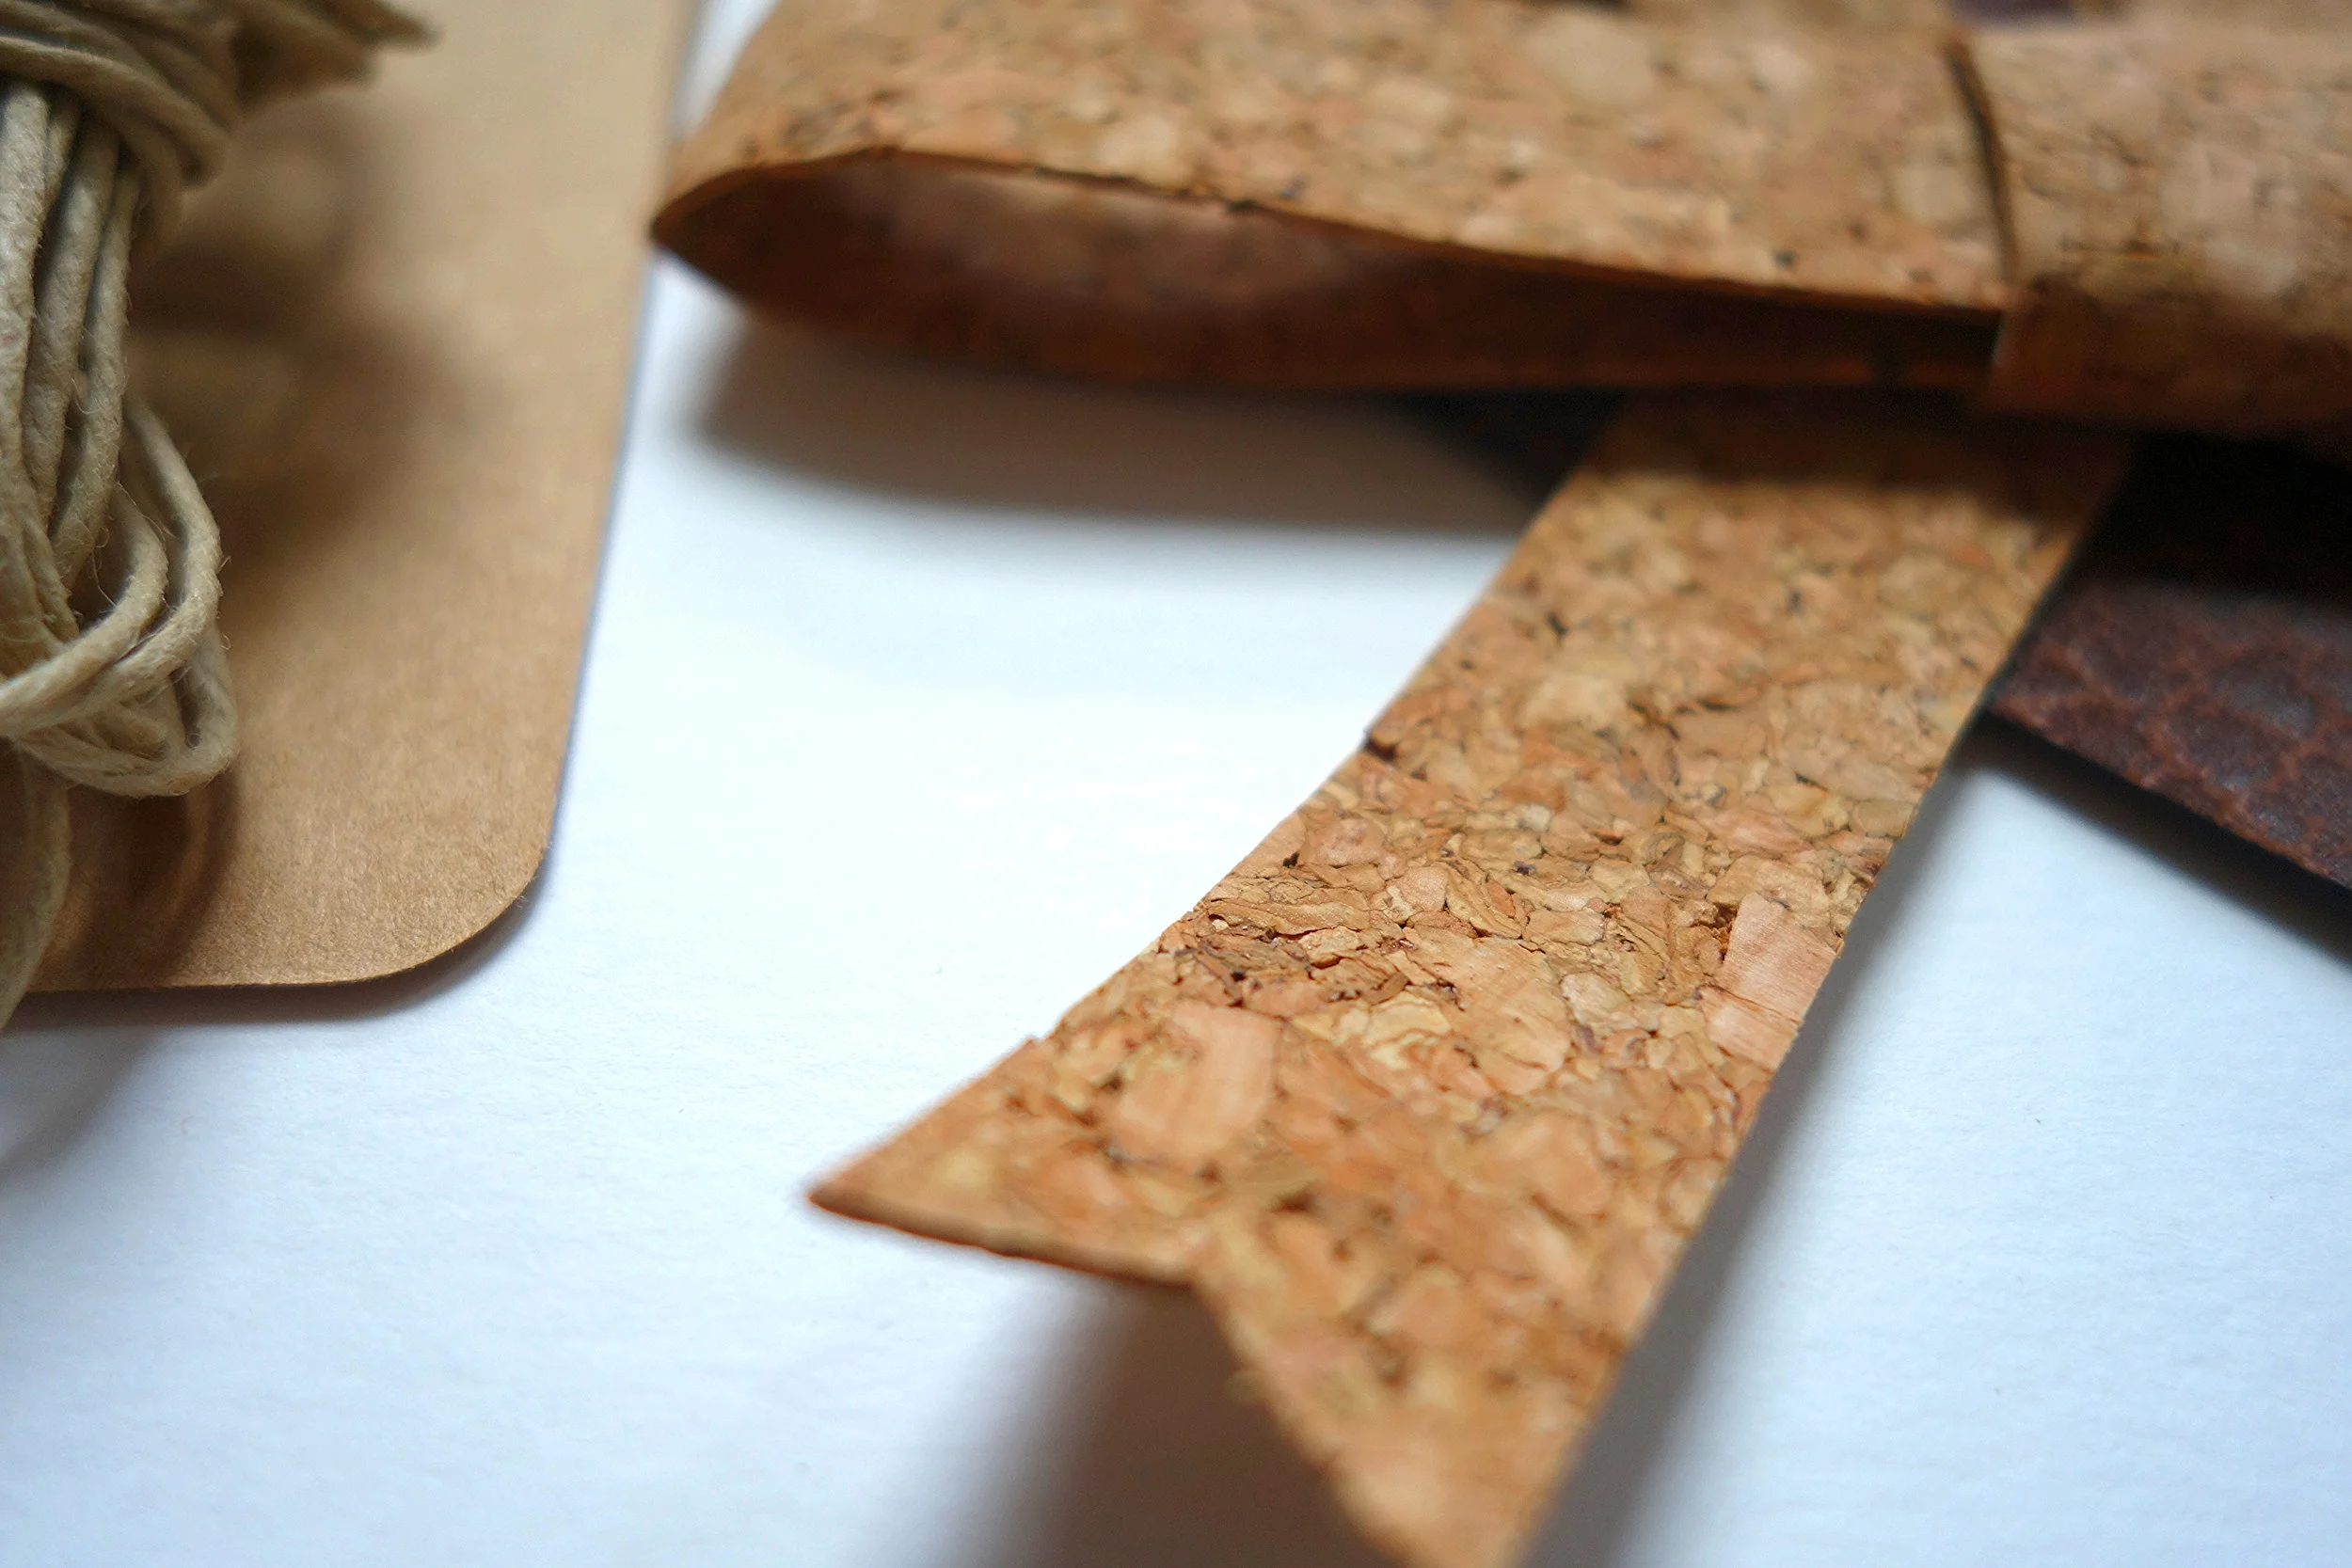


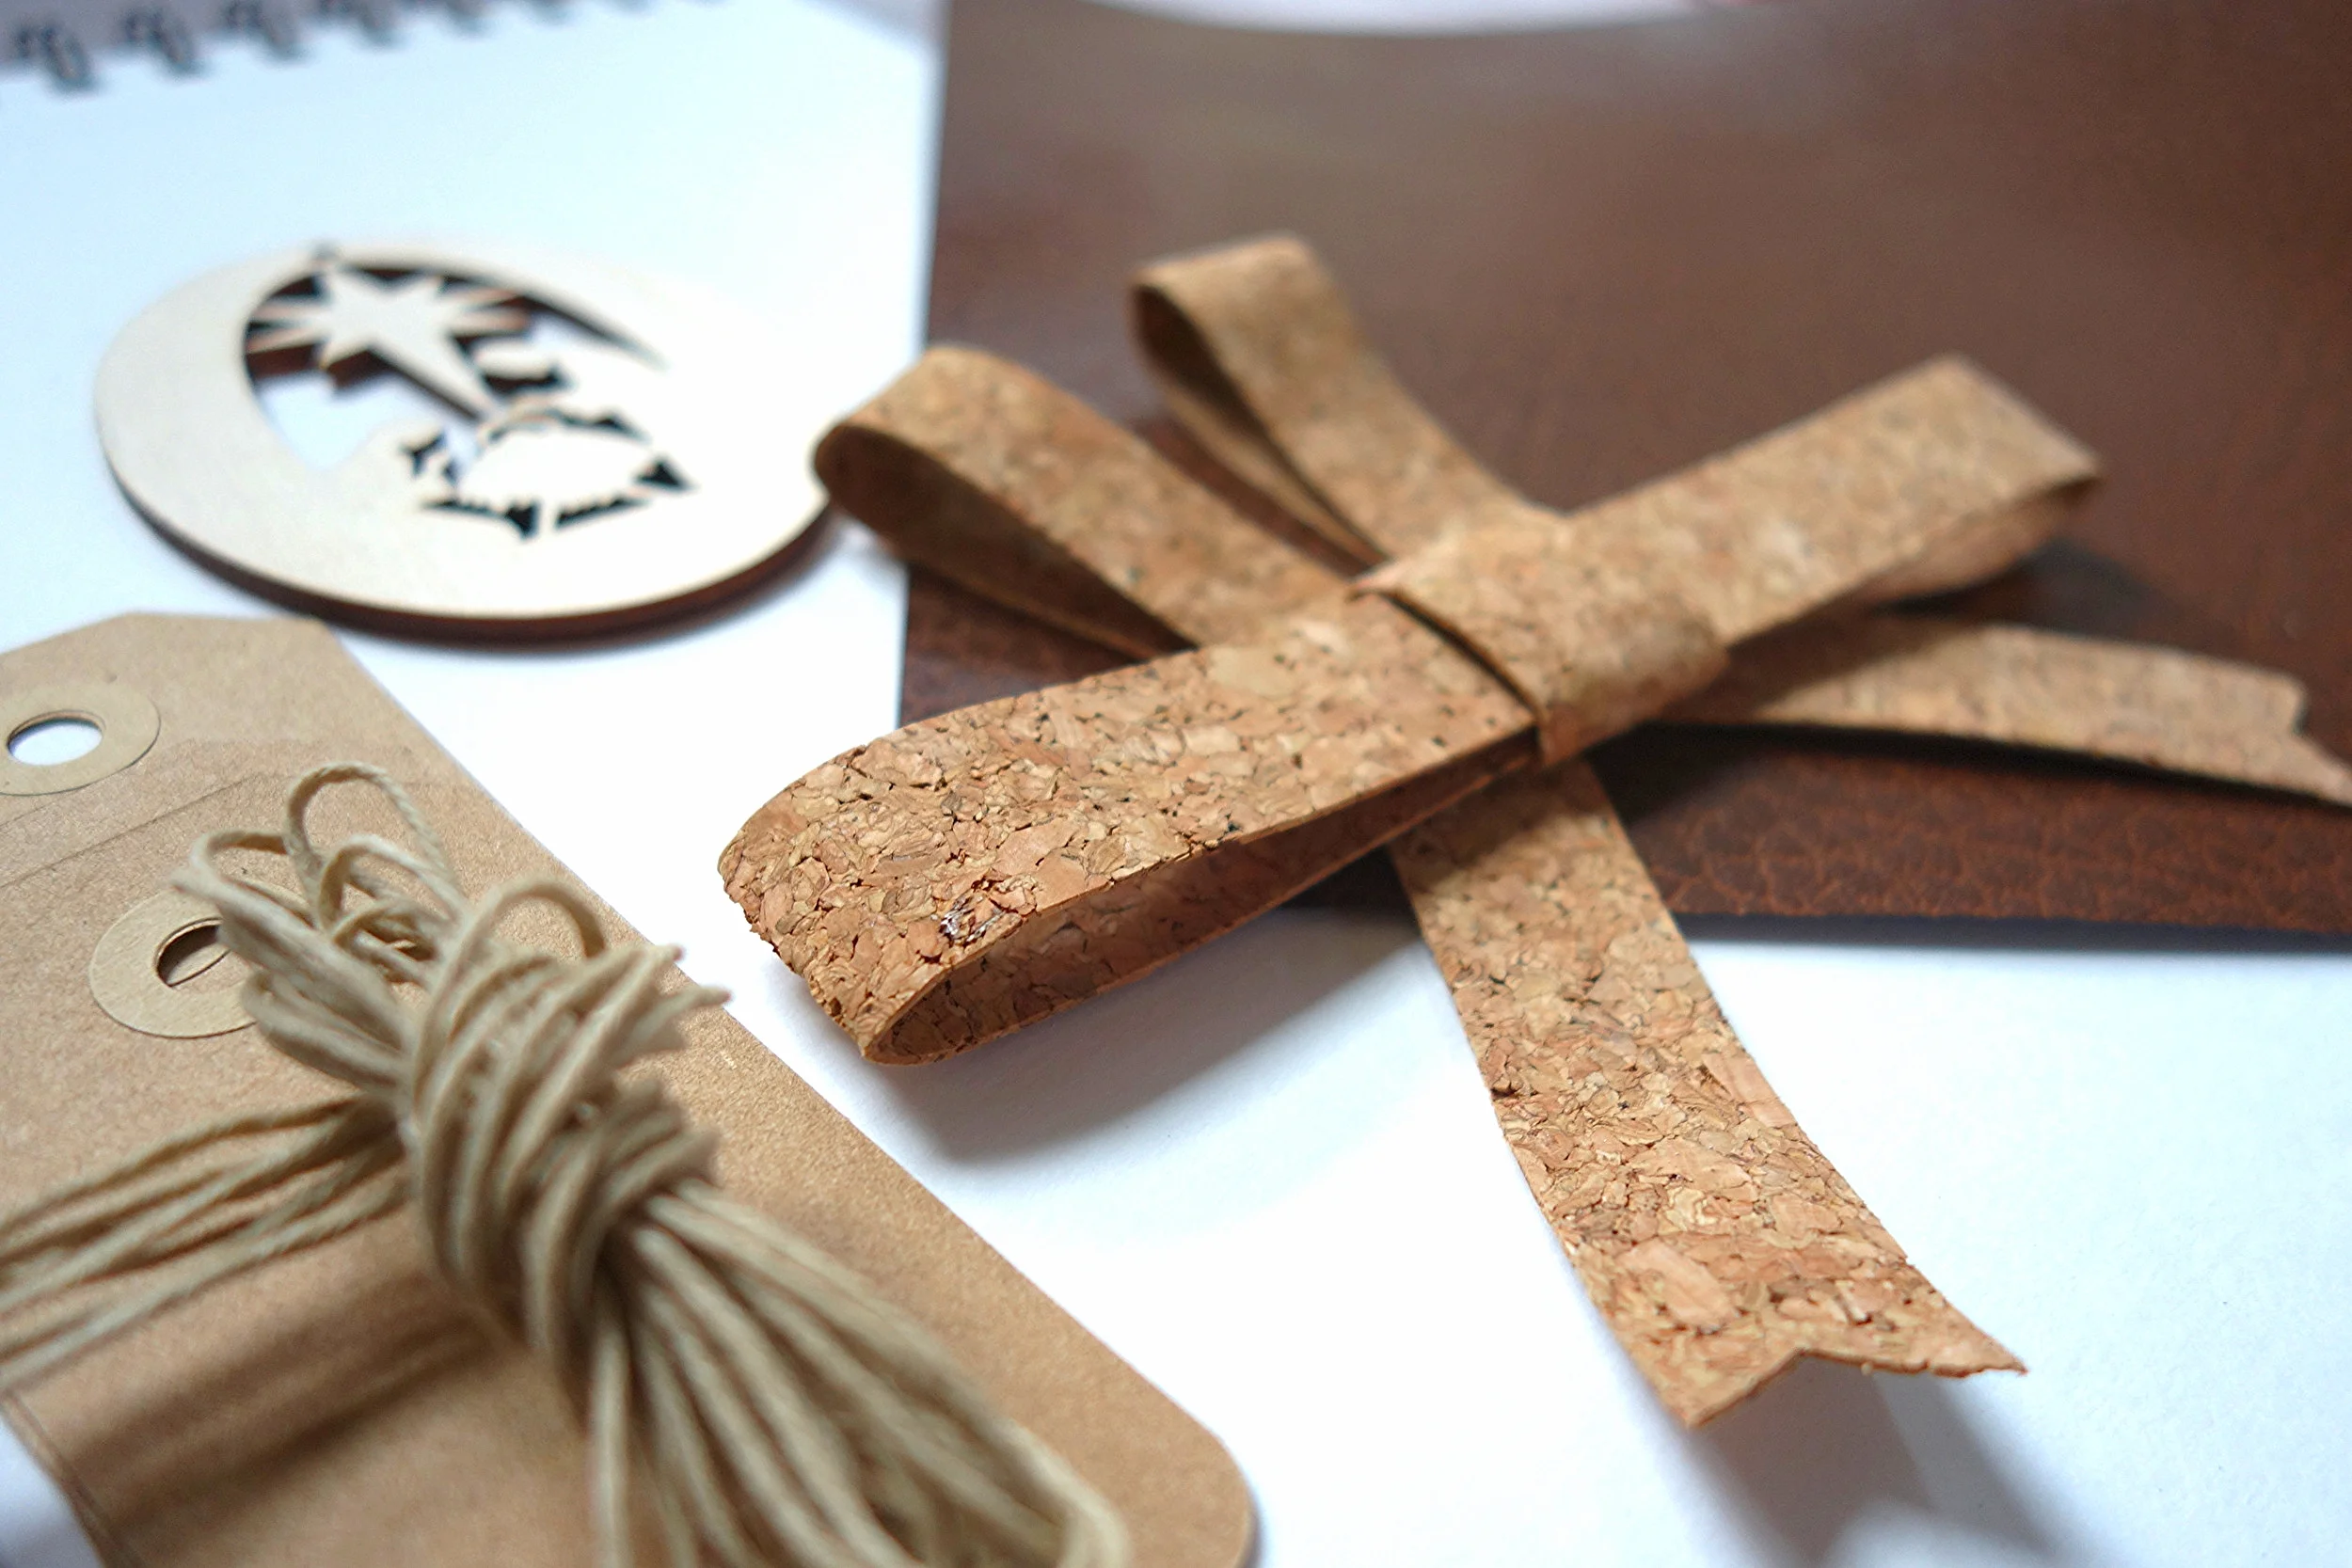
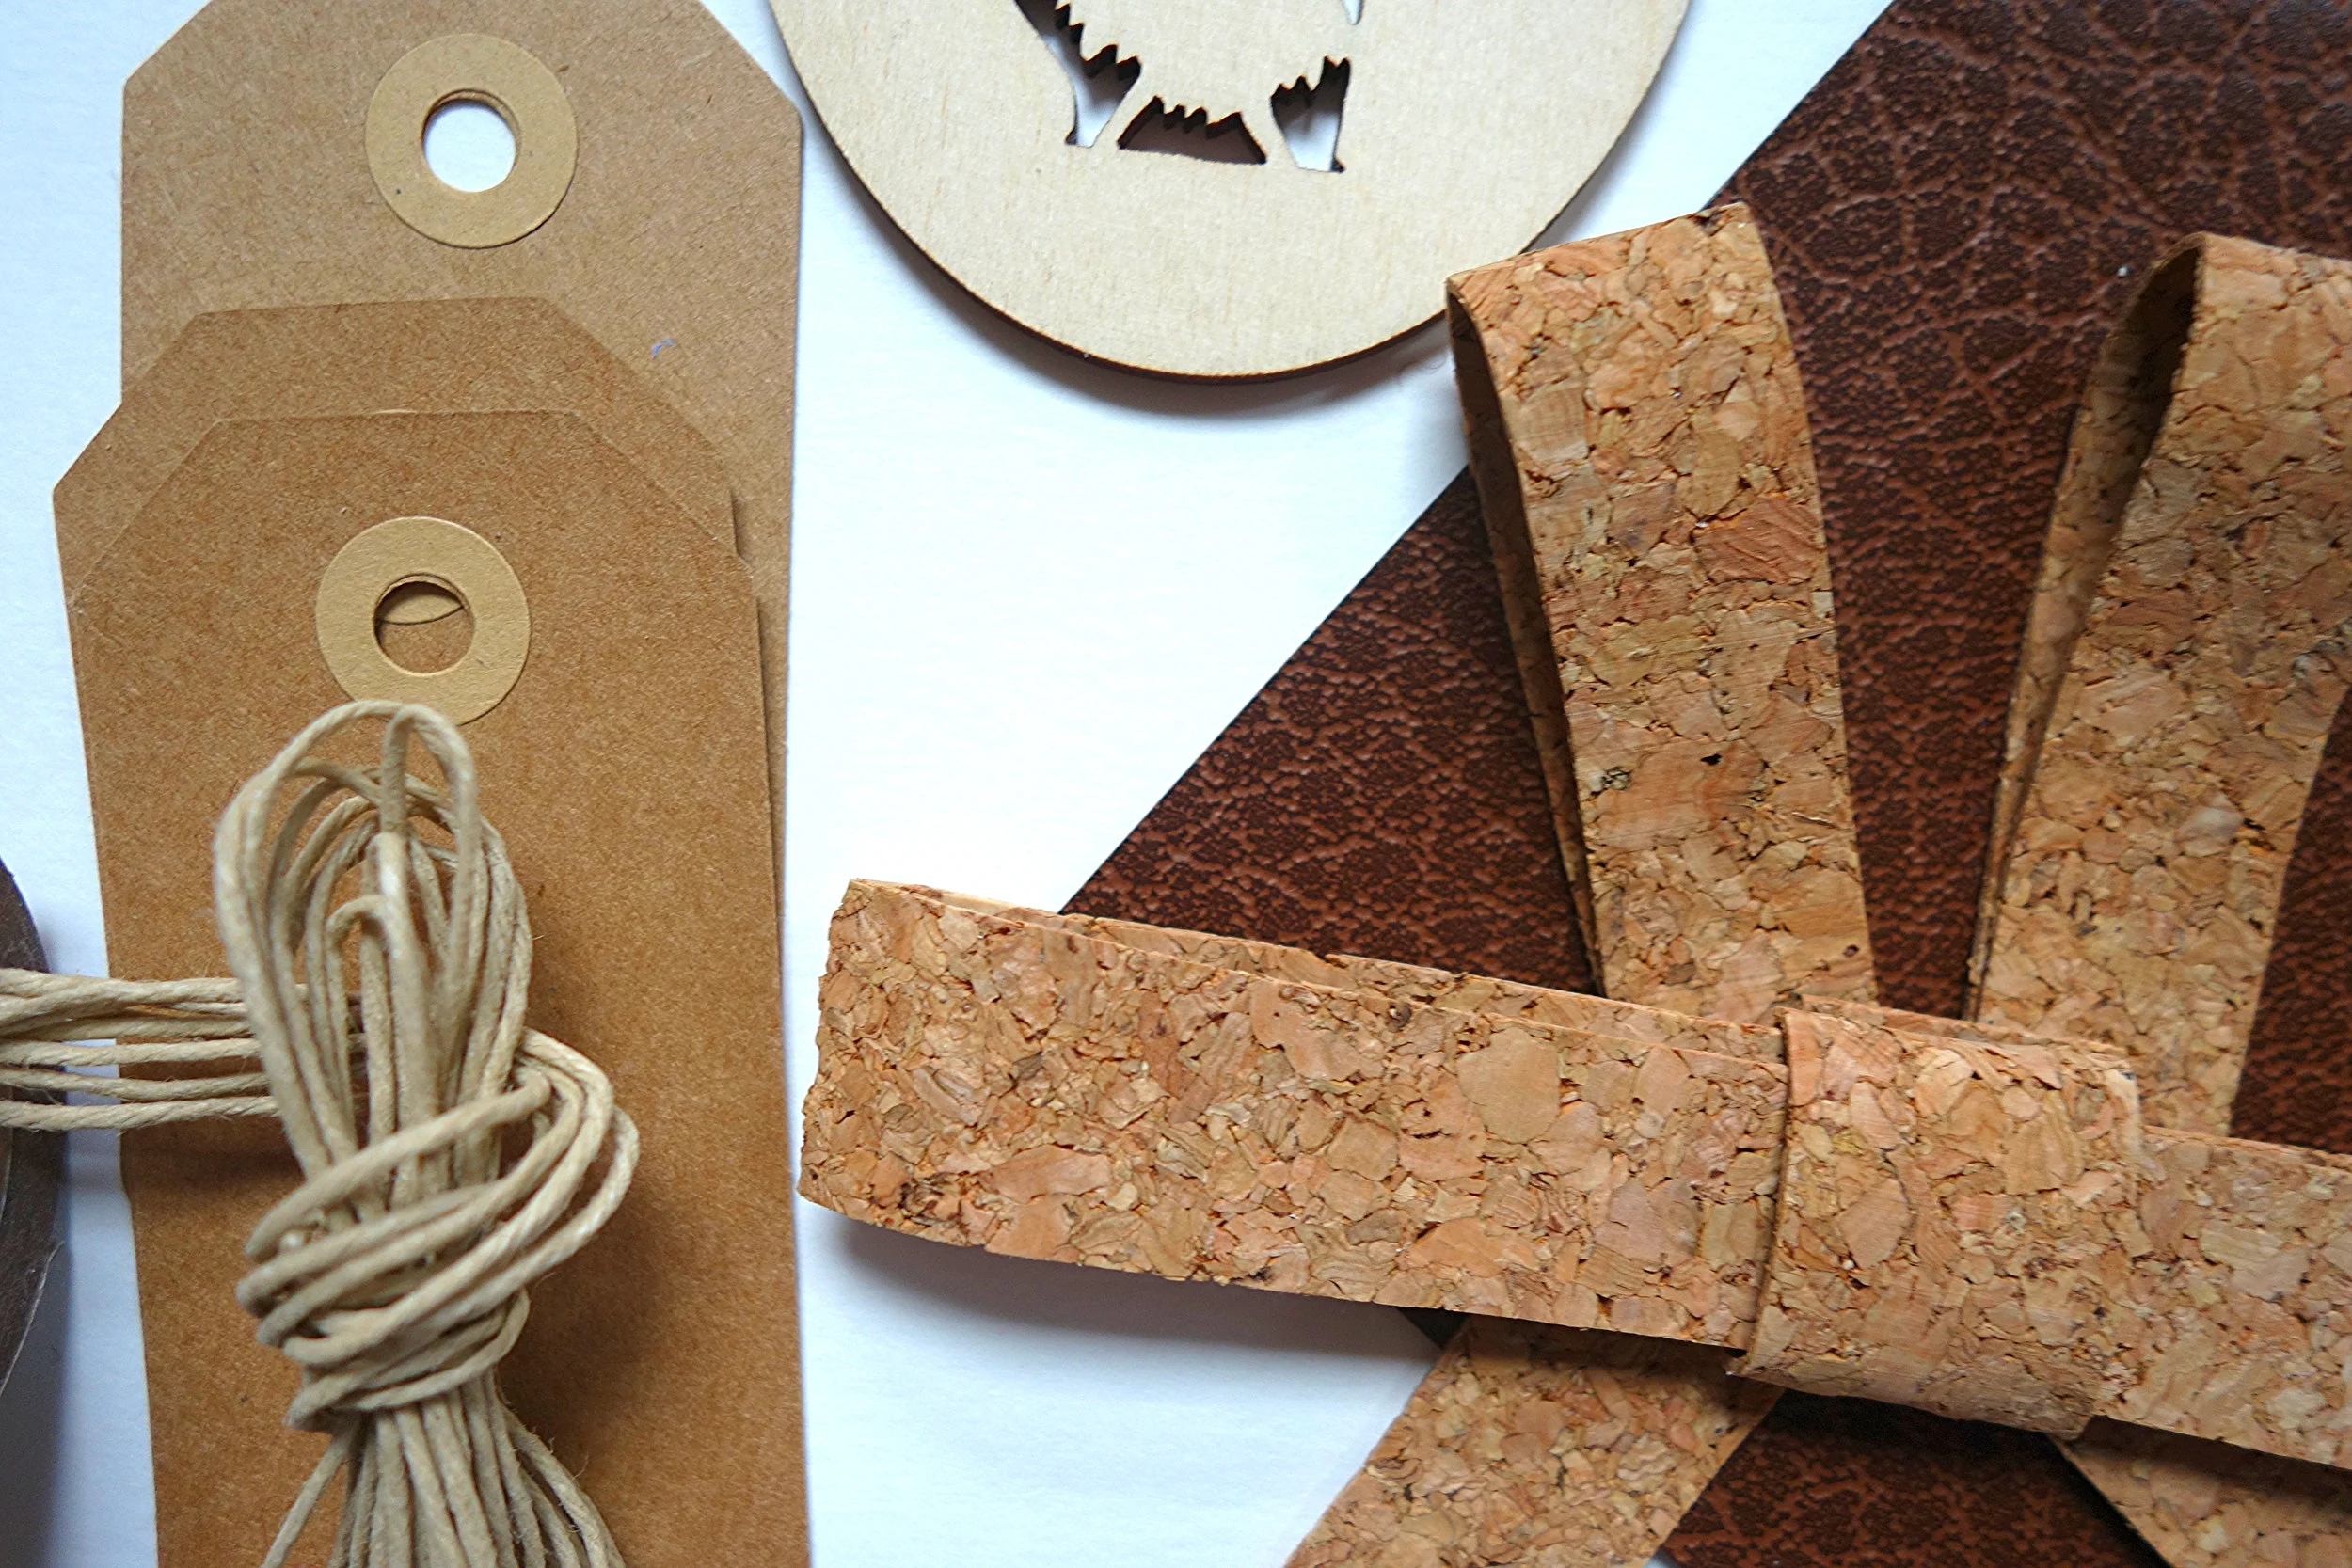
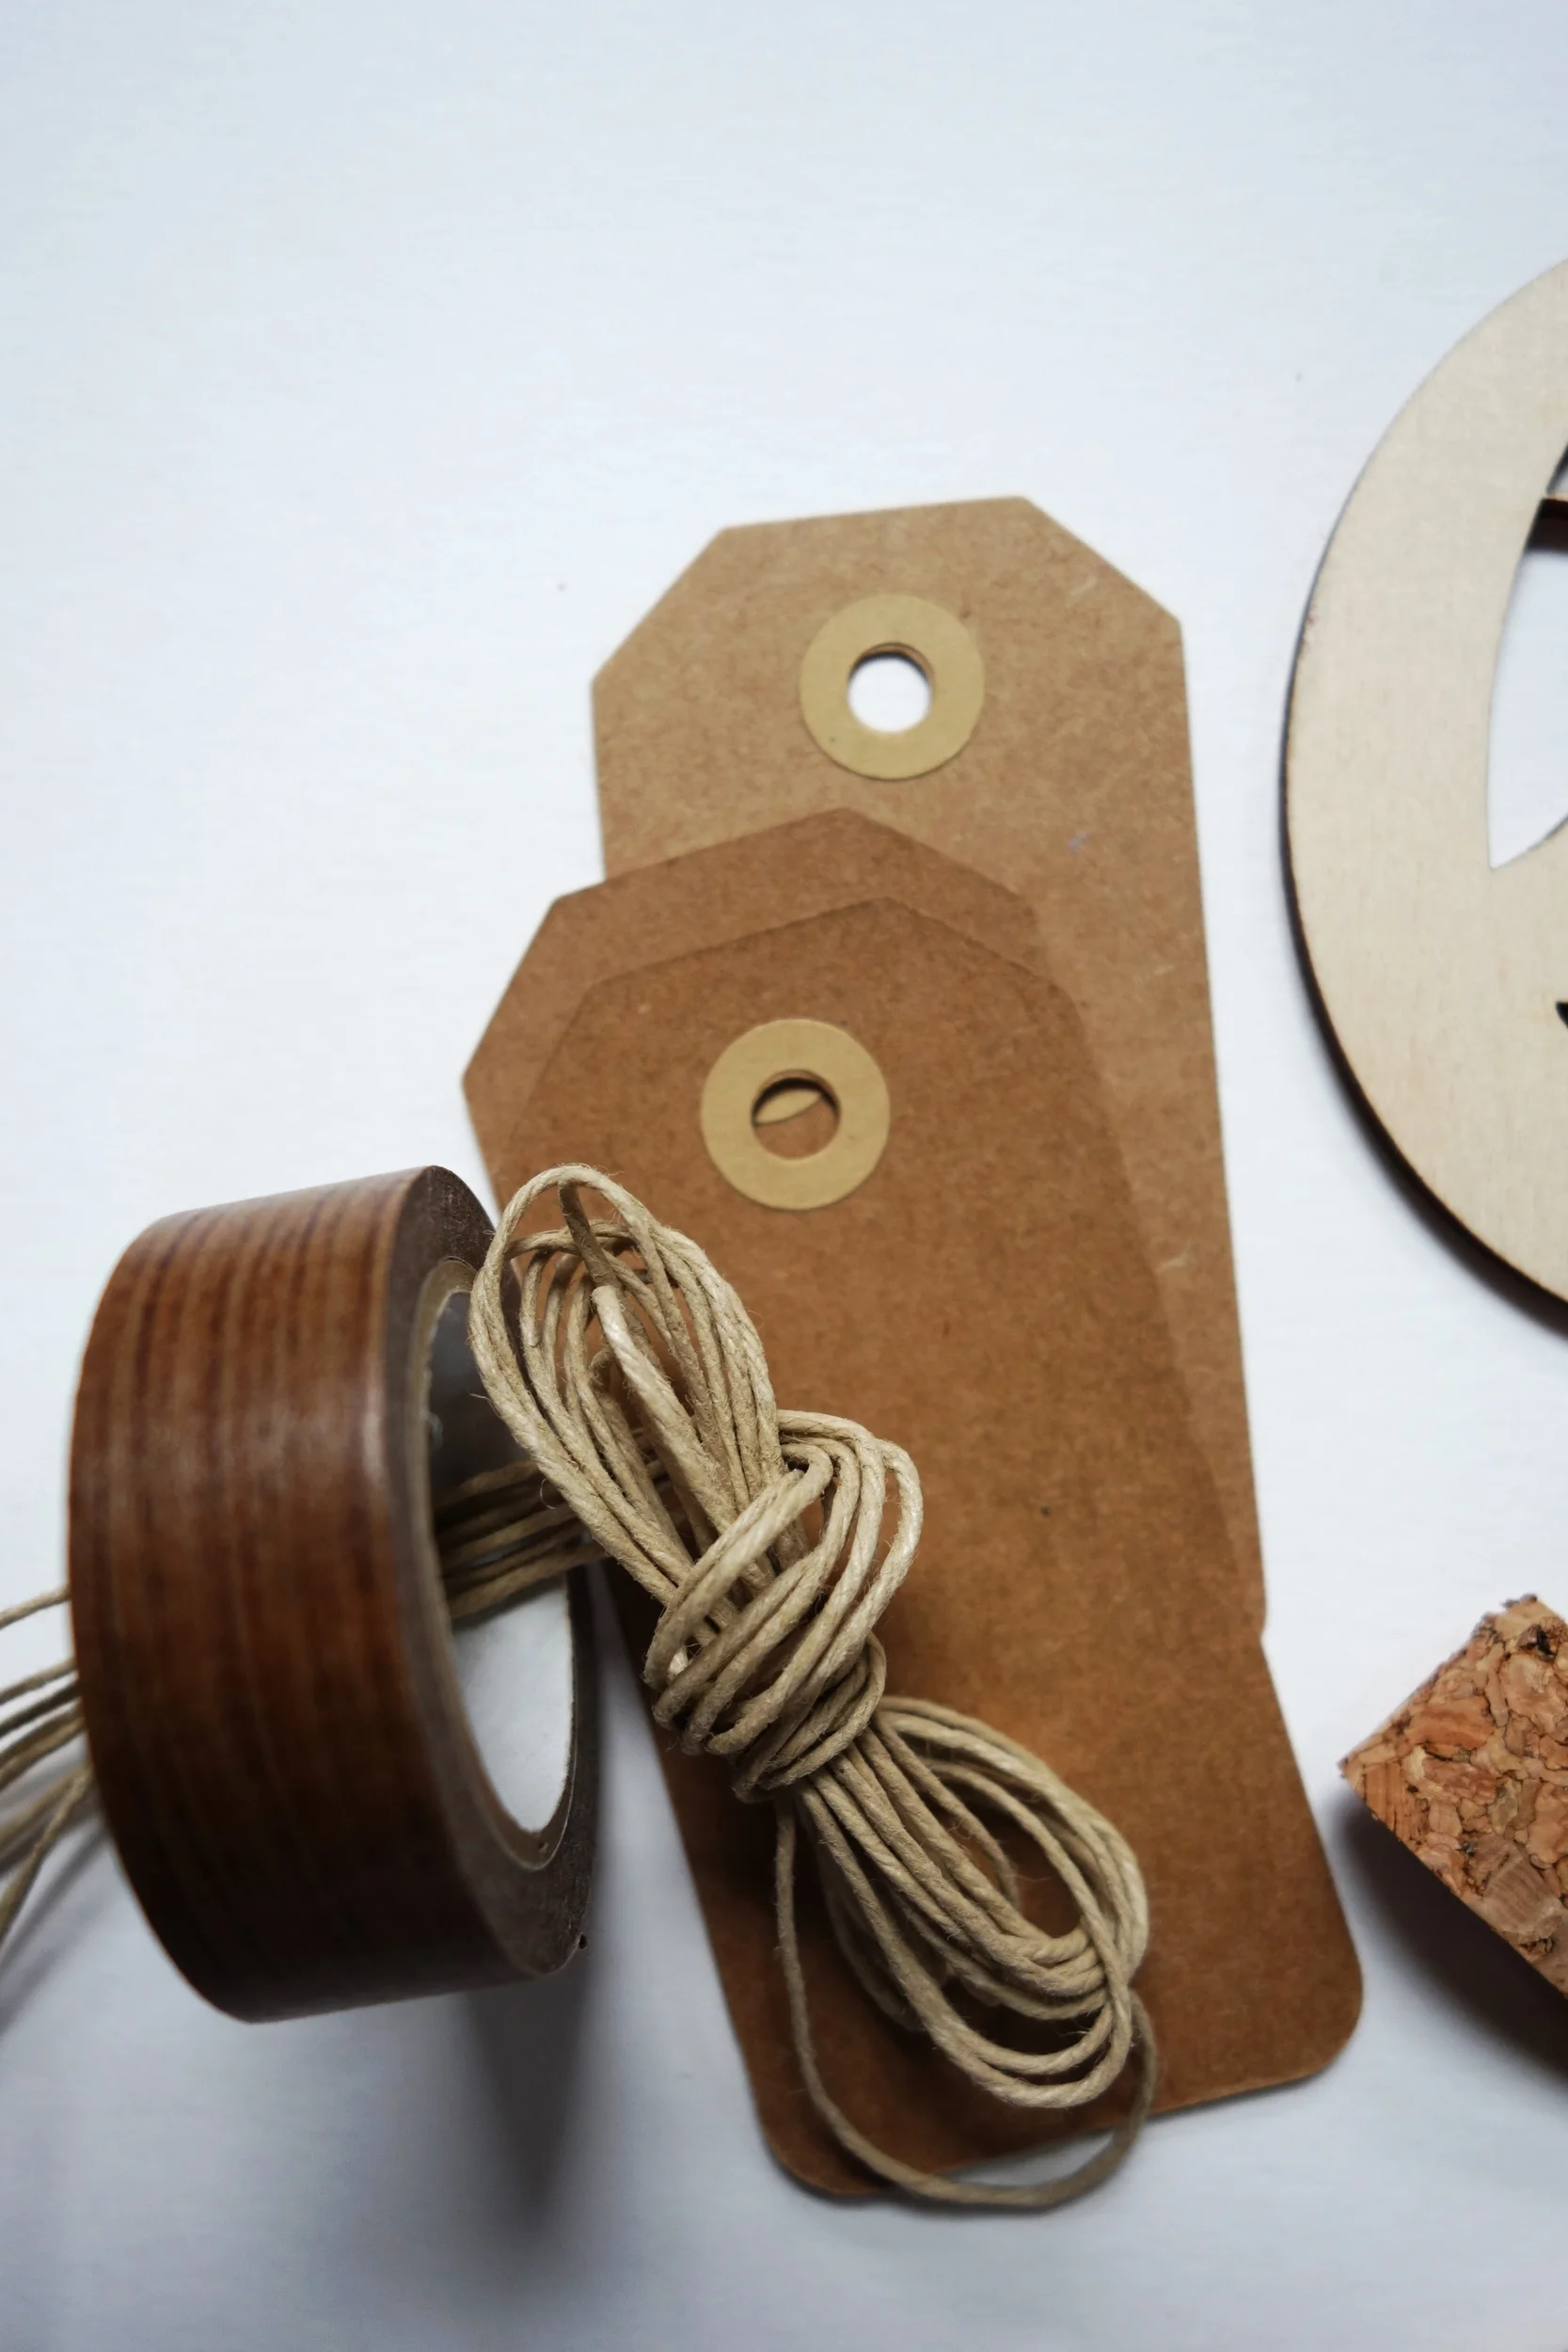
Other accents: I used regular beige/grey twine cord as the "ribbon." You can get this at virtually any local craft supply store, usually sold in a large roll near the jewelry supplies. For the name tags, I chose a kraft paper tags from Michaels, but again, you can get this at any local craft store. For the tape, I used a wood veneer edging look-a-like washi tape purchased from Etsy.


Once you get a hang of the bow making, the processes goes pretty smoothly. And the rest is an absolute breeze. (Pun intended). Happy wrapping!