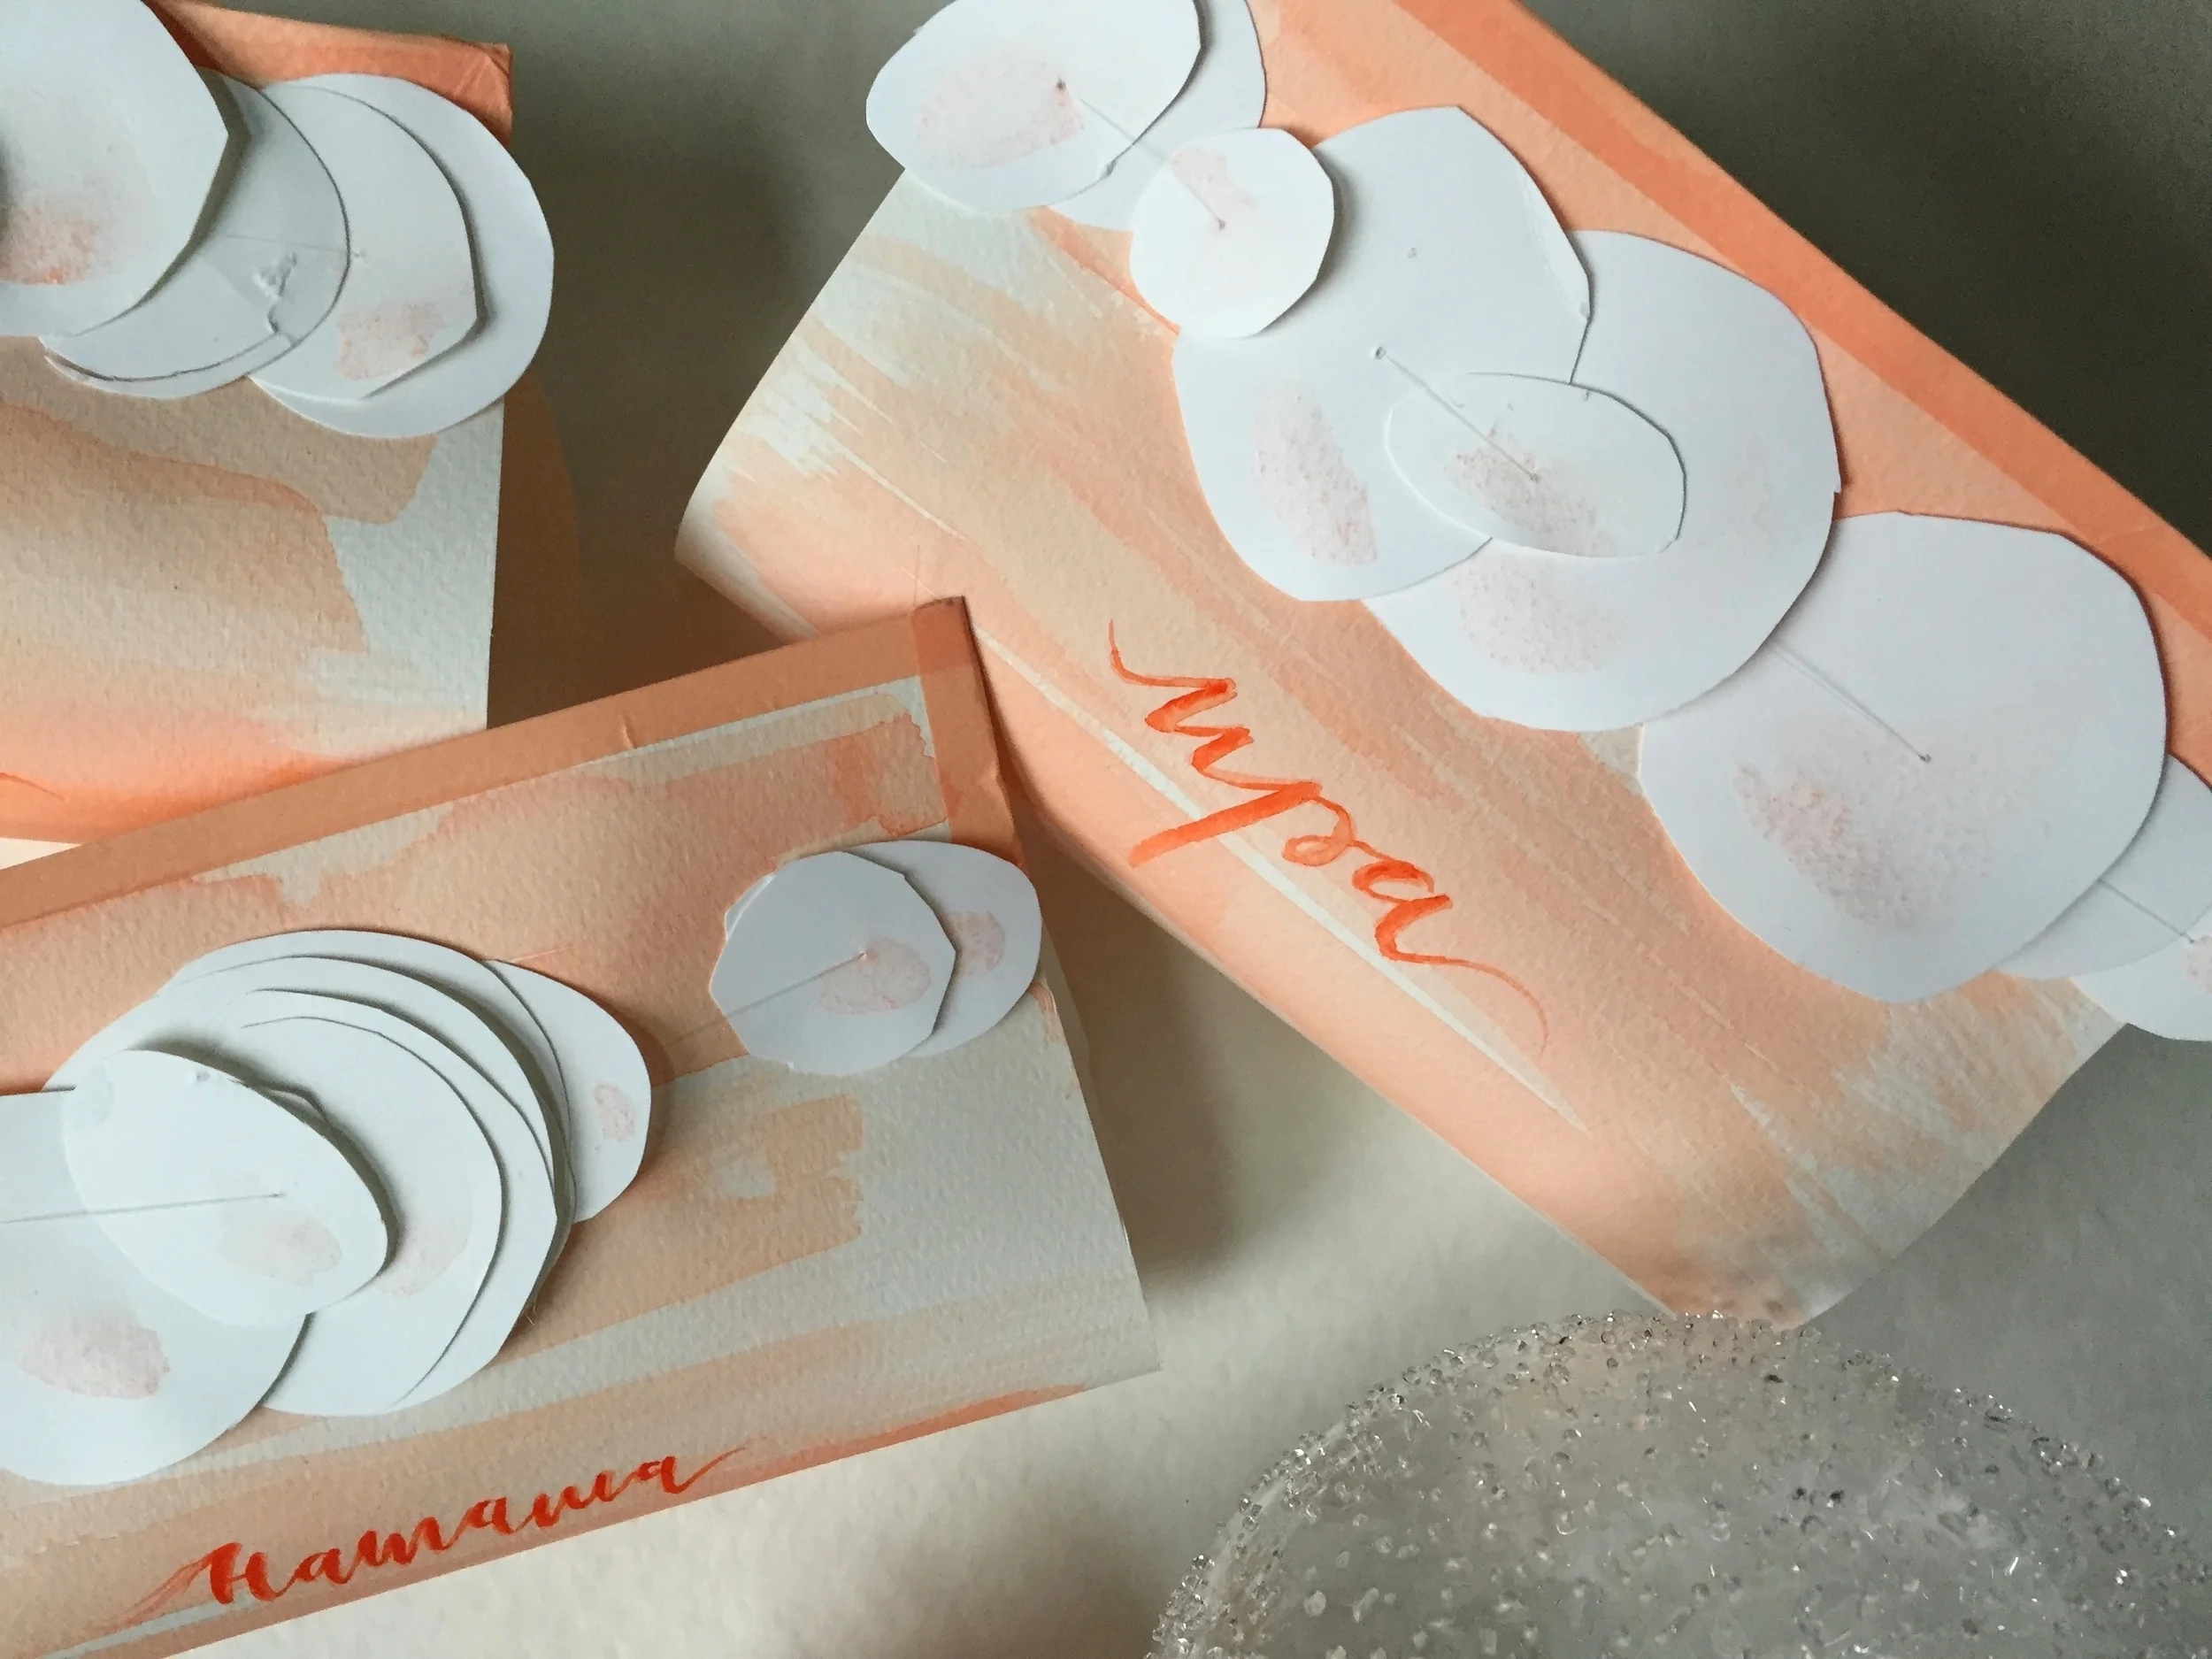
It's that time of the year again when I start planning how the gifts will be wrapped before I even buy any presents. I start gathering and brainstorming ideas early and picking up supplies that can serve as potential materials. I just absolutely LOVE it and I might be a little crazy about it (just a little though). I love coming up with new ideas each year to add to the collection. Creating the christmas gift wrap is pretty much my favorite part of gift giving. Kicking off Christmas gift wrapping this season is a sweet and simple pastel pom pom wrap.
materials:
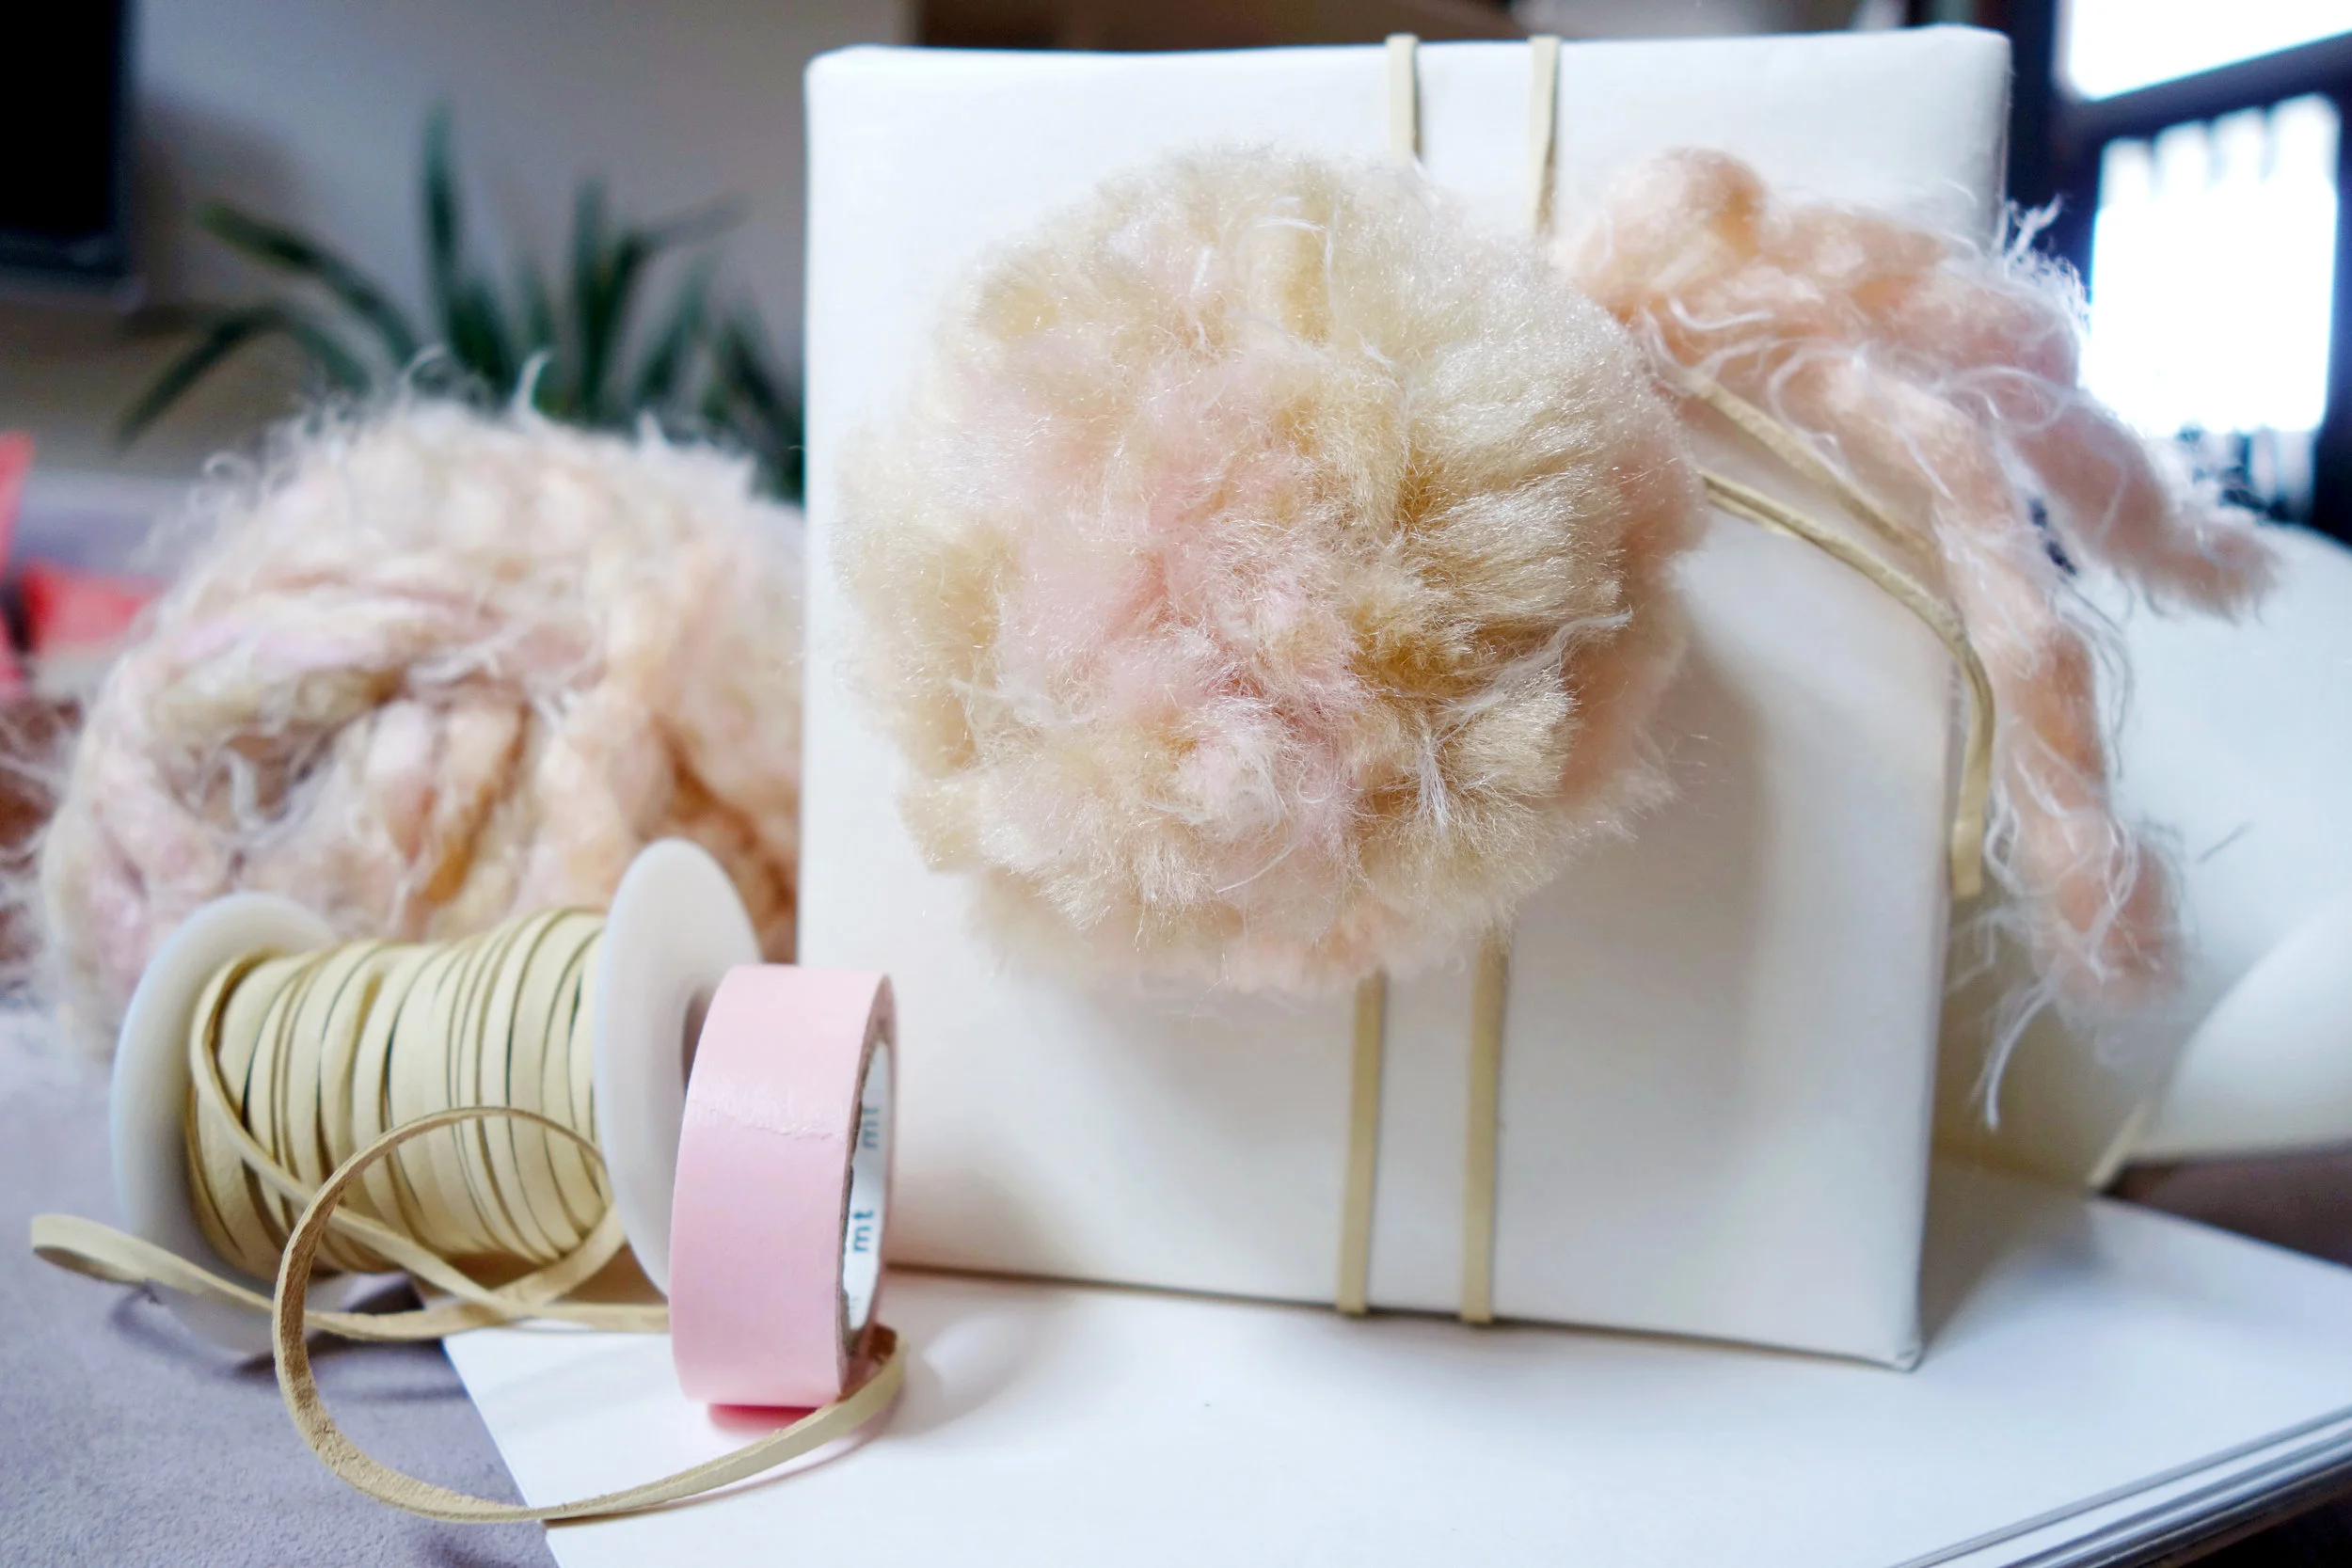
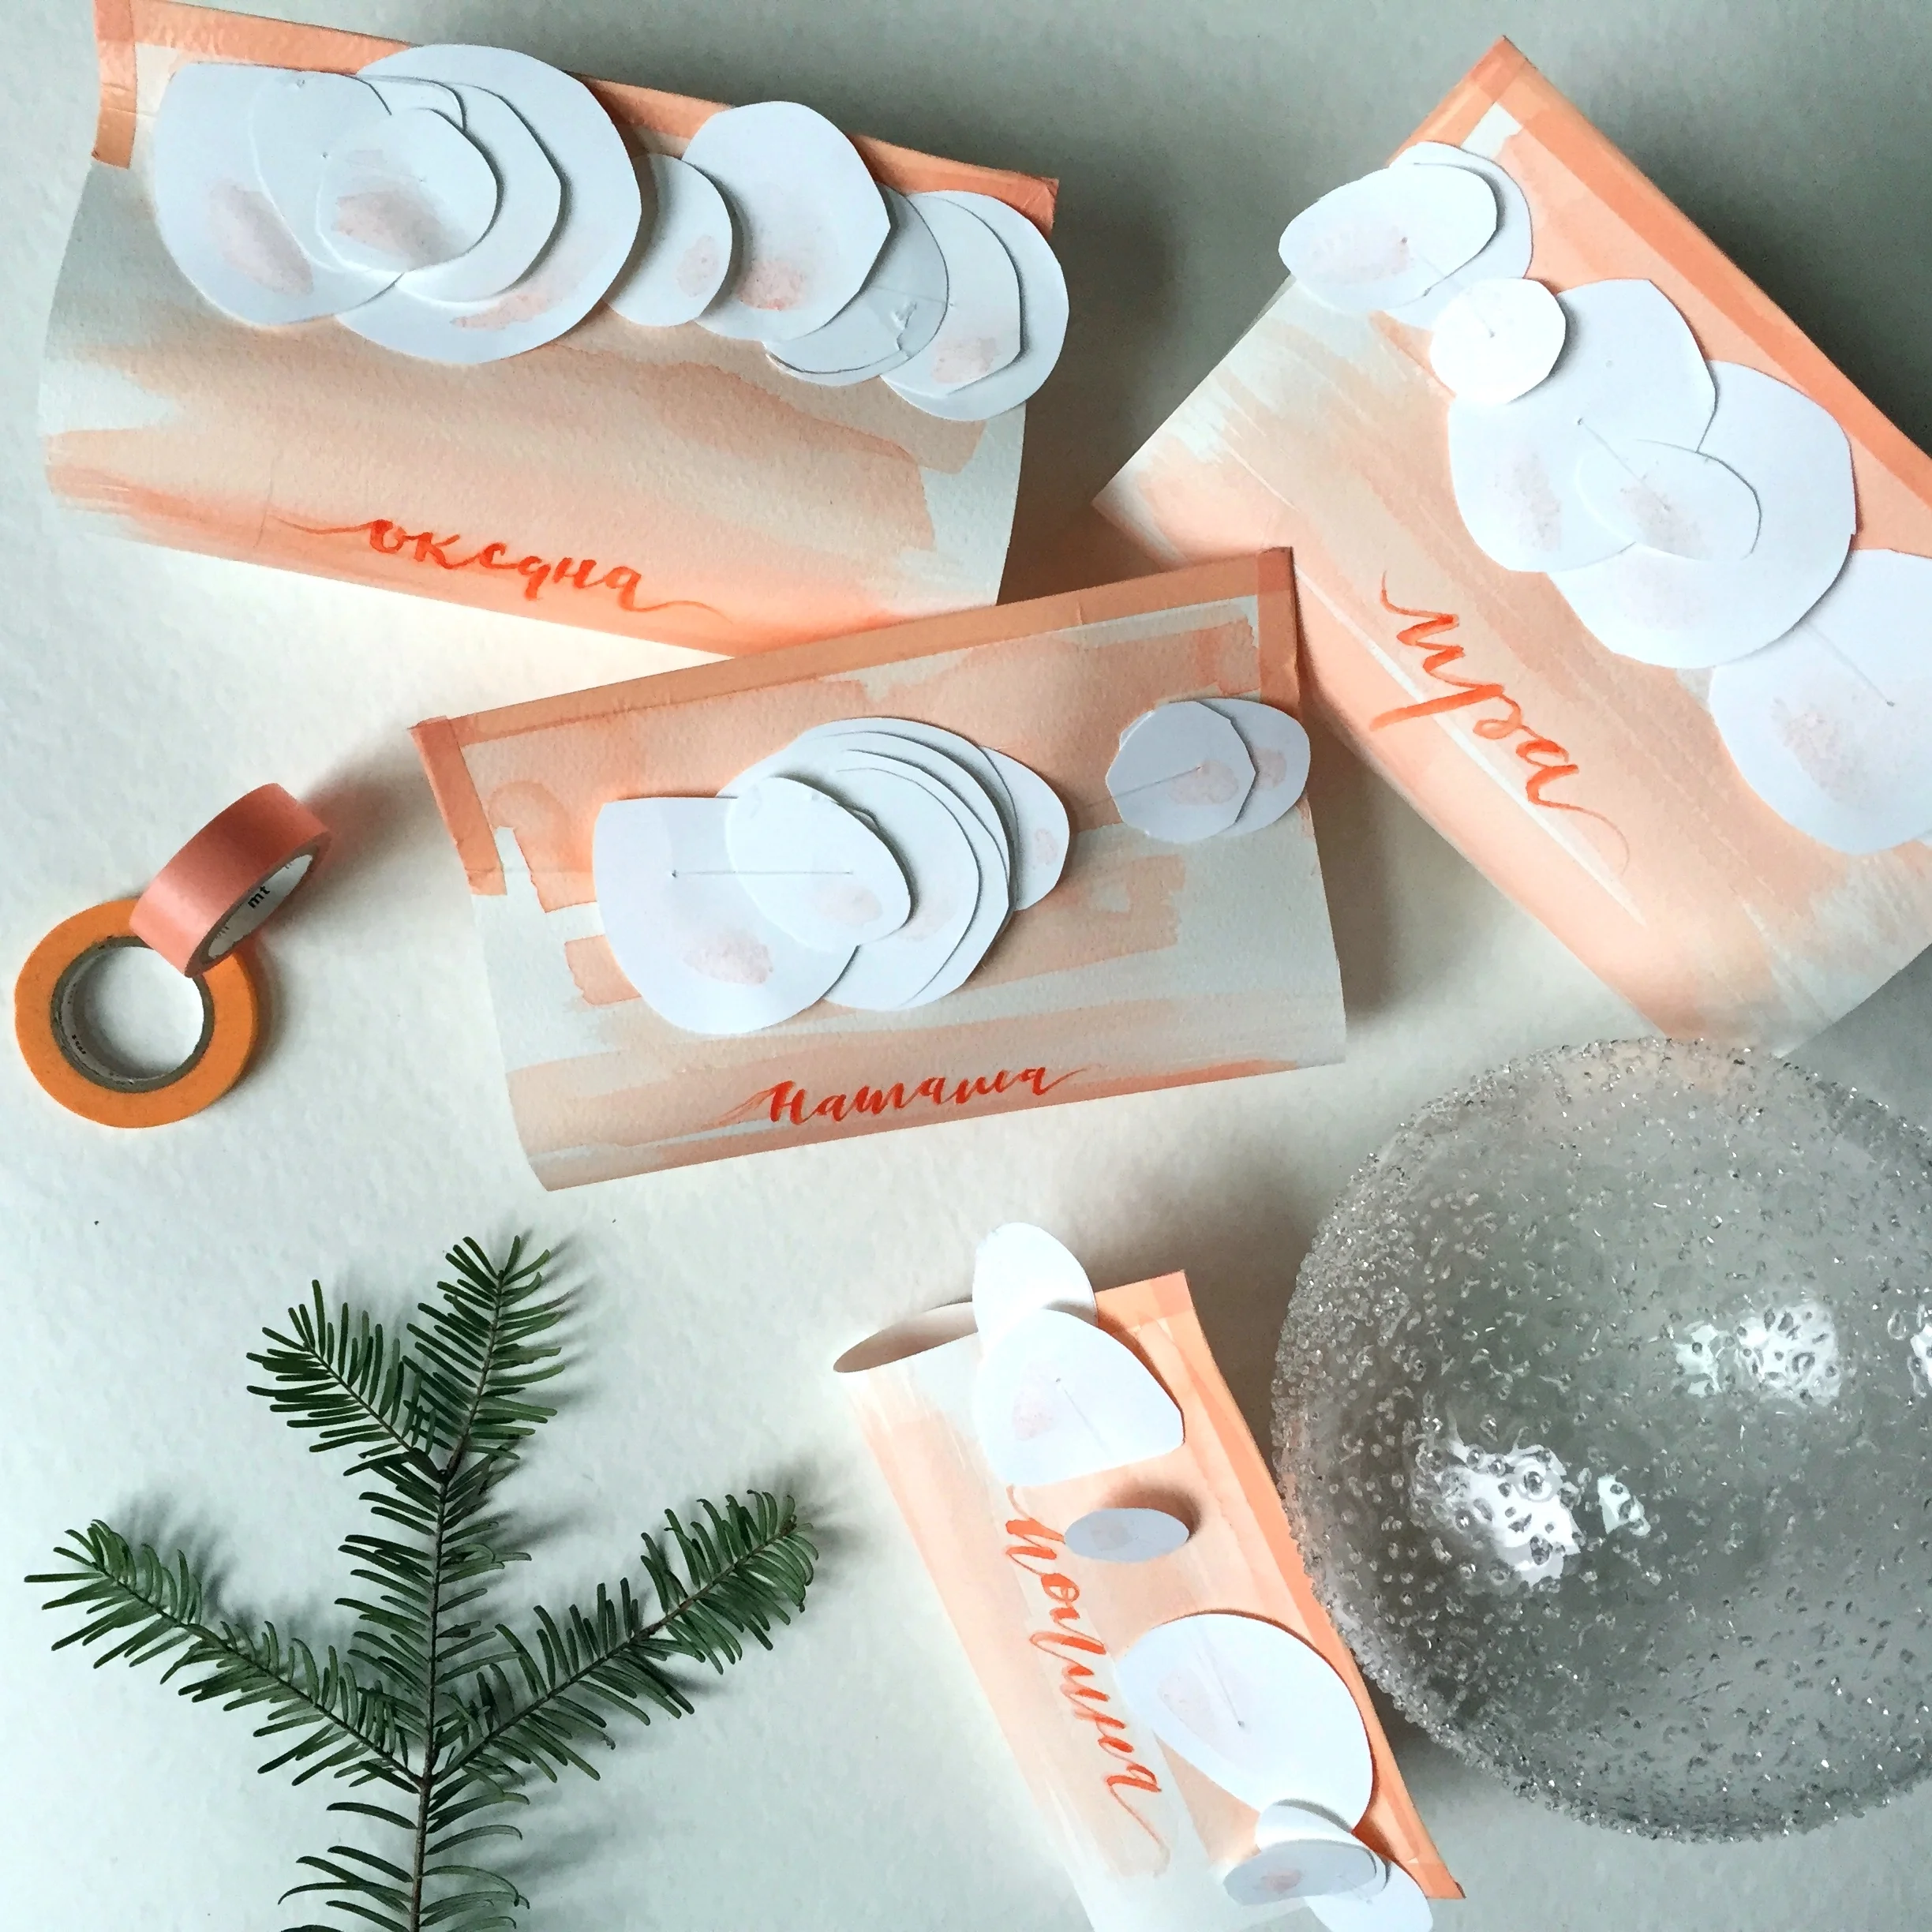
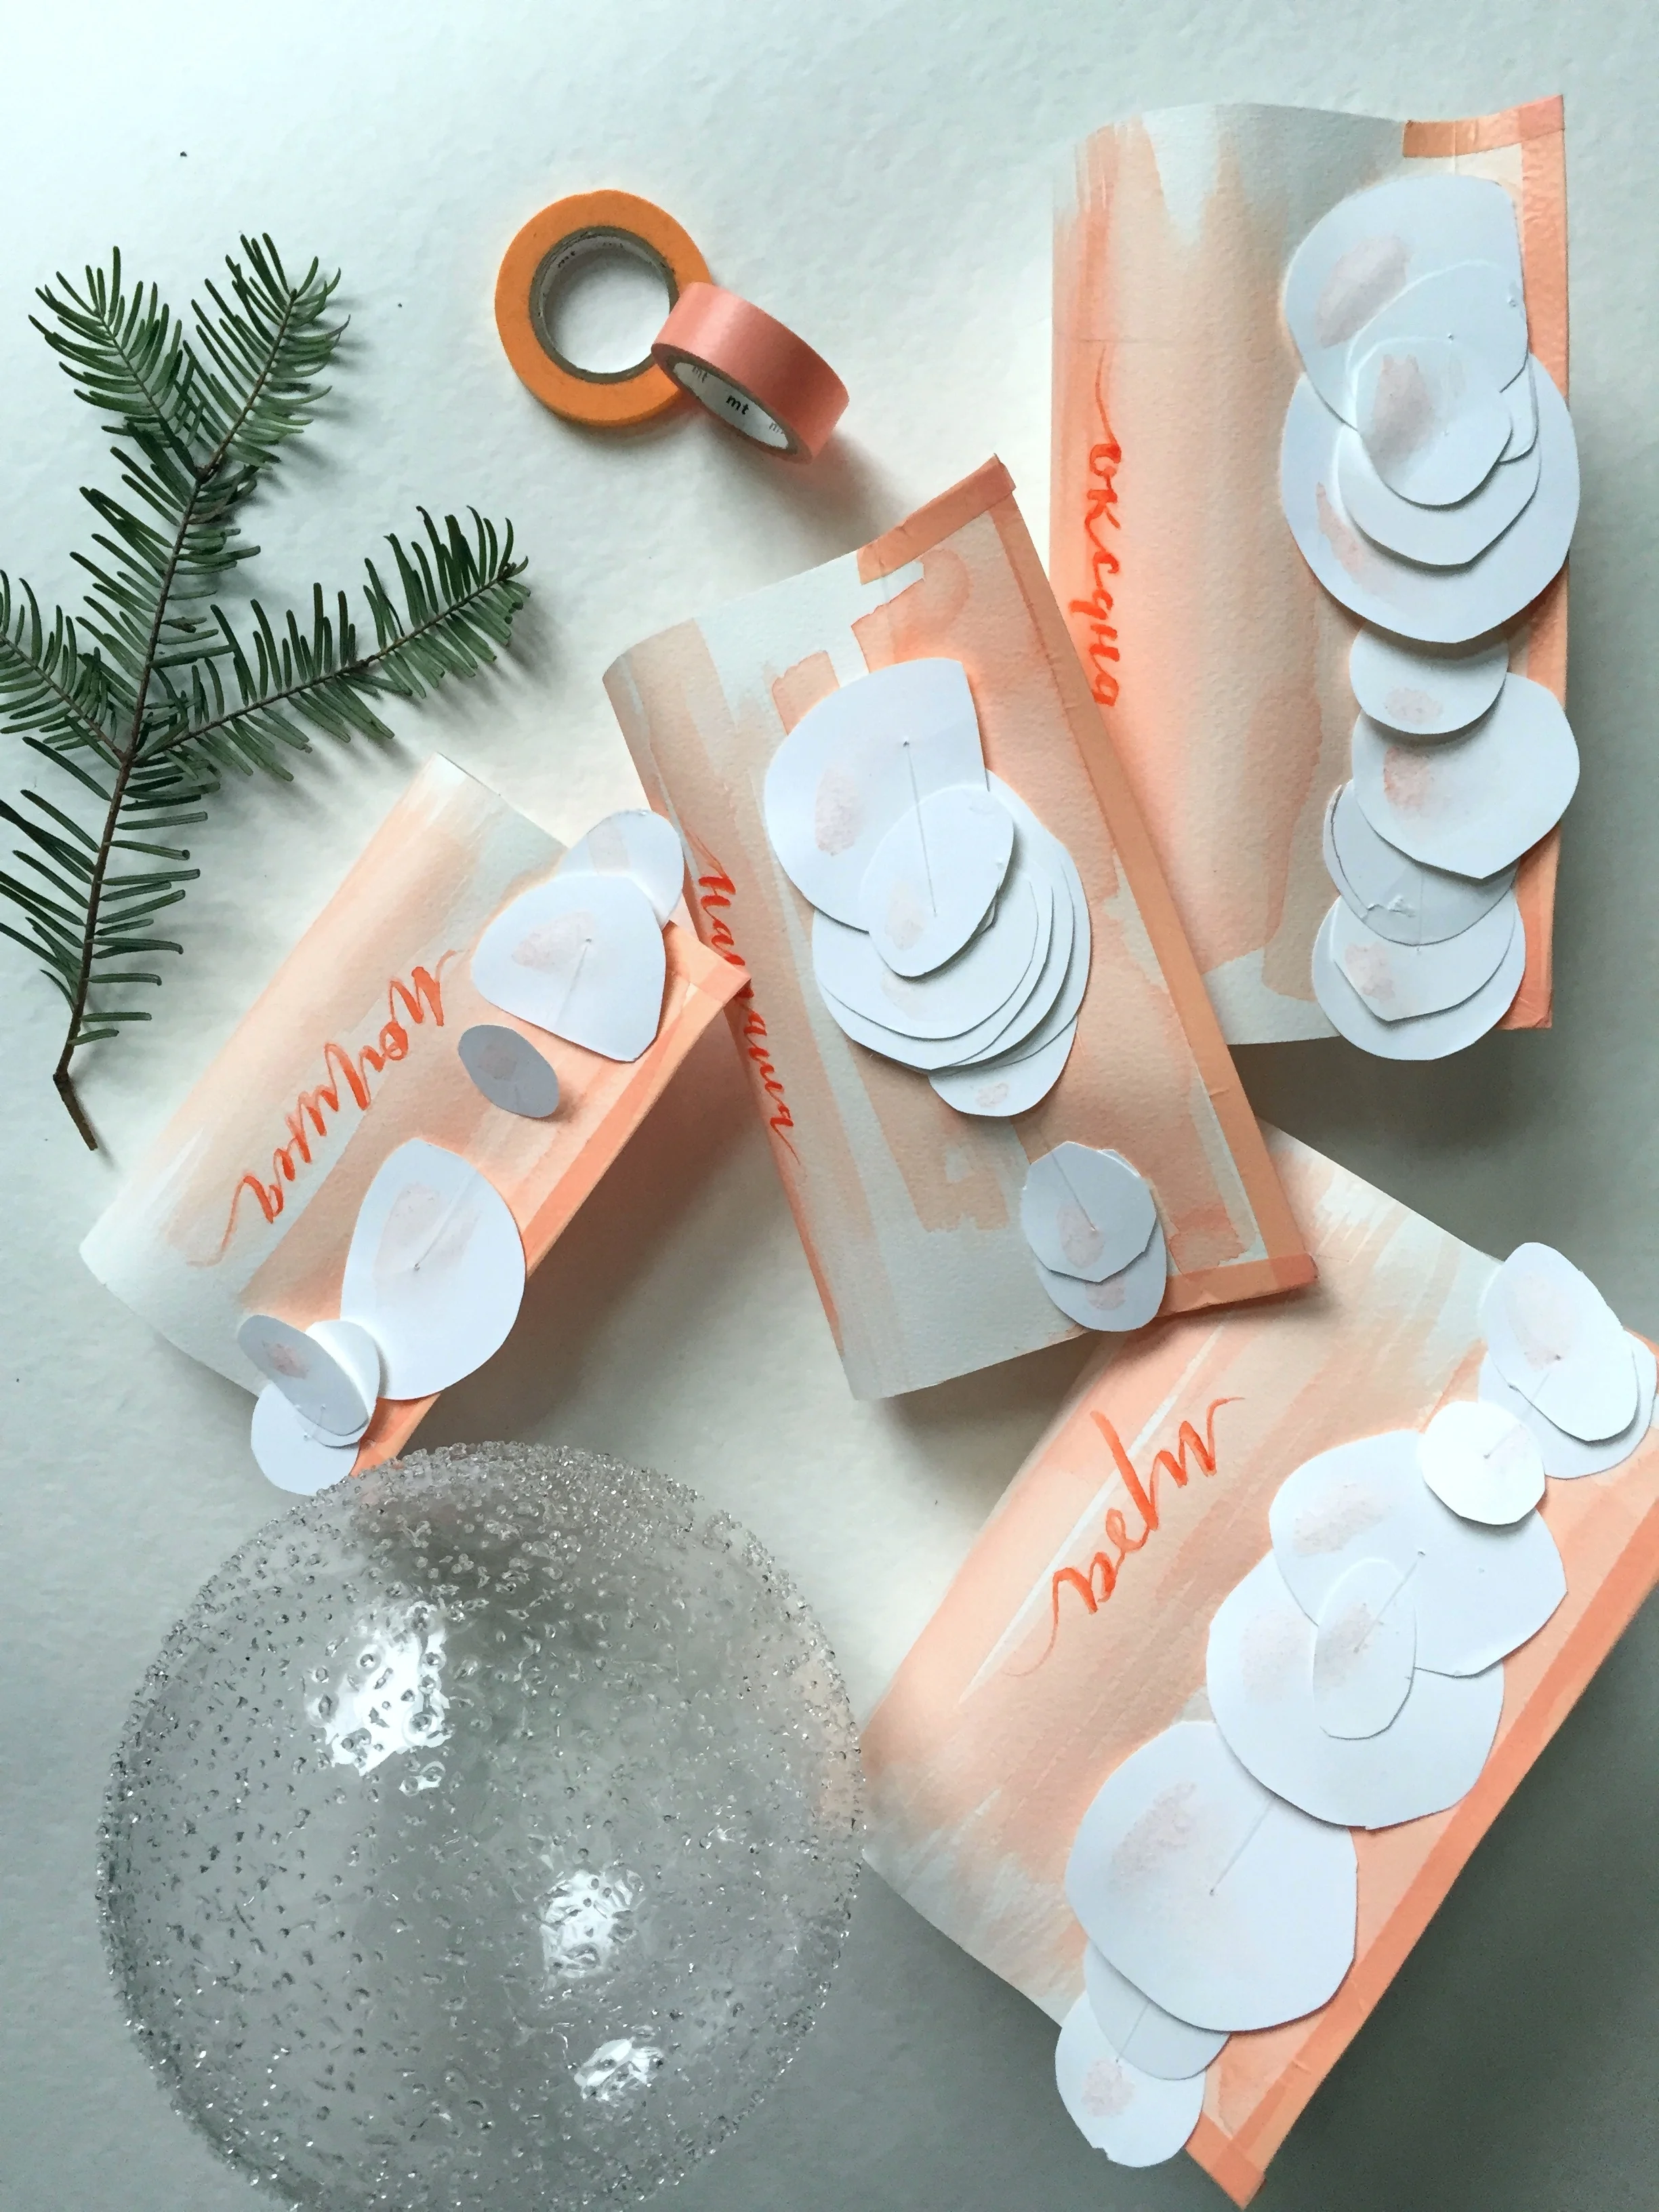
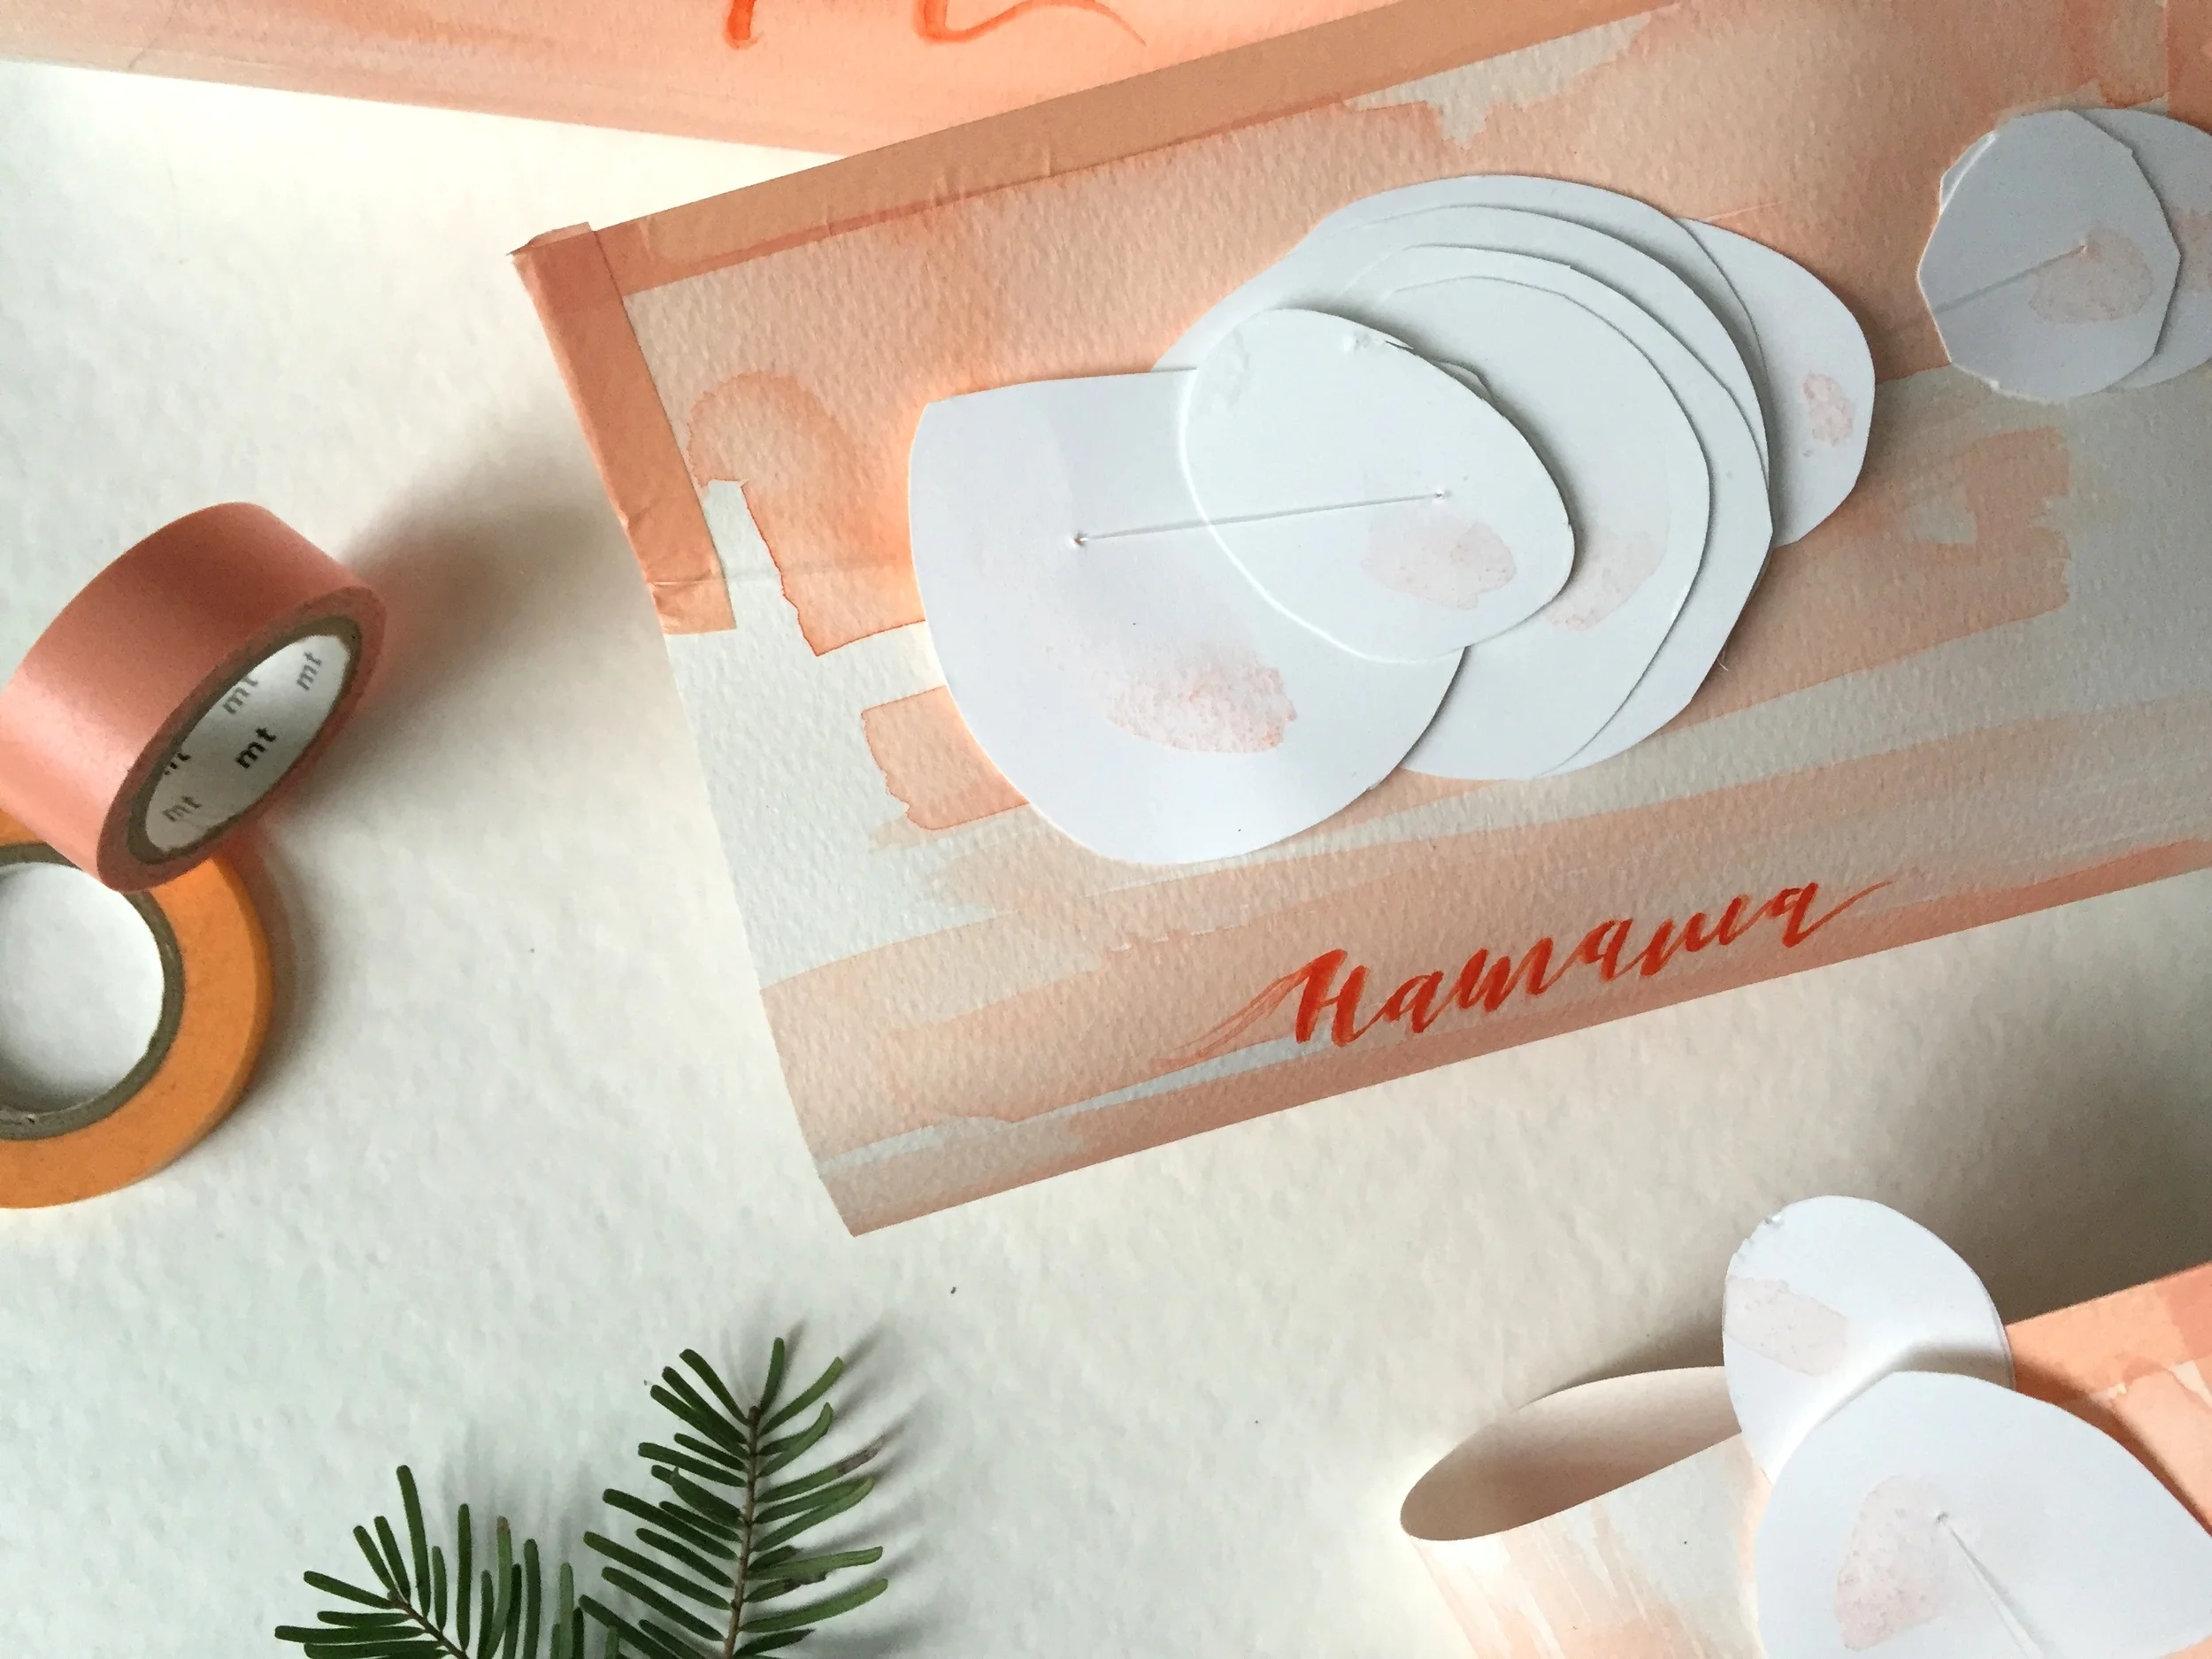
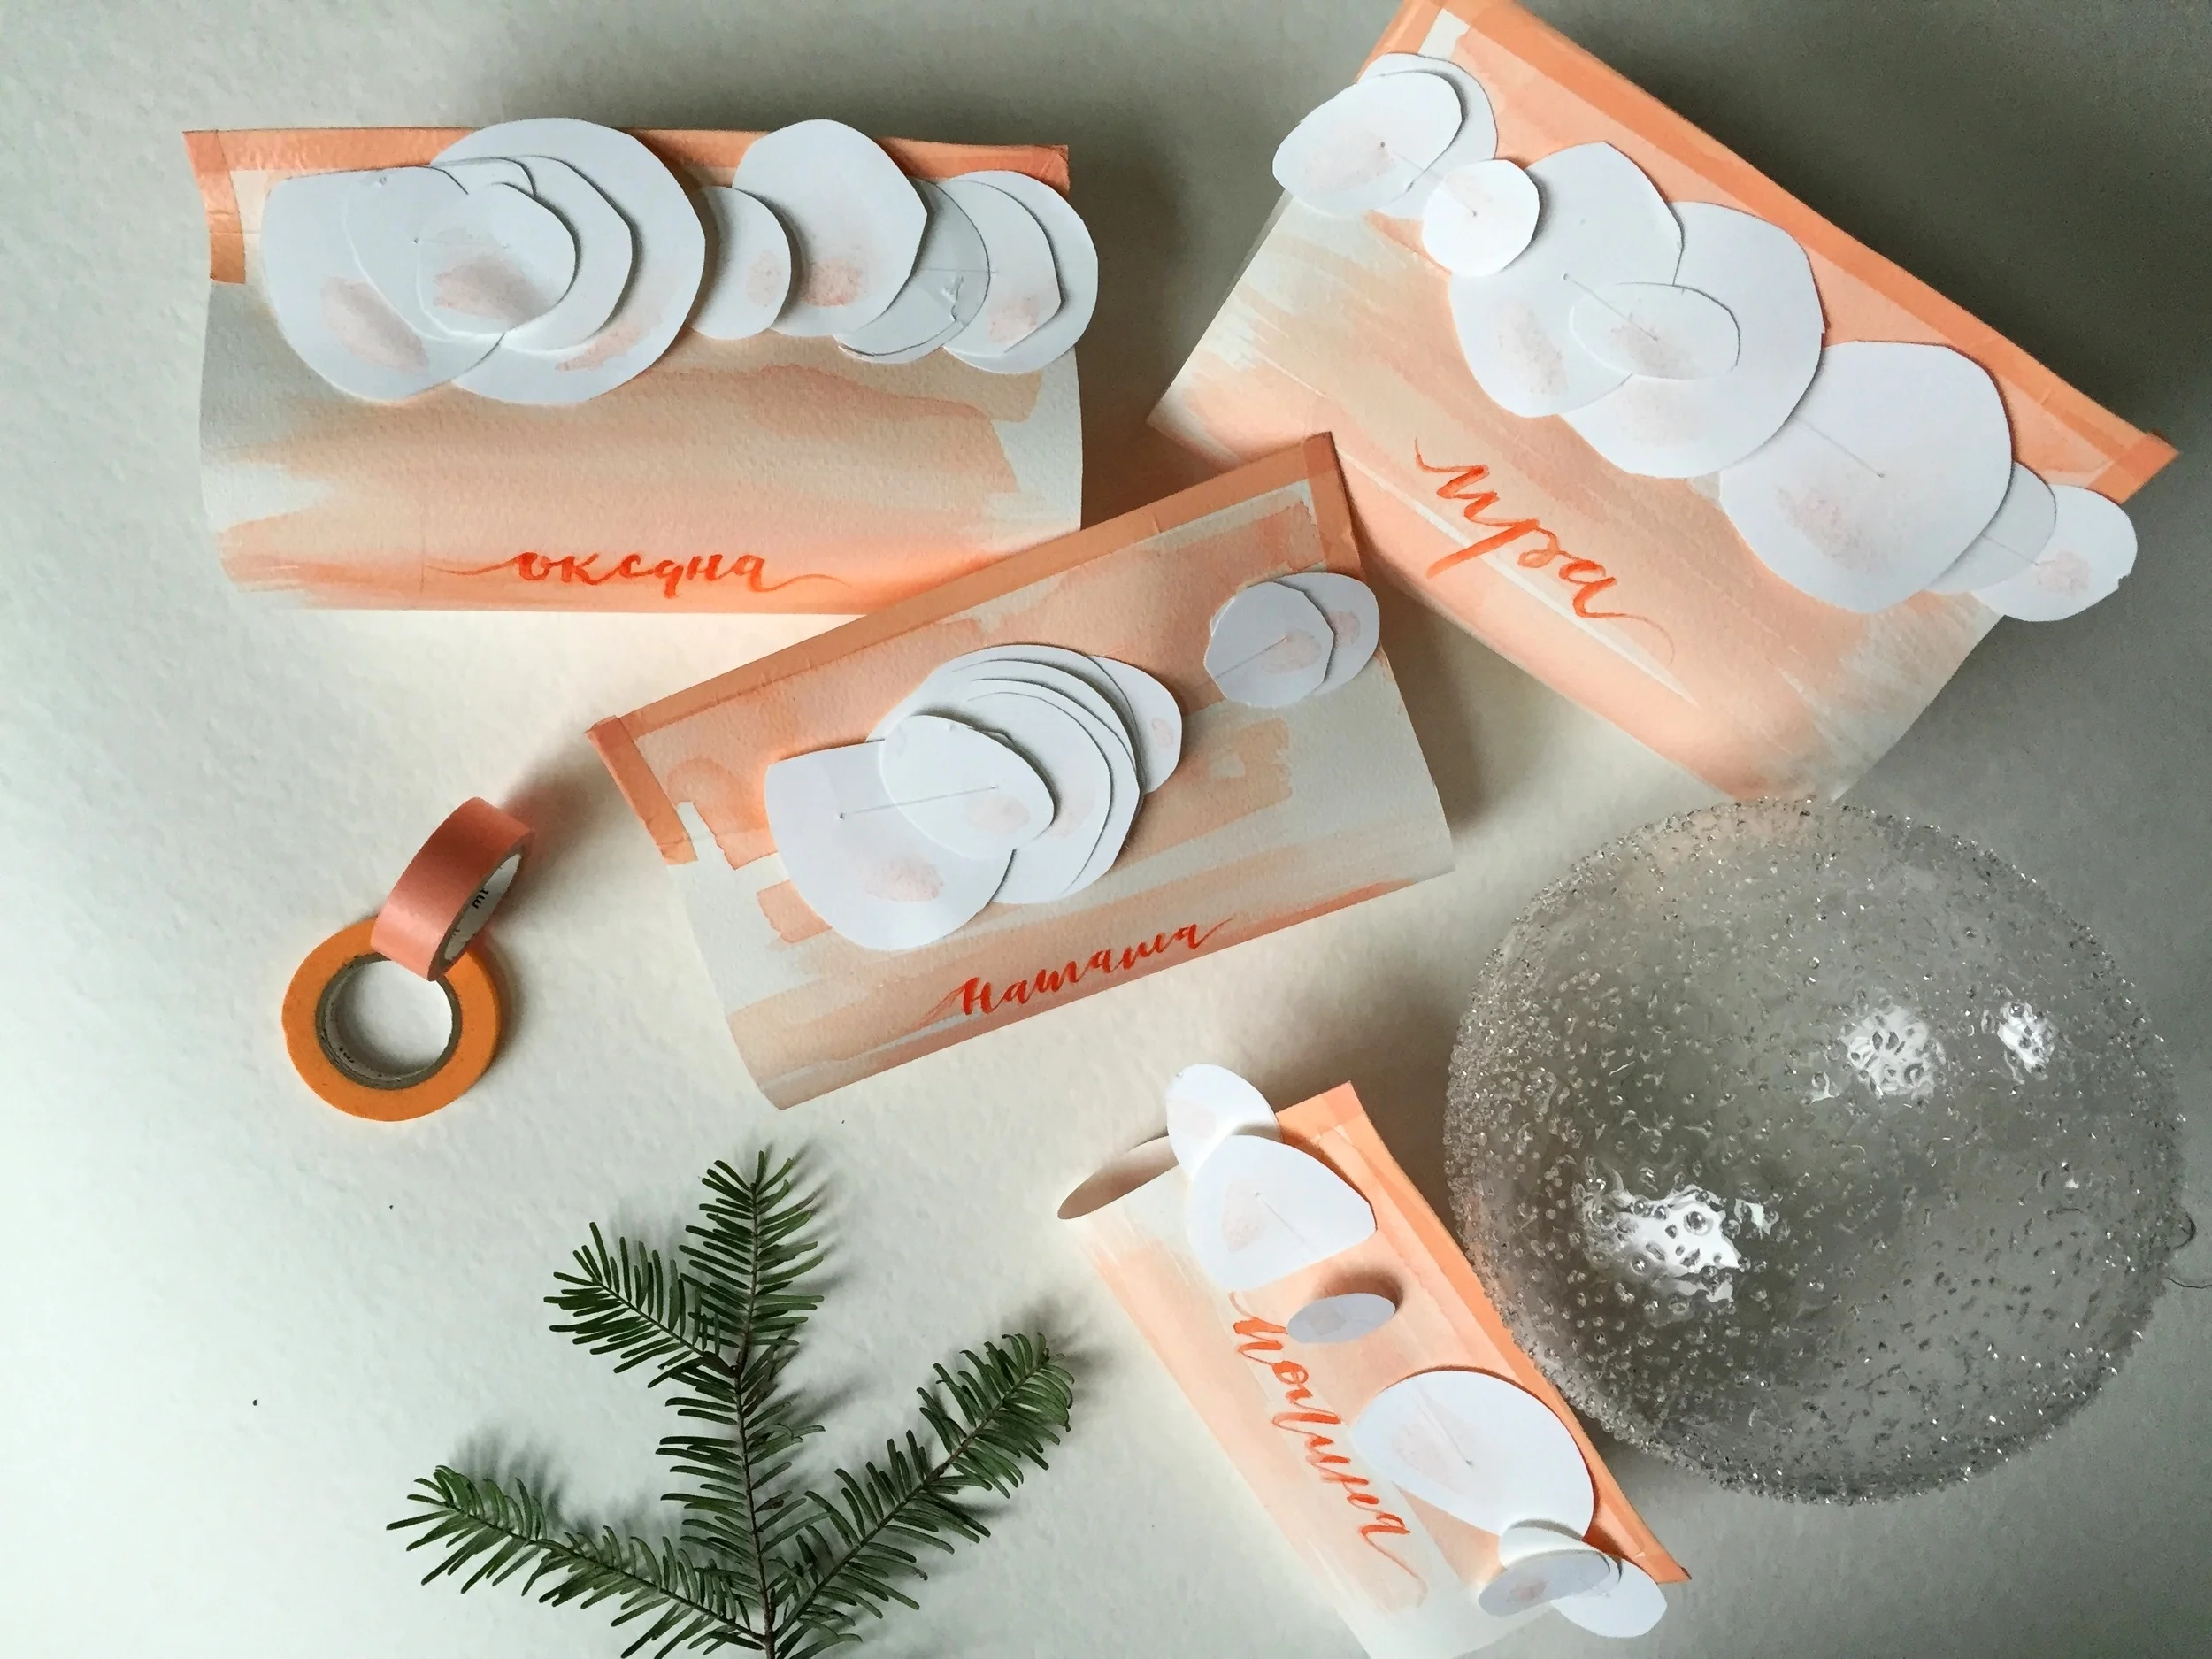
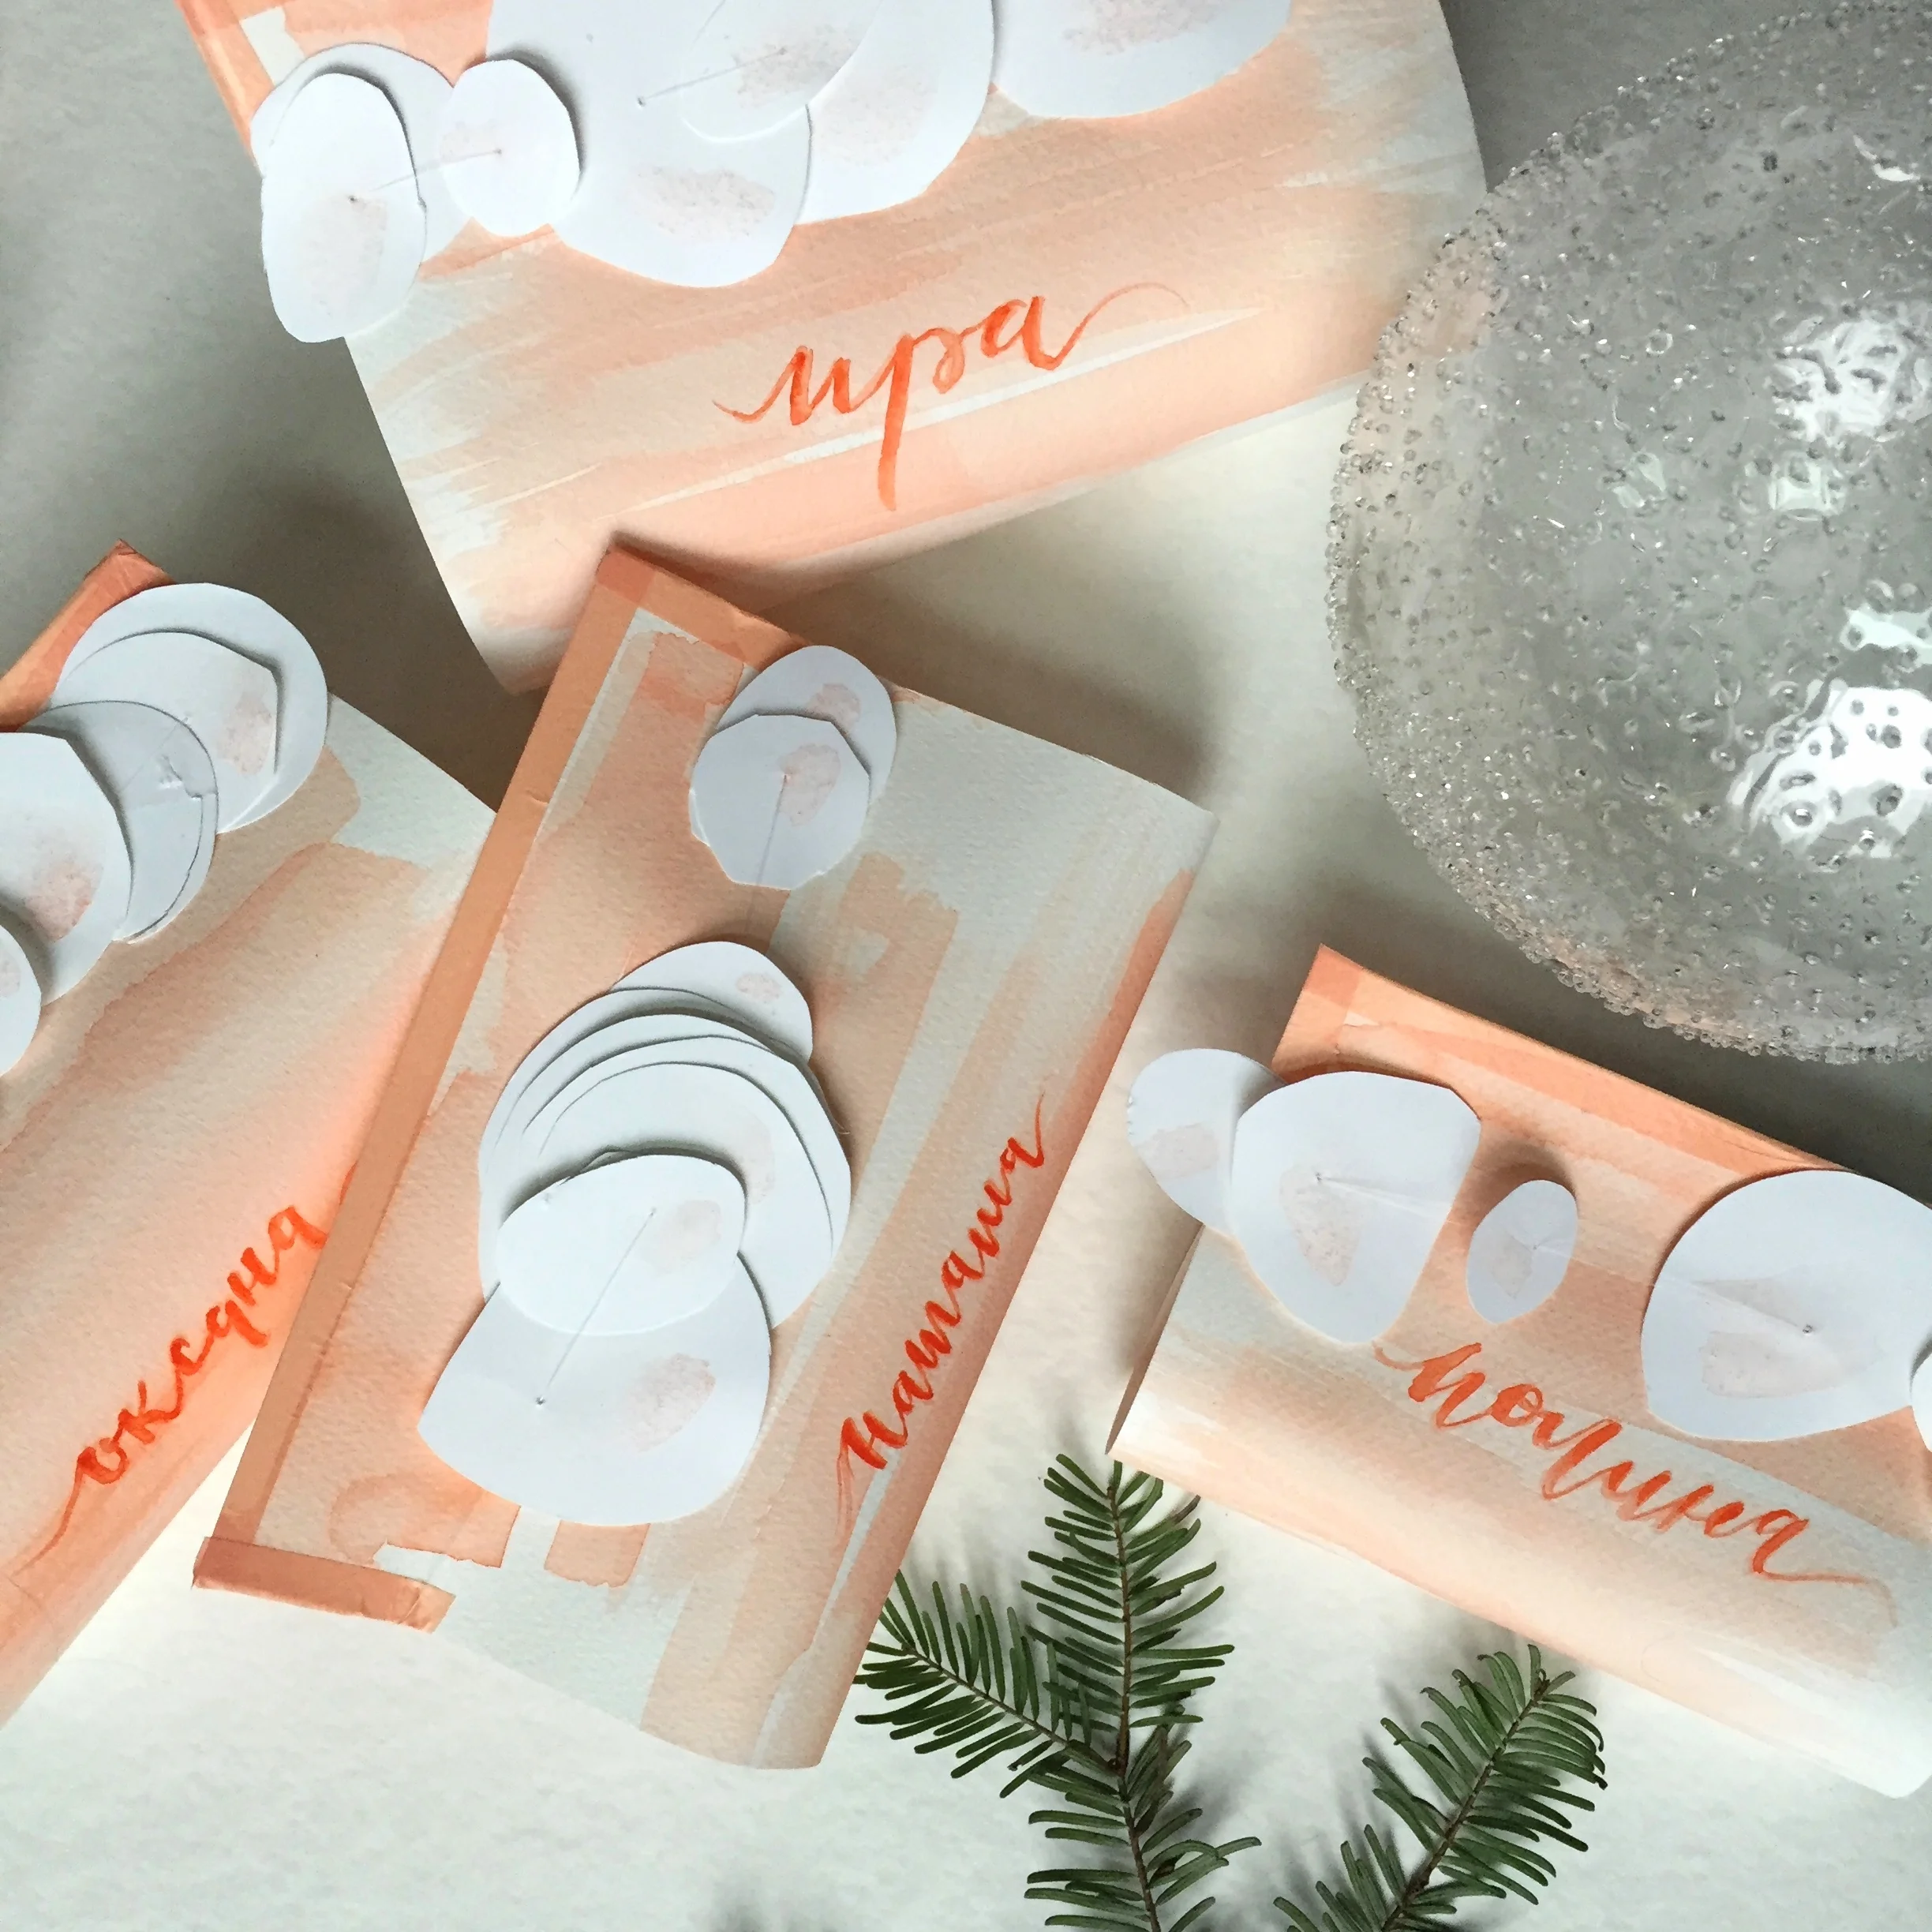
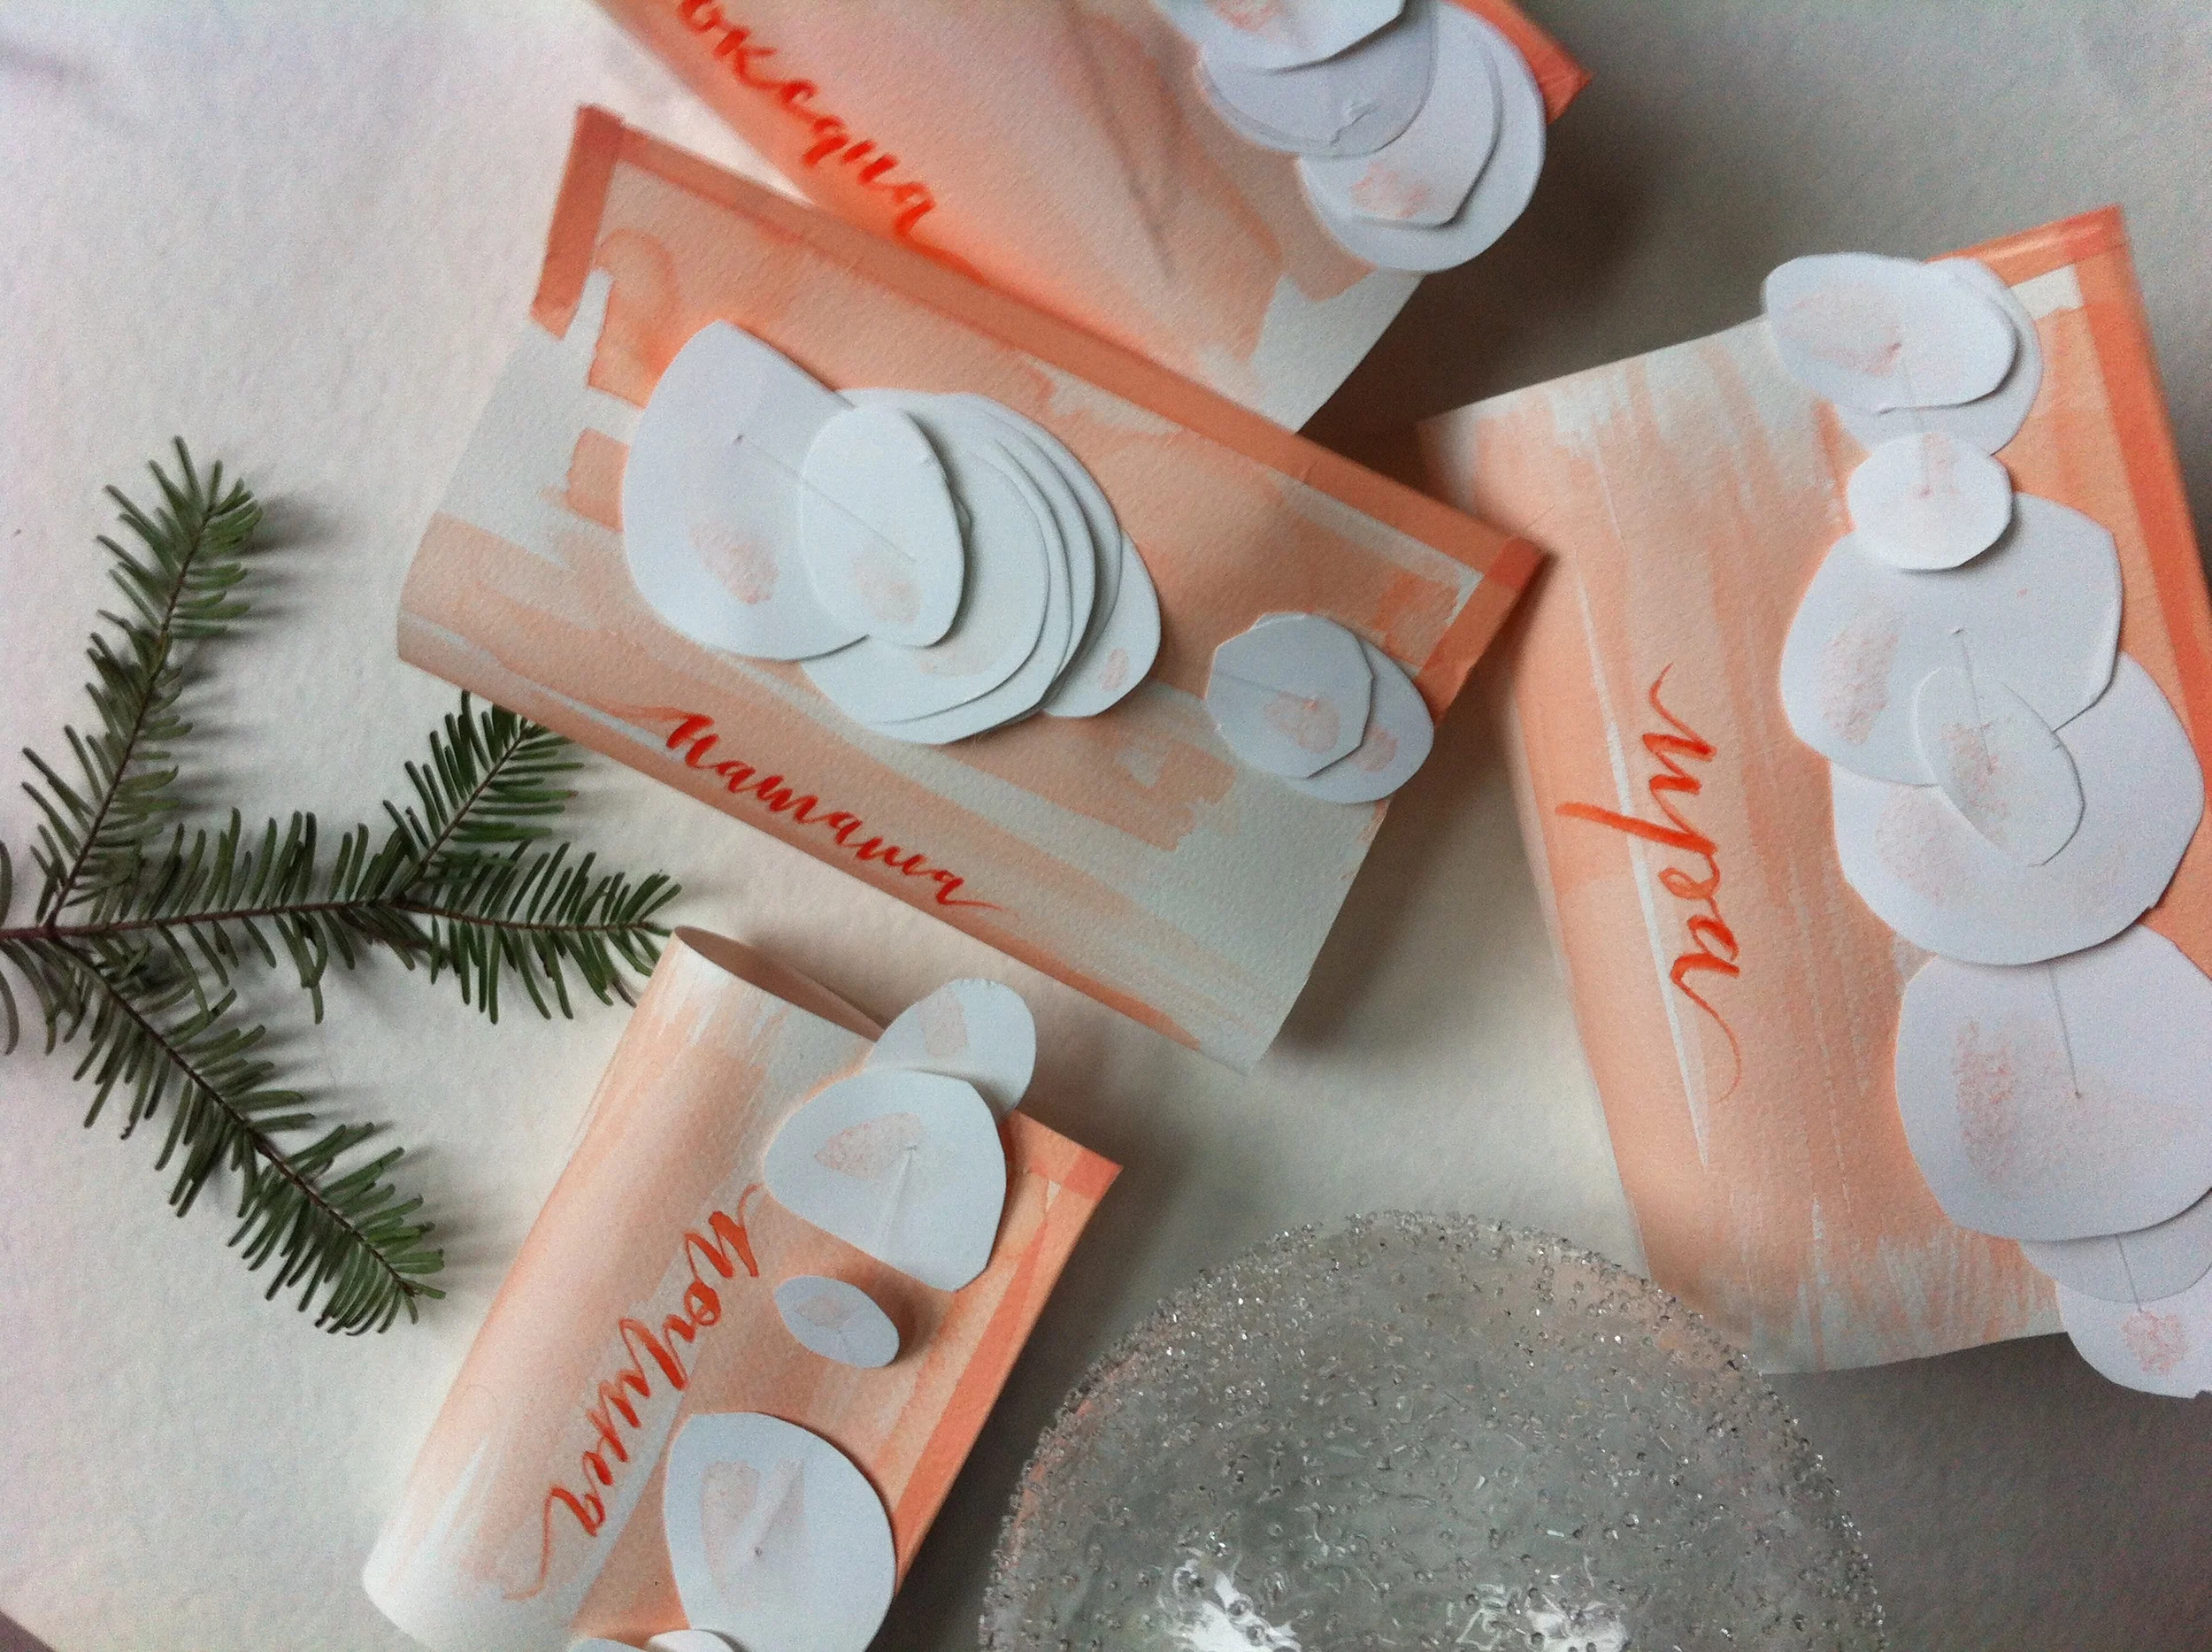
- IKEA drawing paper
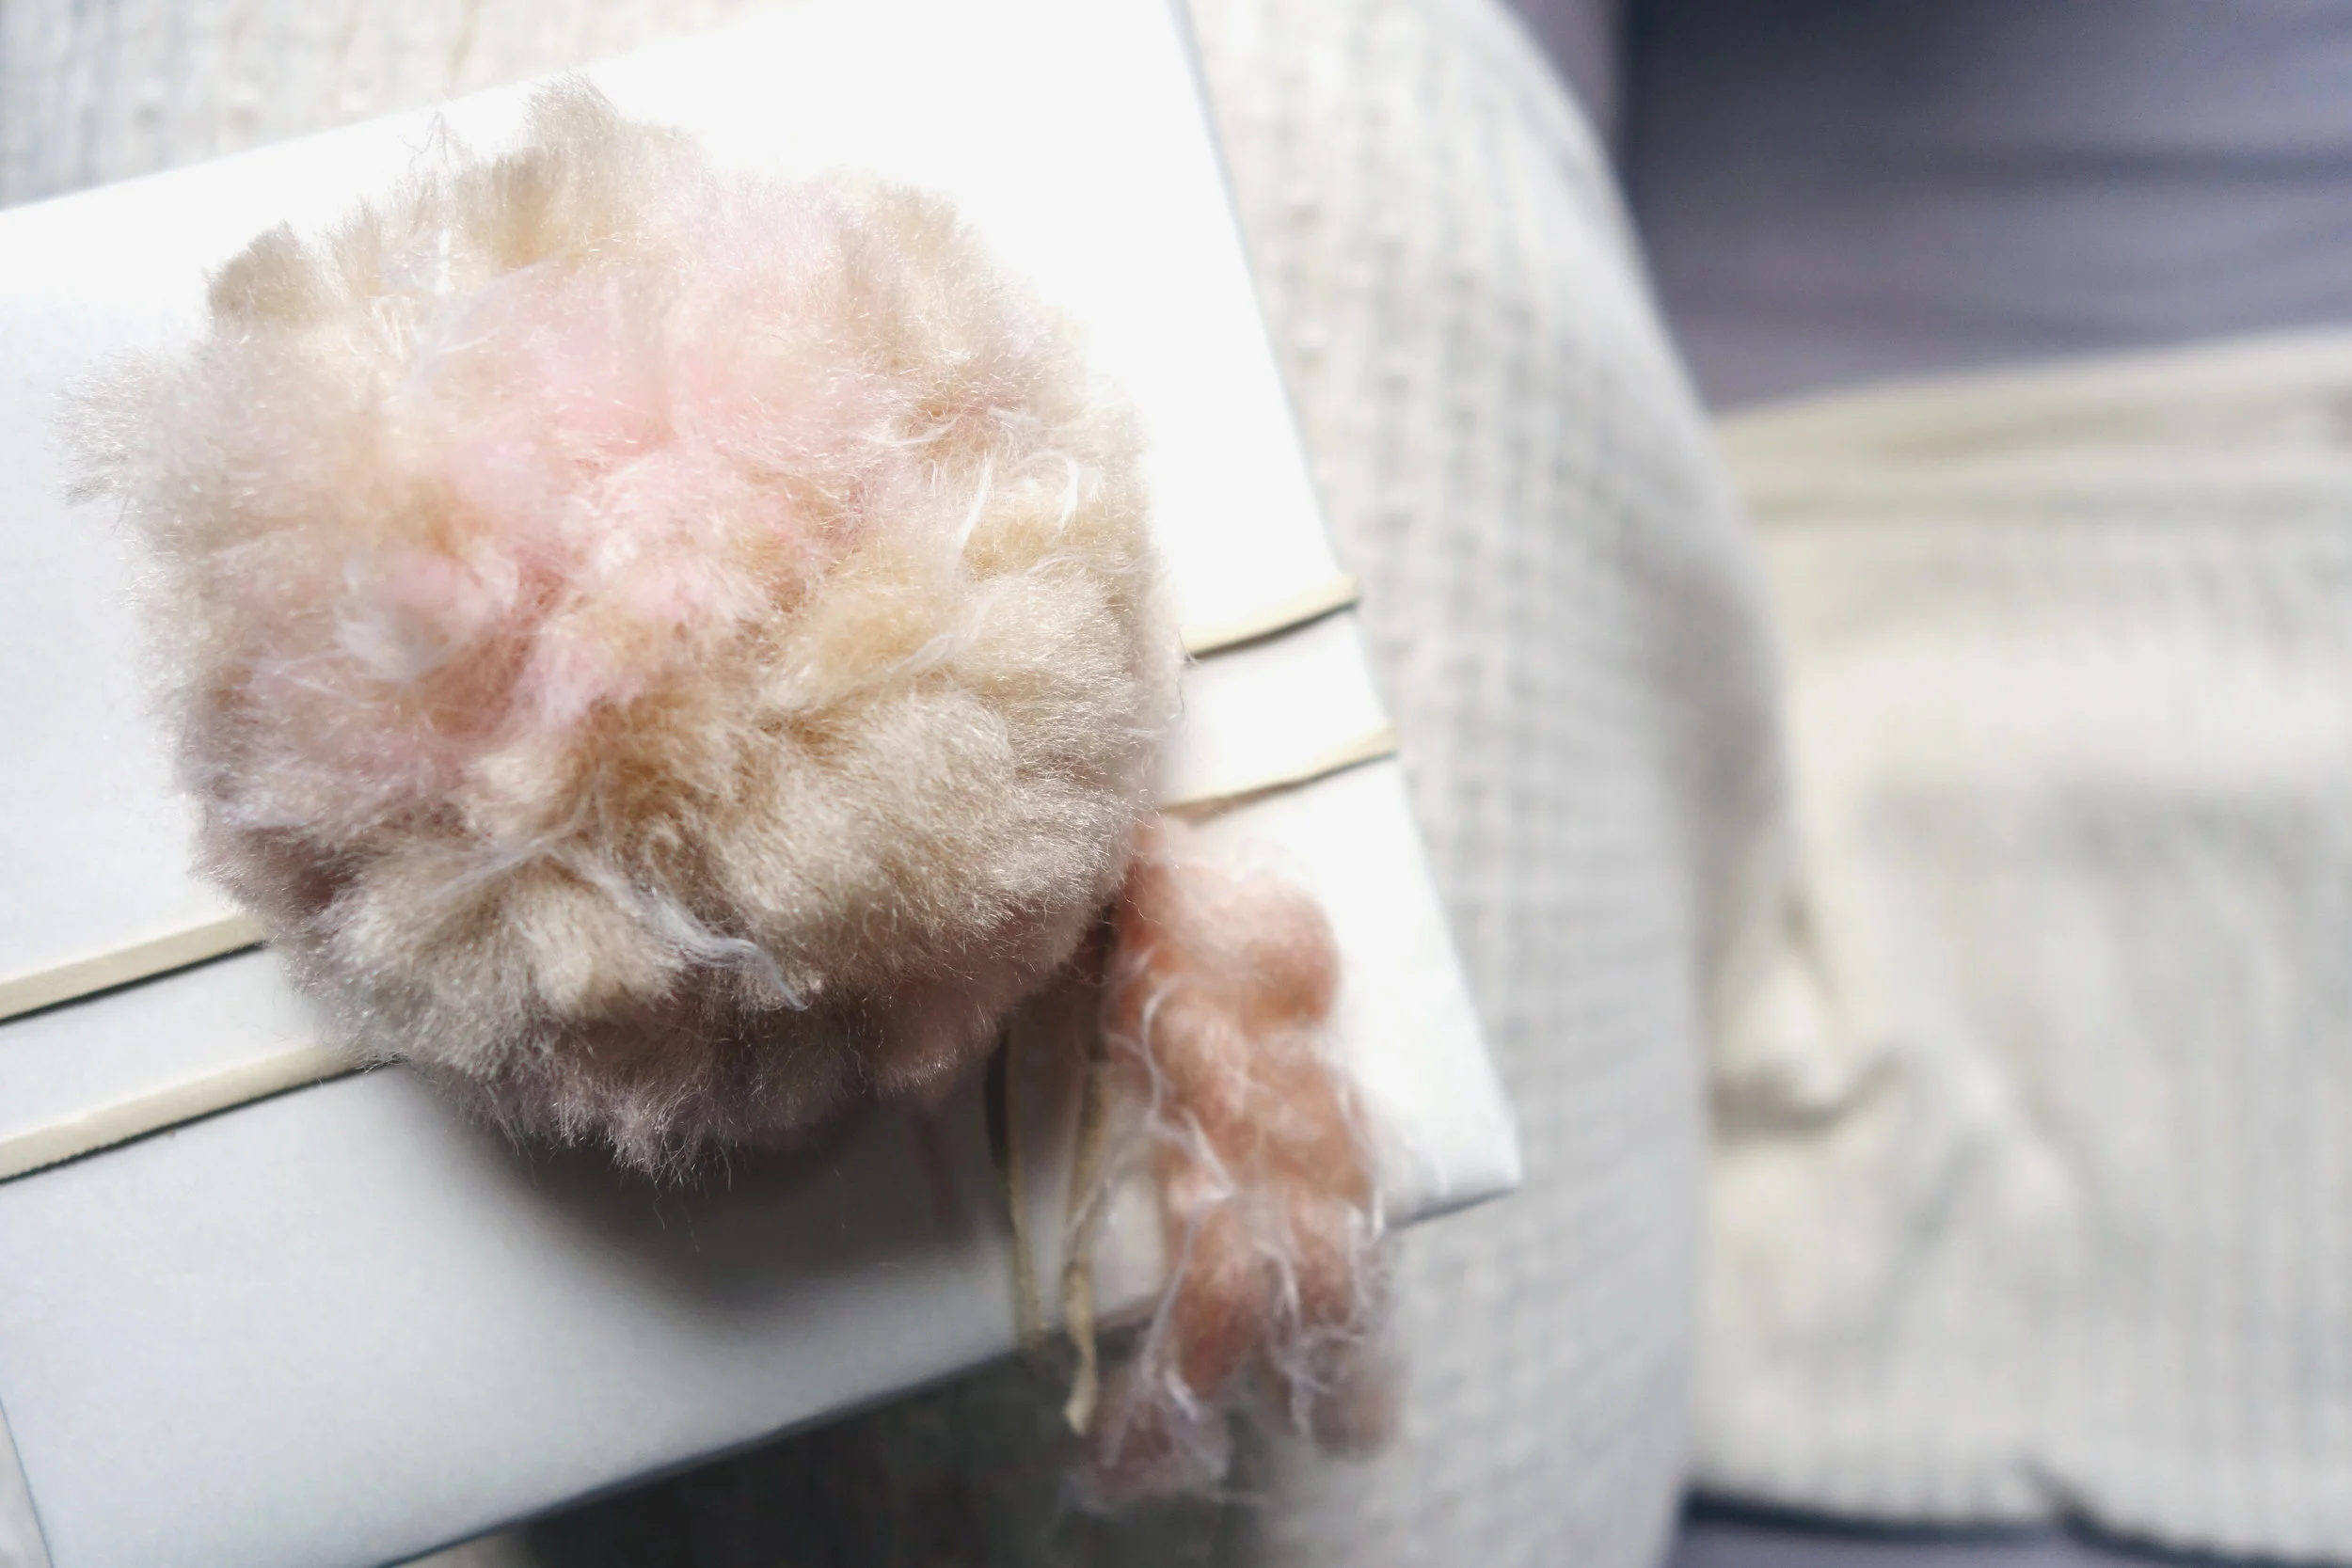
- fluffy pastel yarn (here's the one i used in the color "ramble")
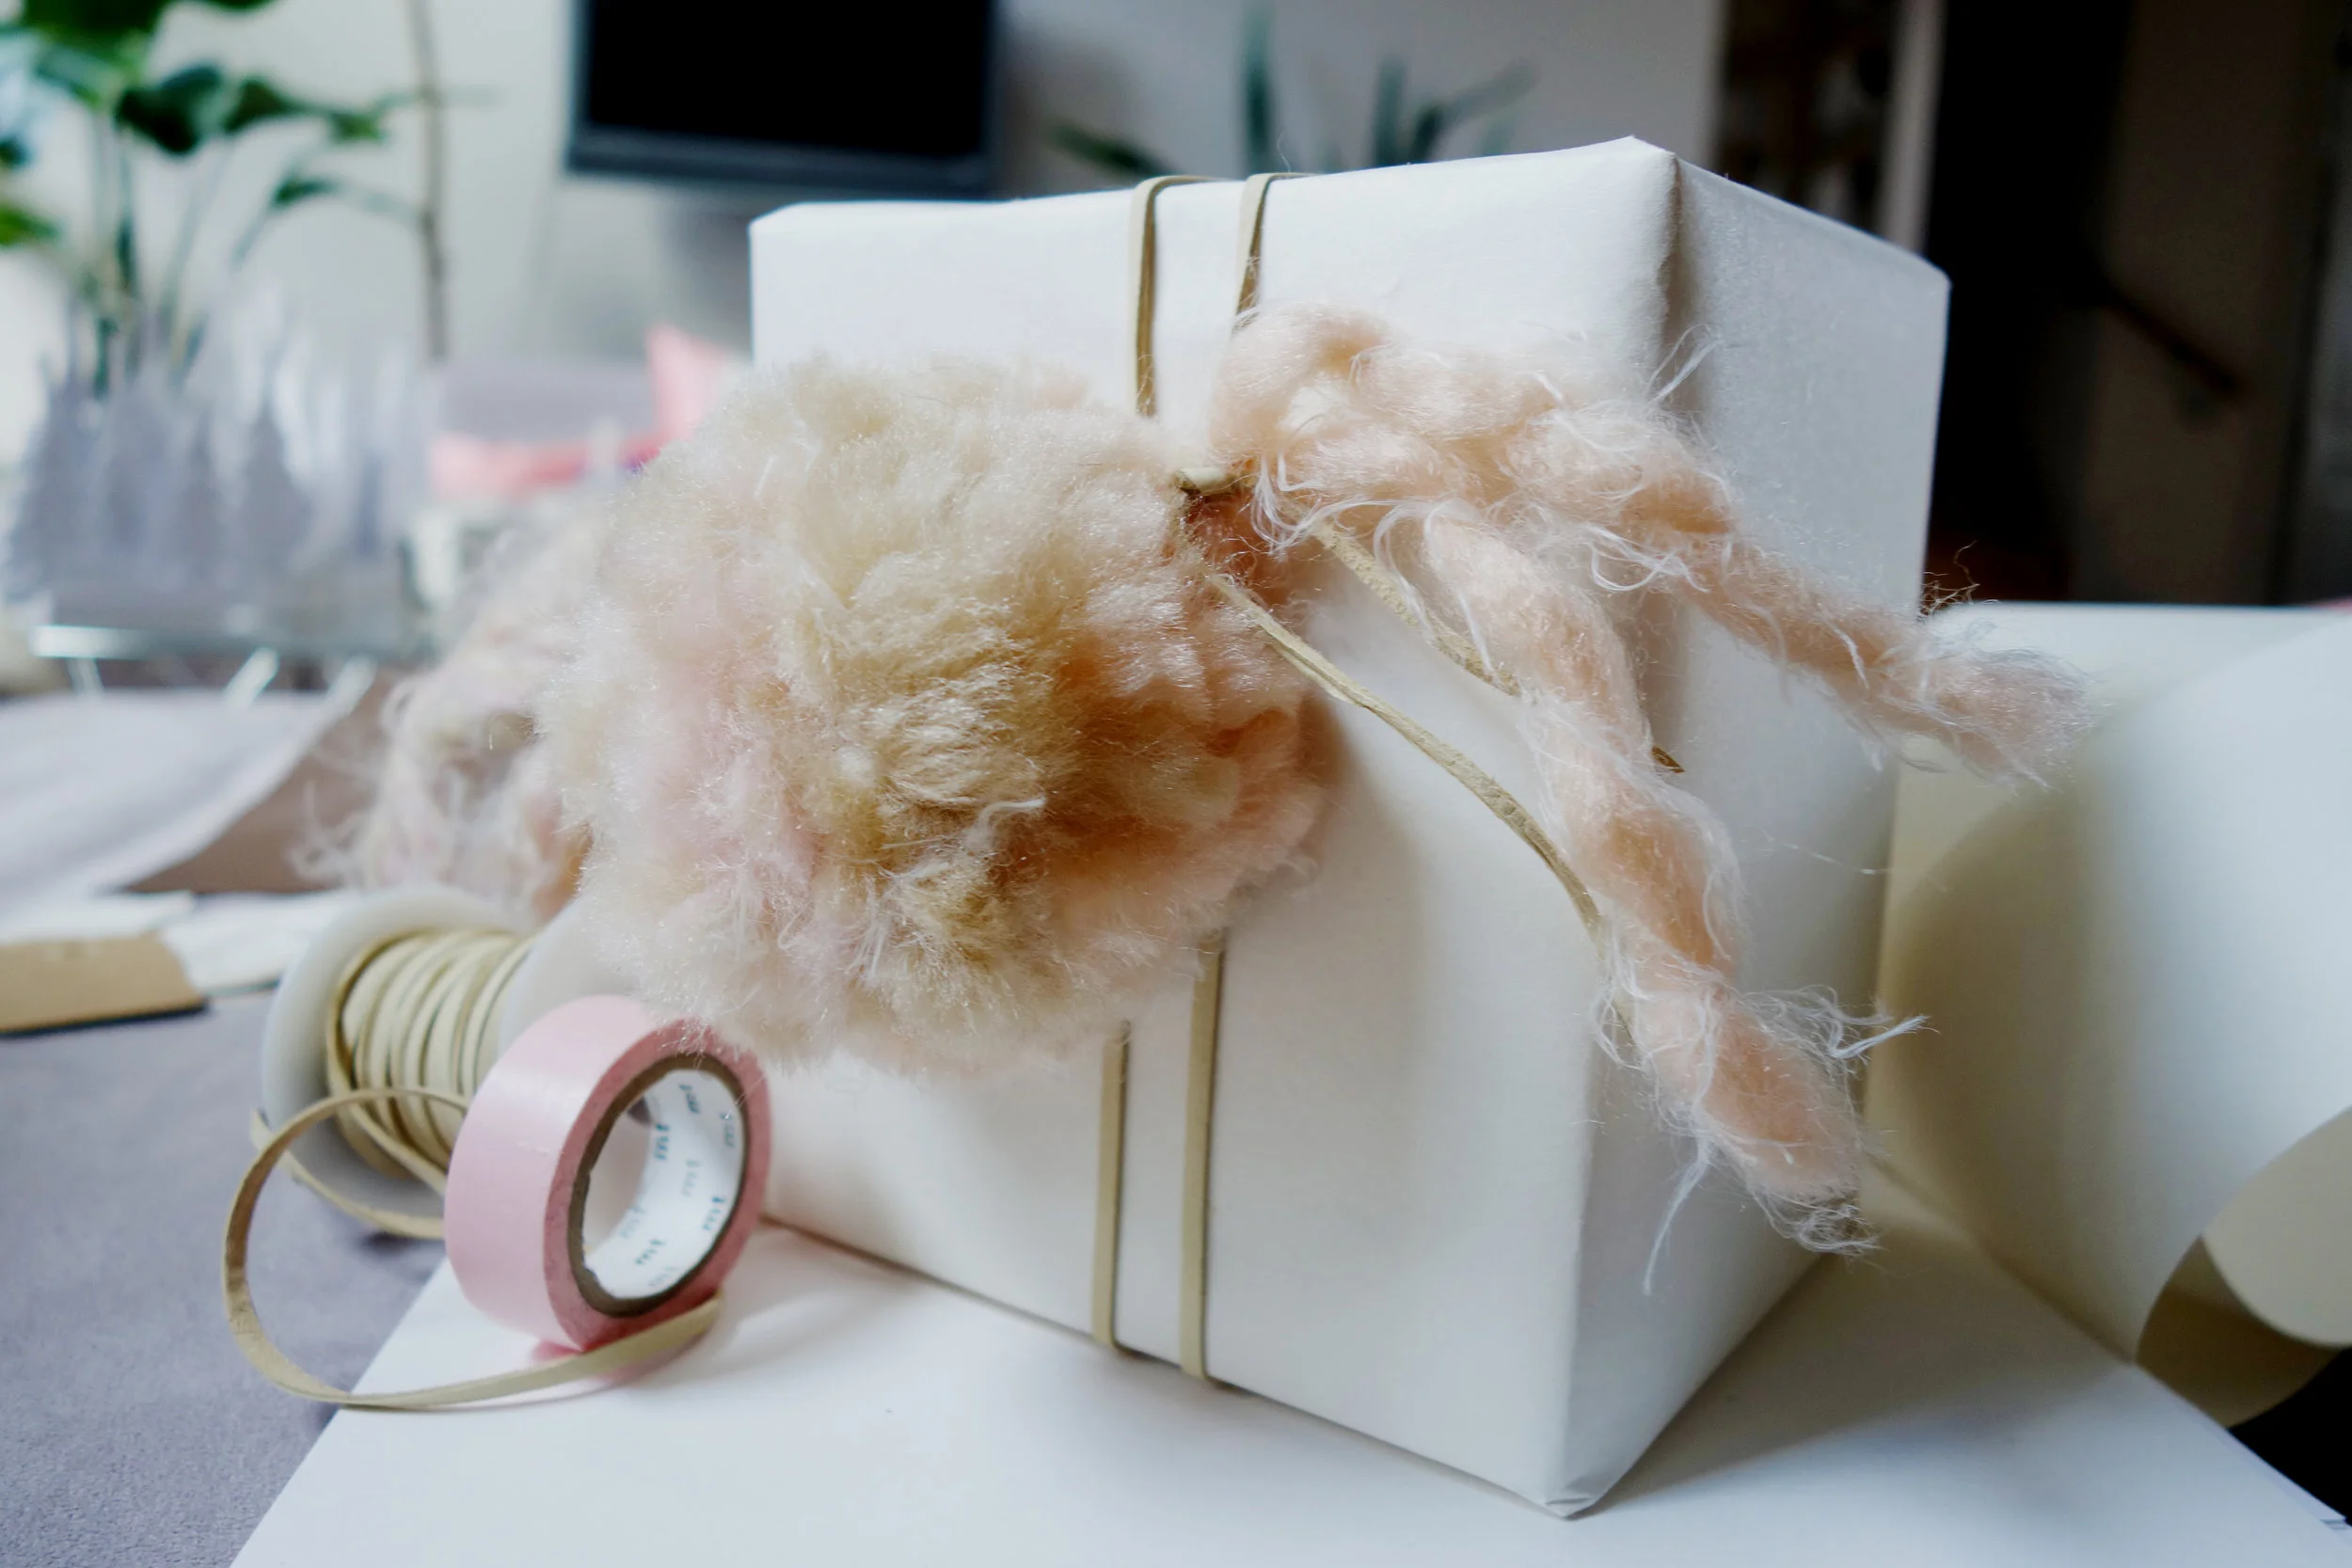
- pastel pink washi tape
- leather lace
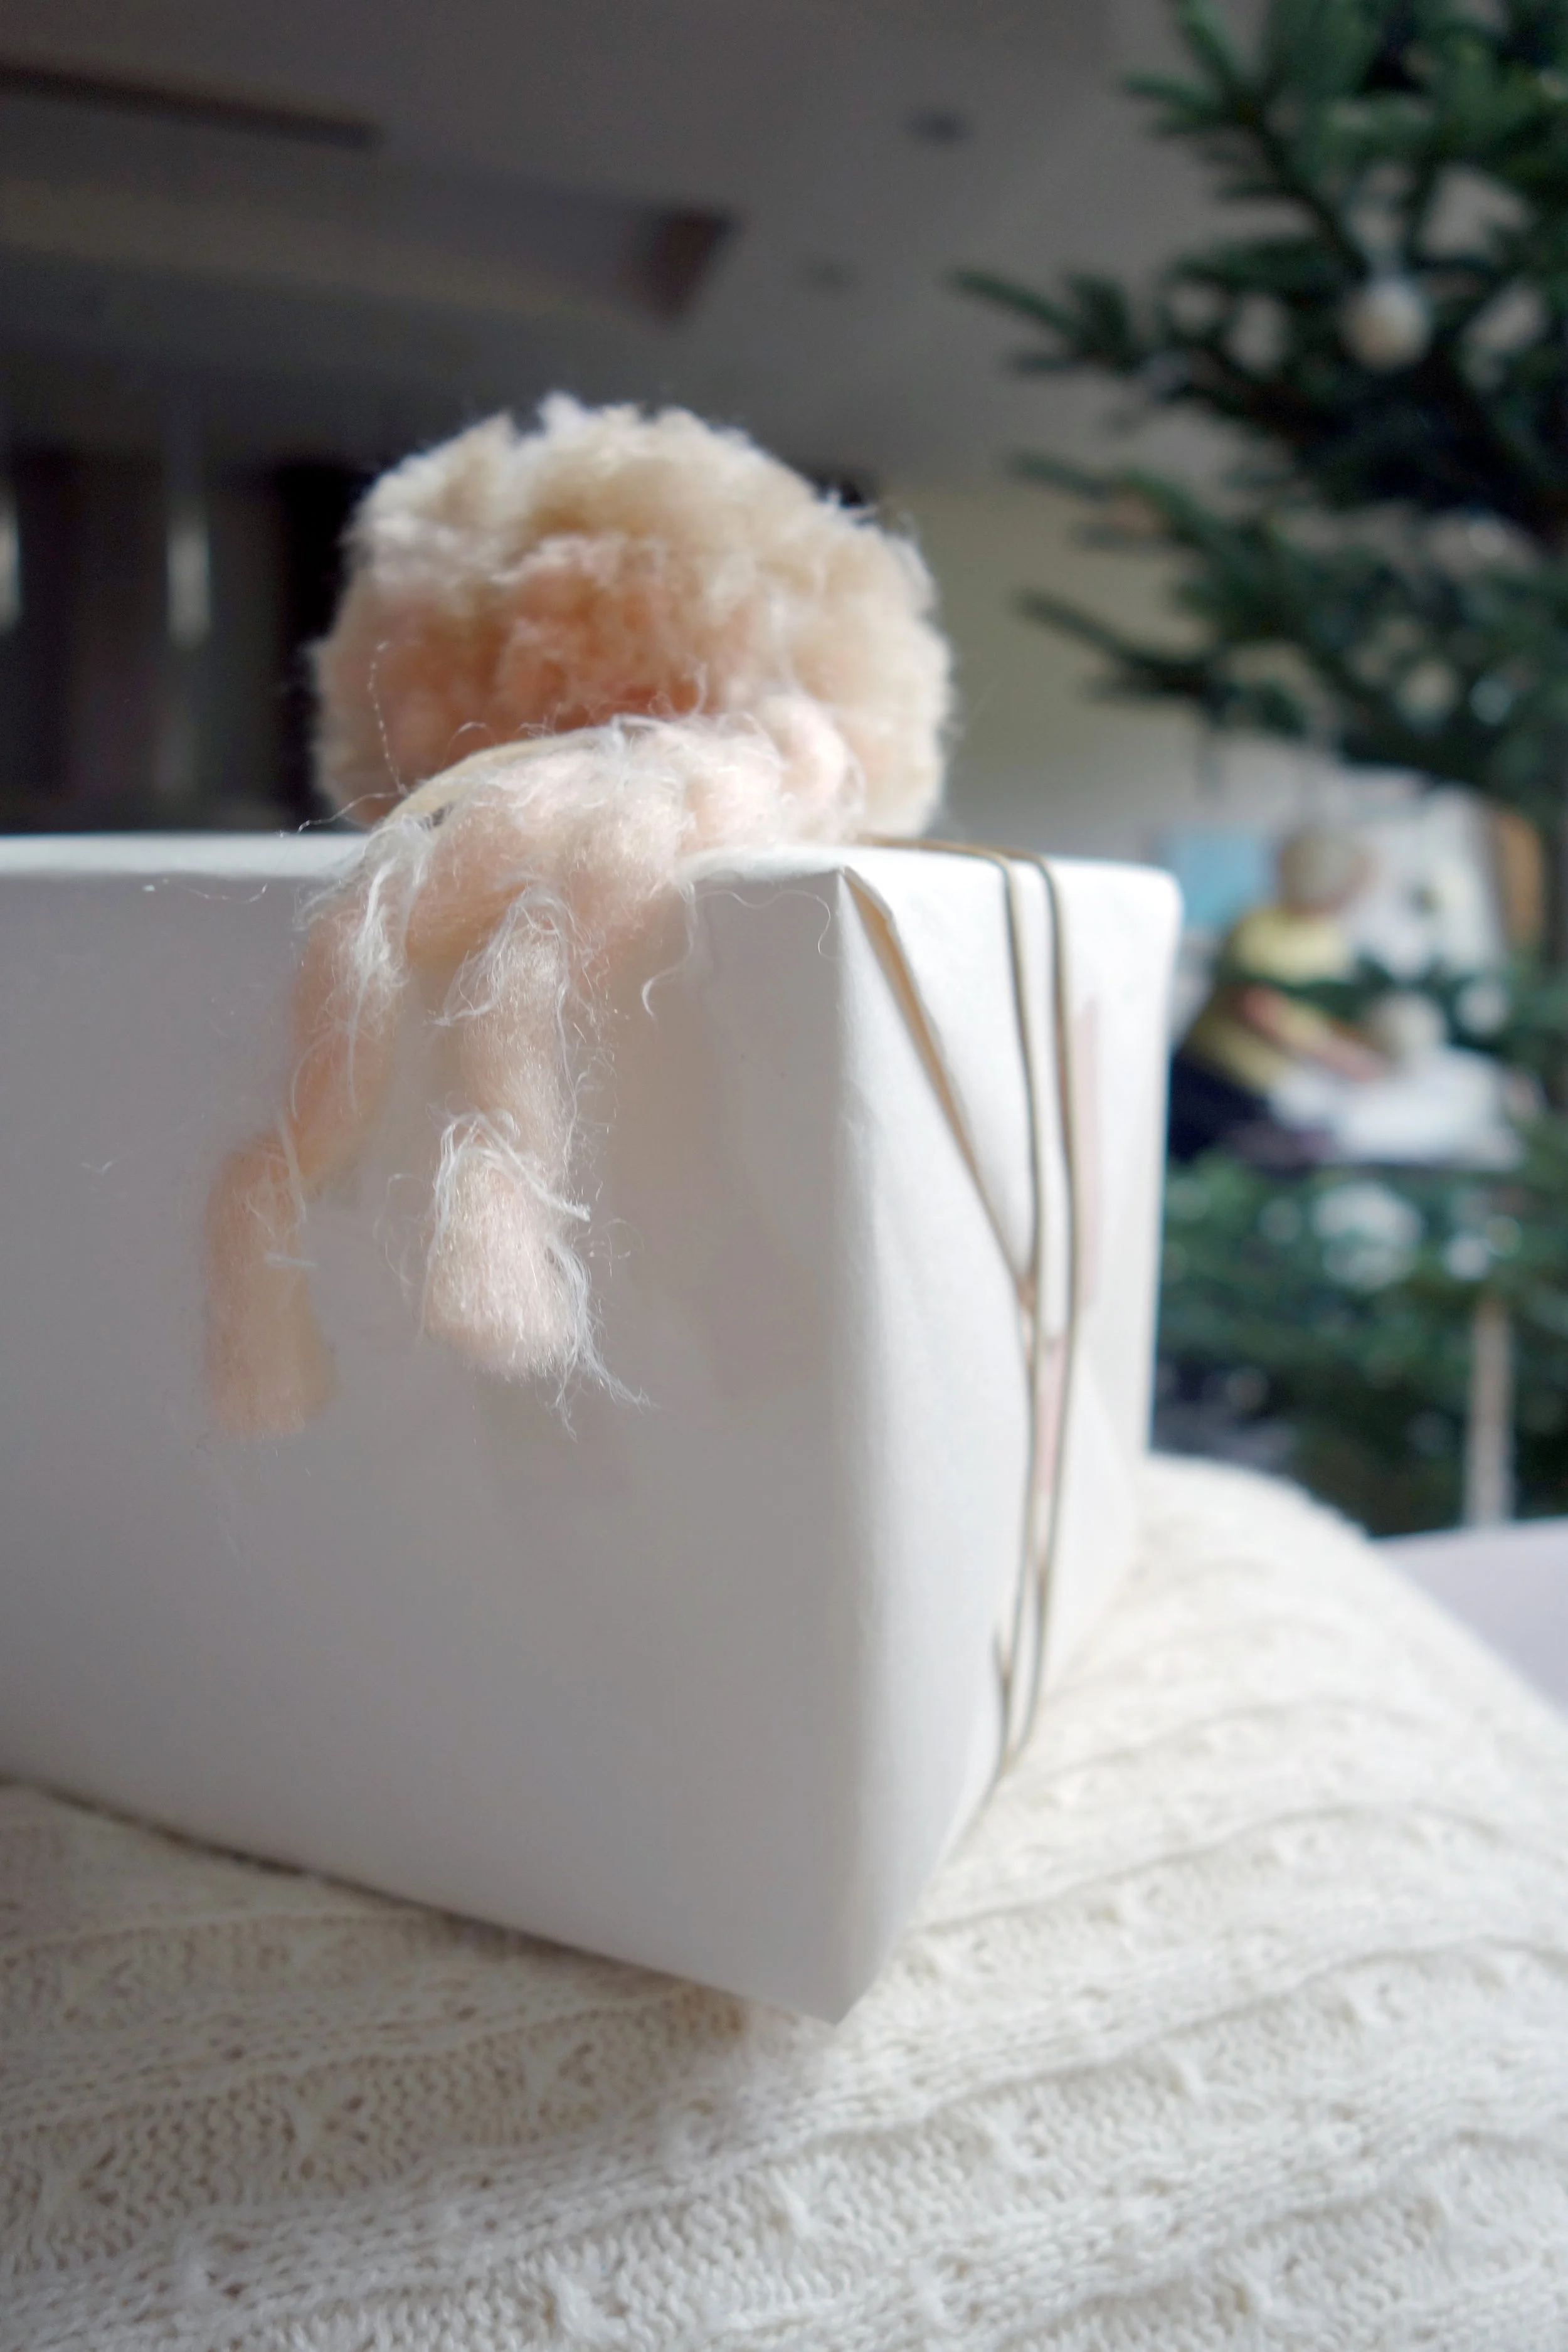
I'm sure most of you have made a pom pom at some point. Here's a quick and easy tutorial, you know, just in case. I just used my hand to wind the yarn (four fingers for a large pom pom and two fingers for a smaller pom pom). Using a very fluffy/fuzzy yarn makes for a nice puffy pom pom. I did not trim the yarn on one side so that the pom pom would lay flat on top of the box.
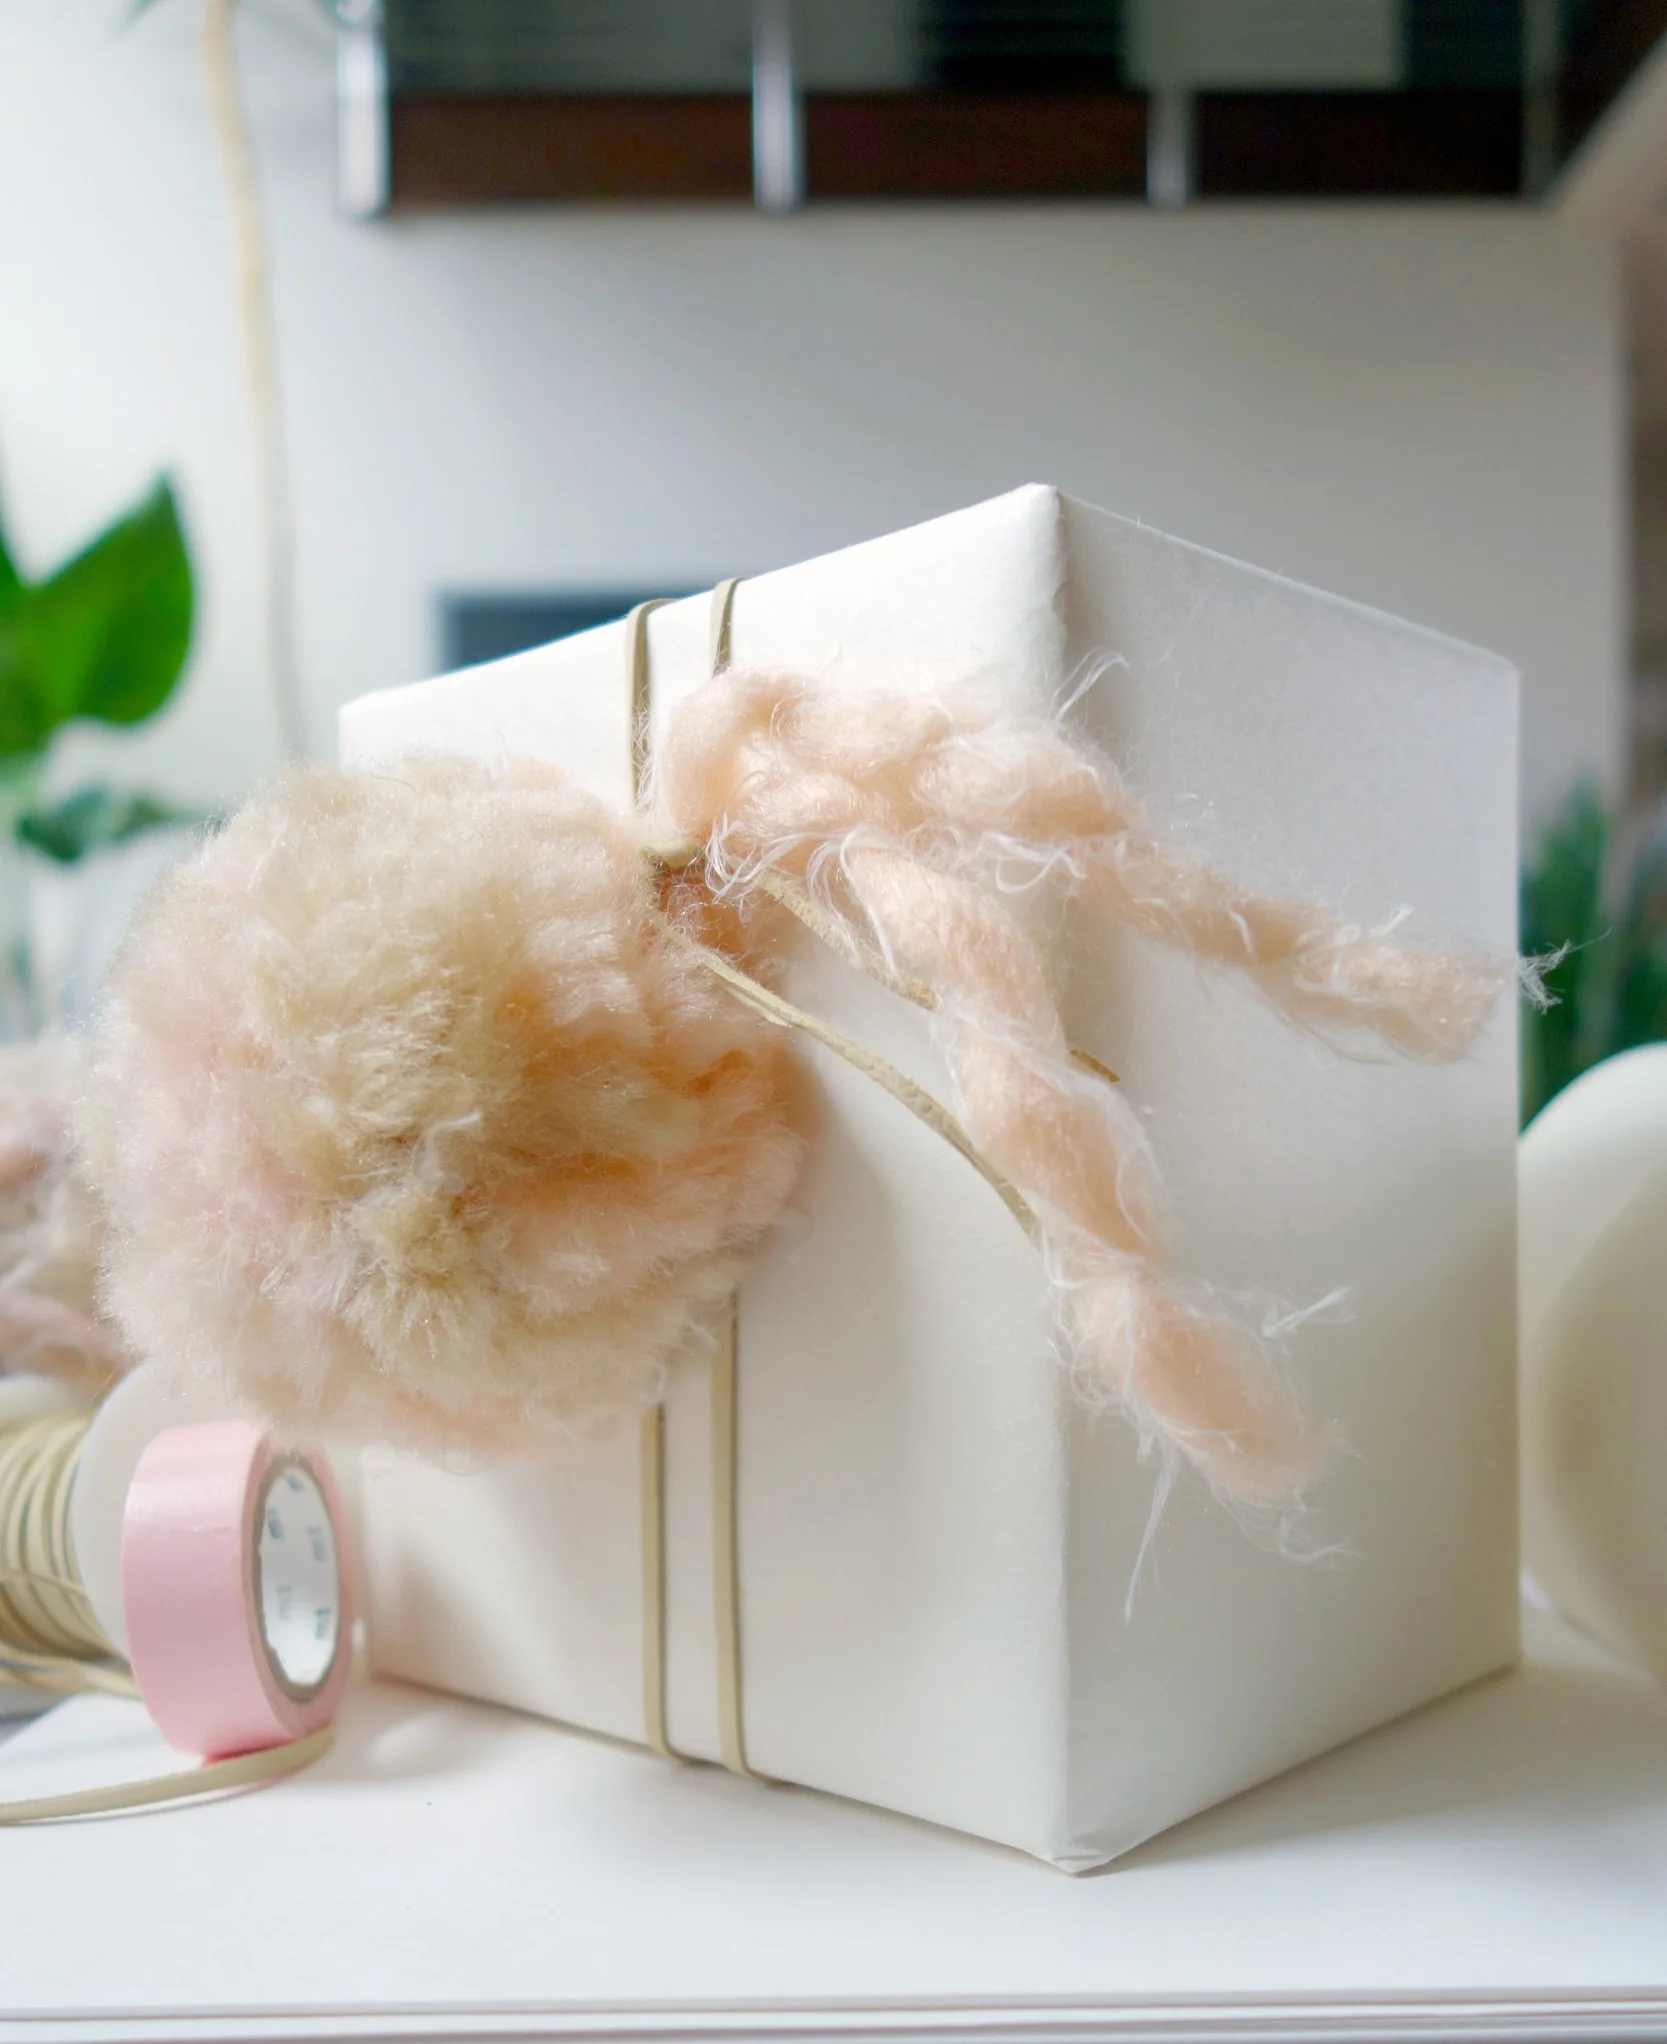
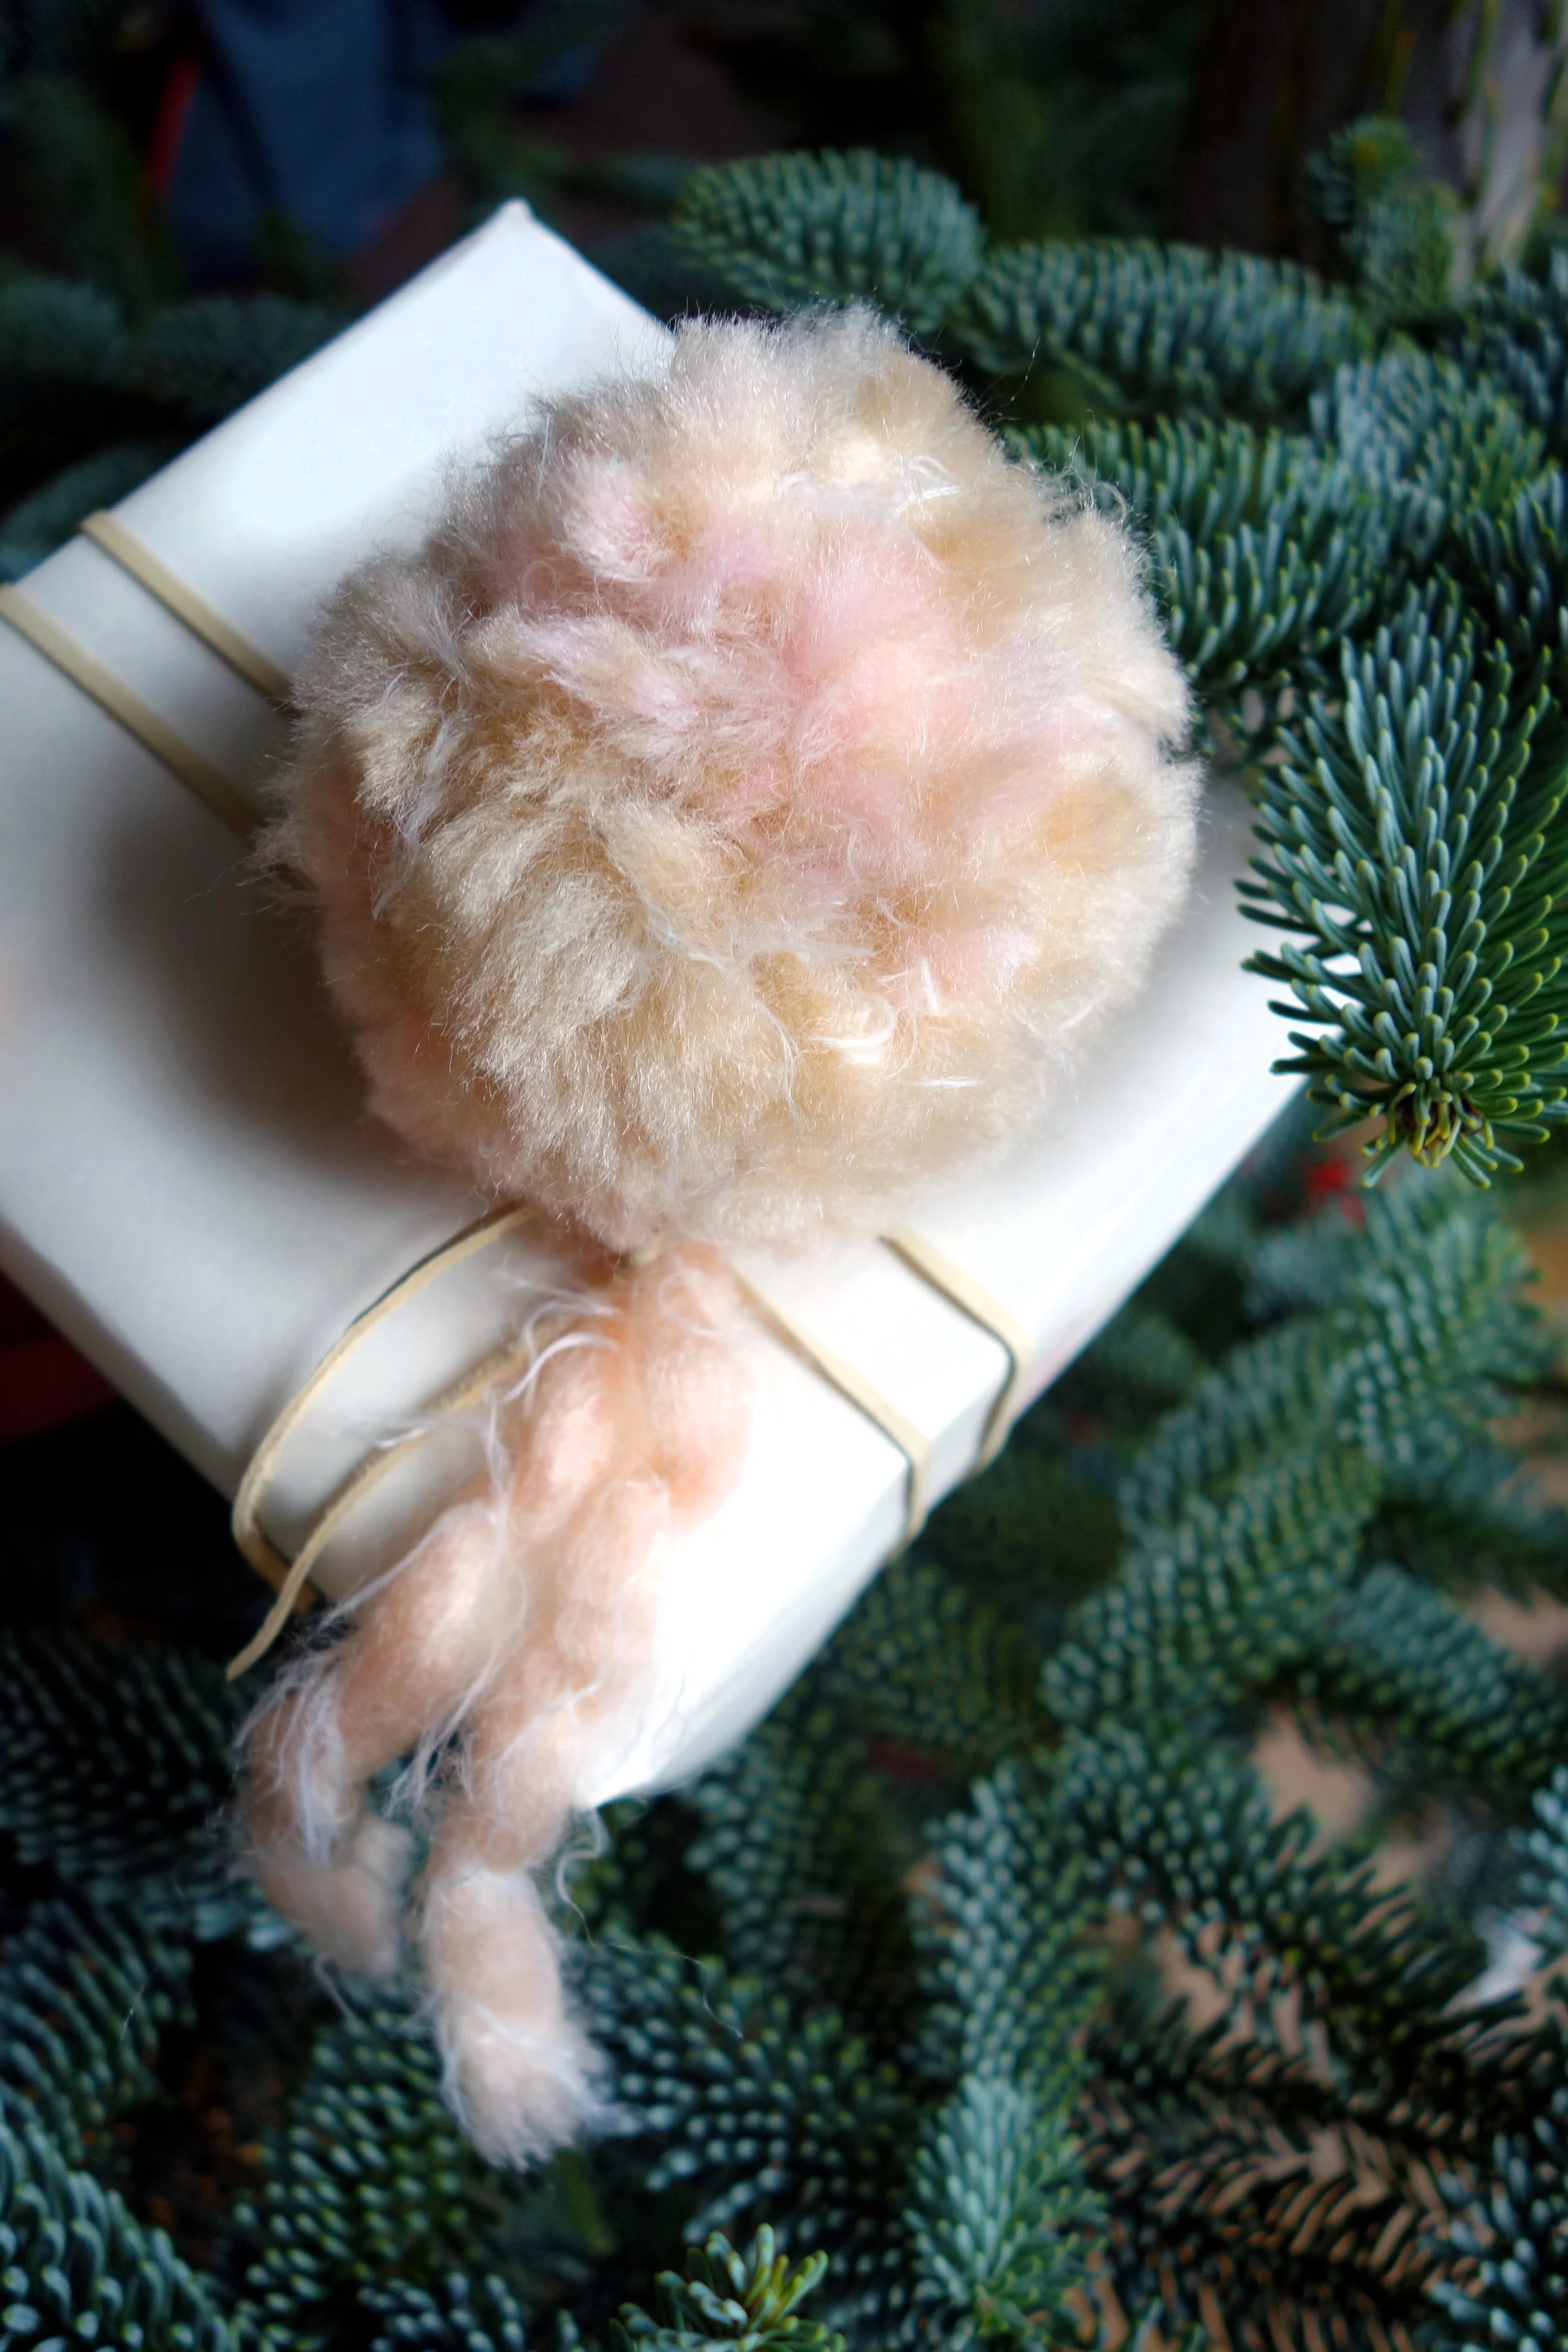
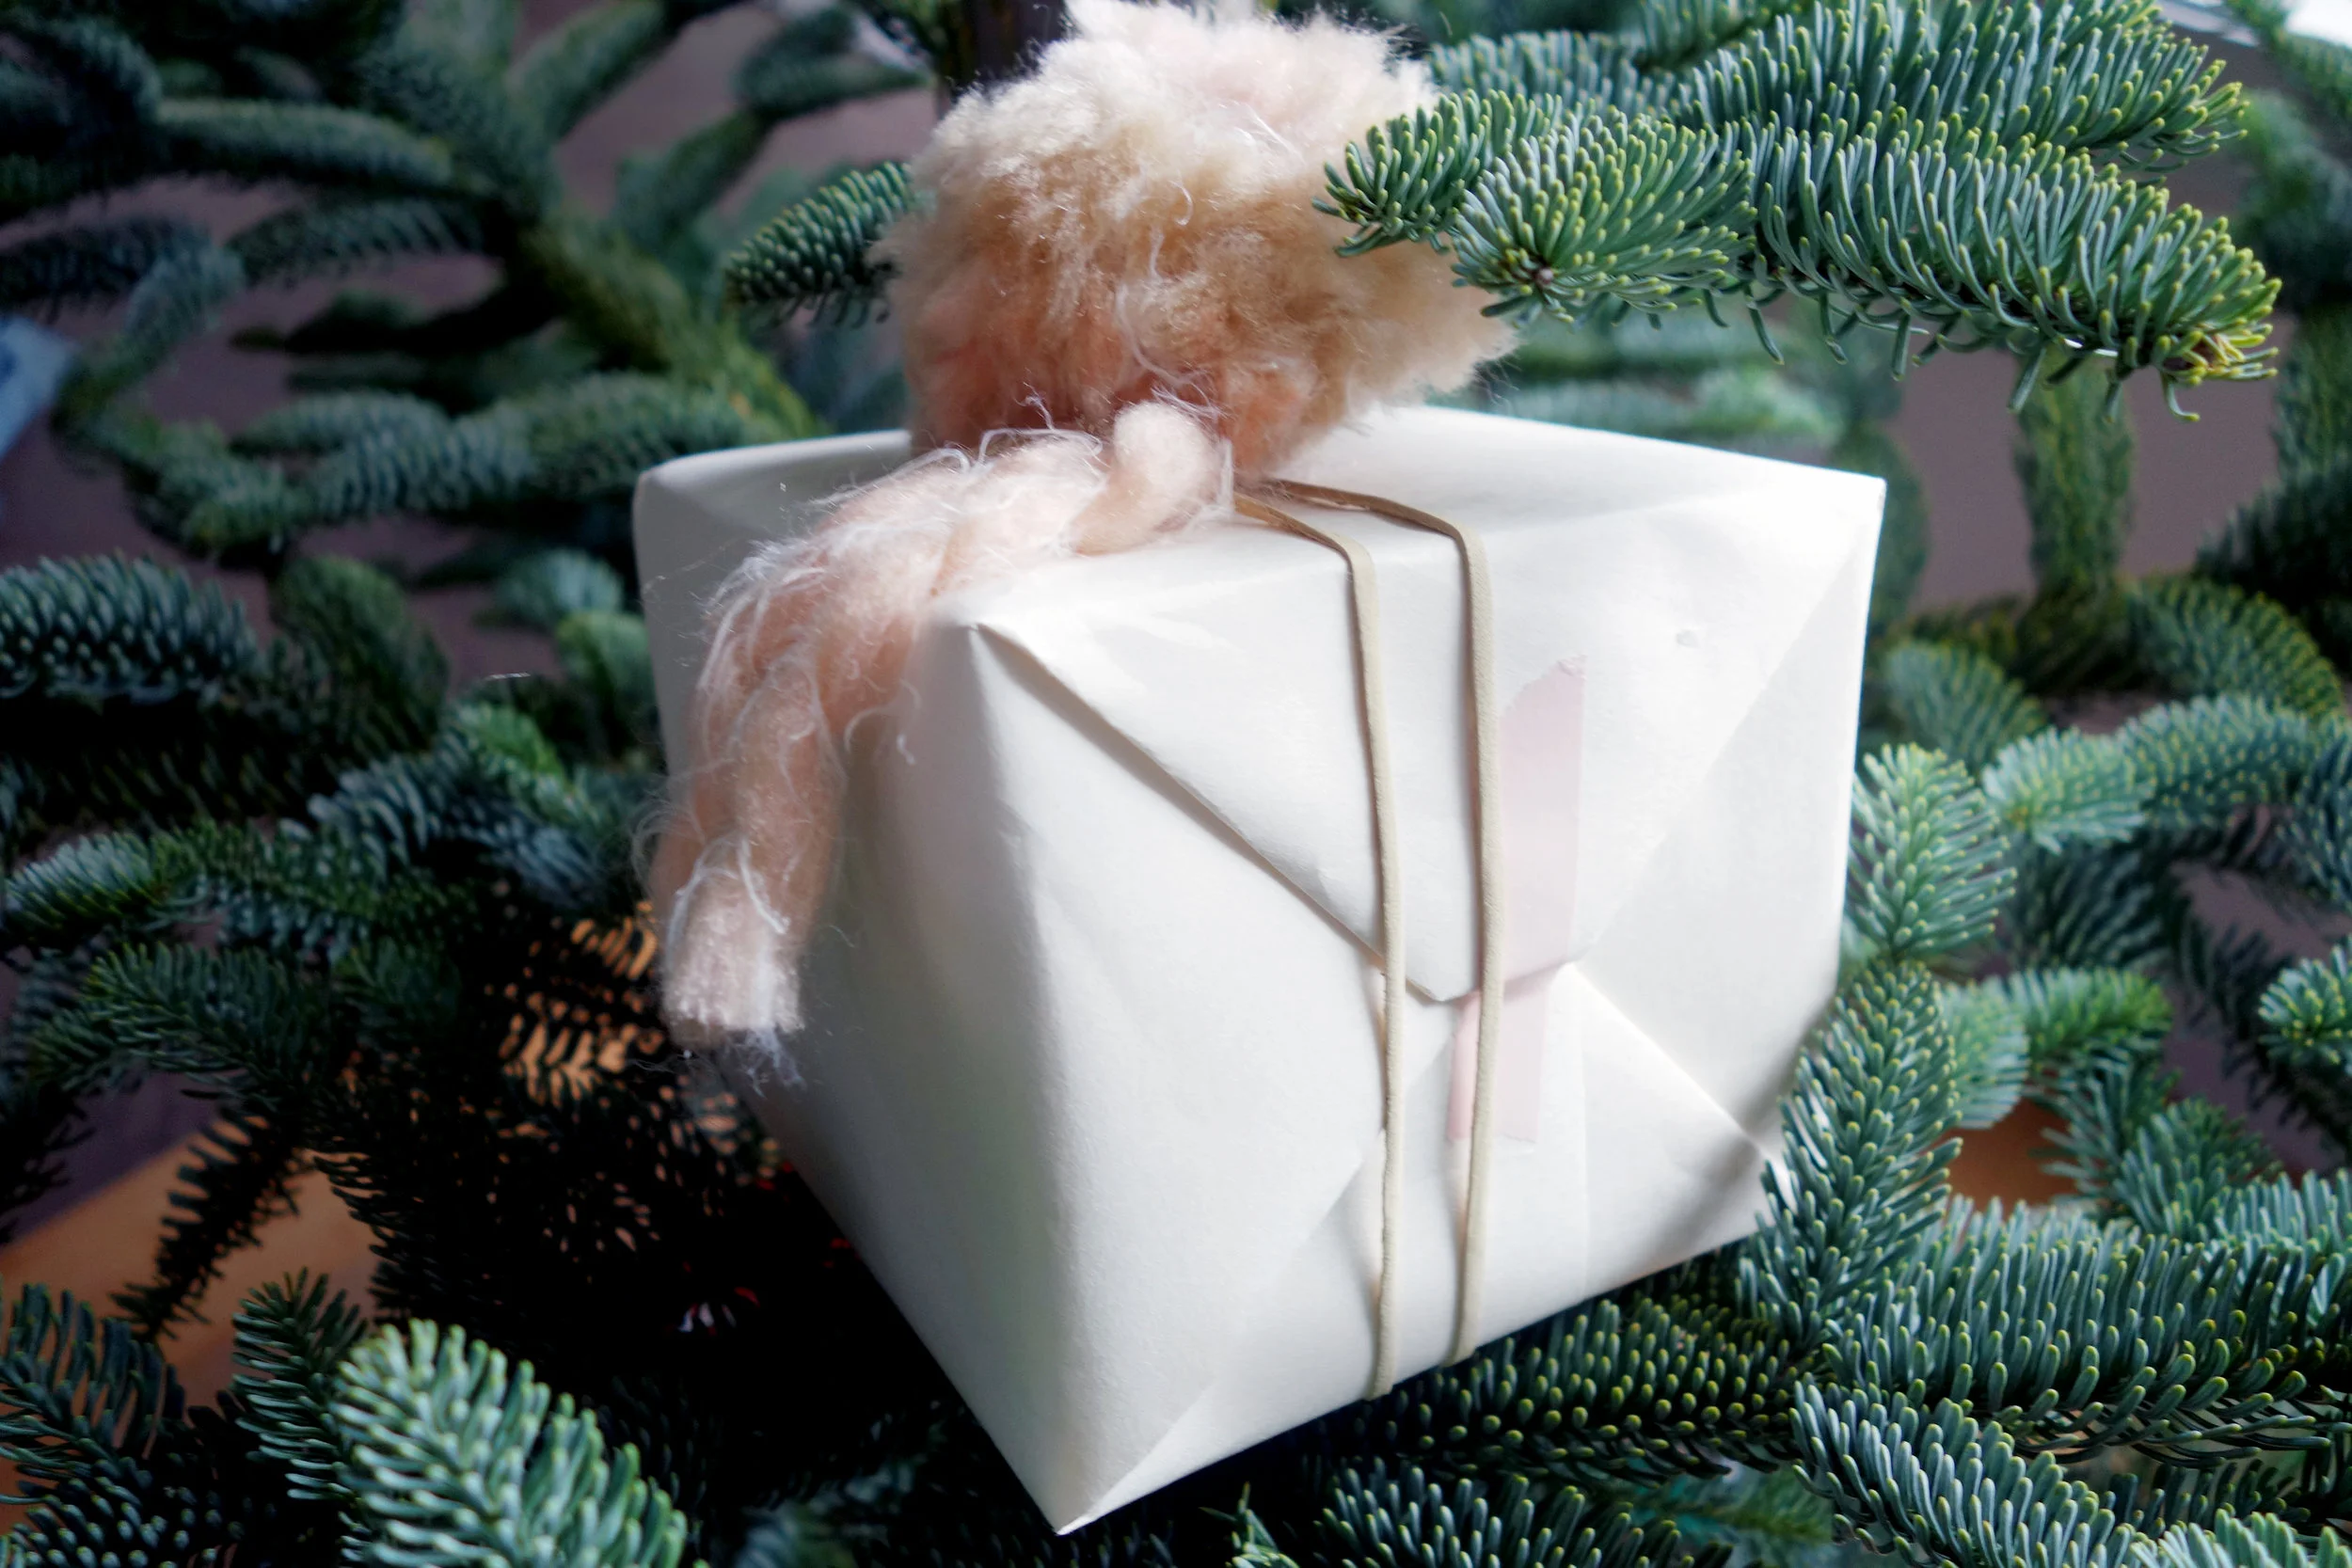
This yarn has such an awesome texture to it. Look for thick yarn with a unique texture. Ombre yarn or yarn with multiple colors is a bonus. It creates a wonderful blend of colors in your pom pom (and kind of reminds me of ice cream swirls..)


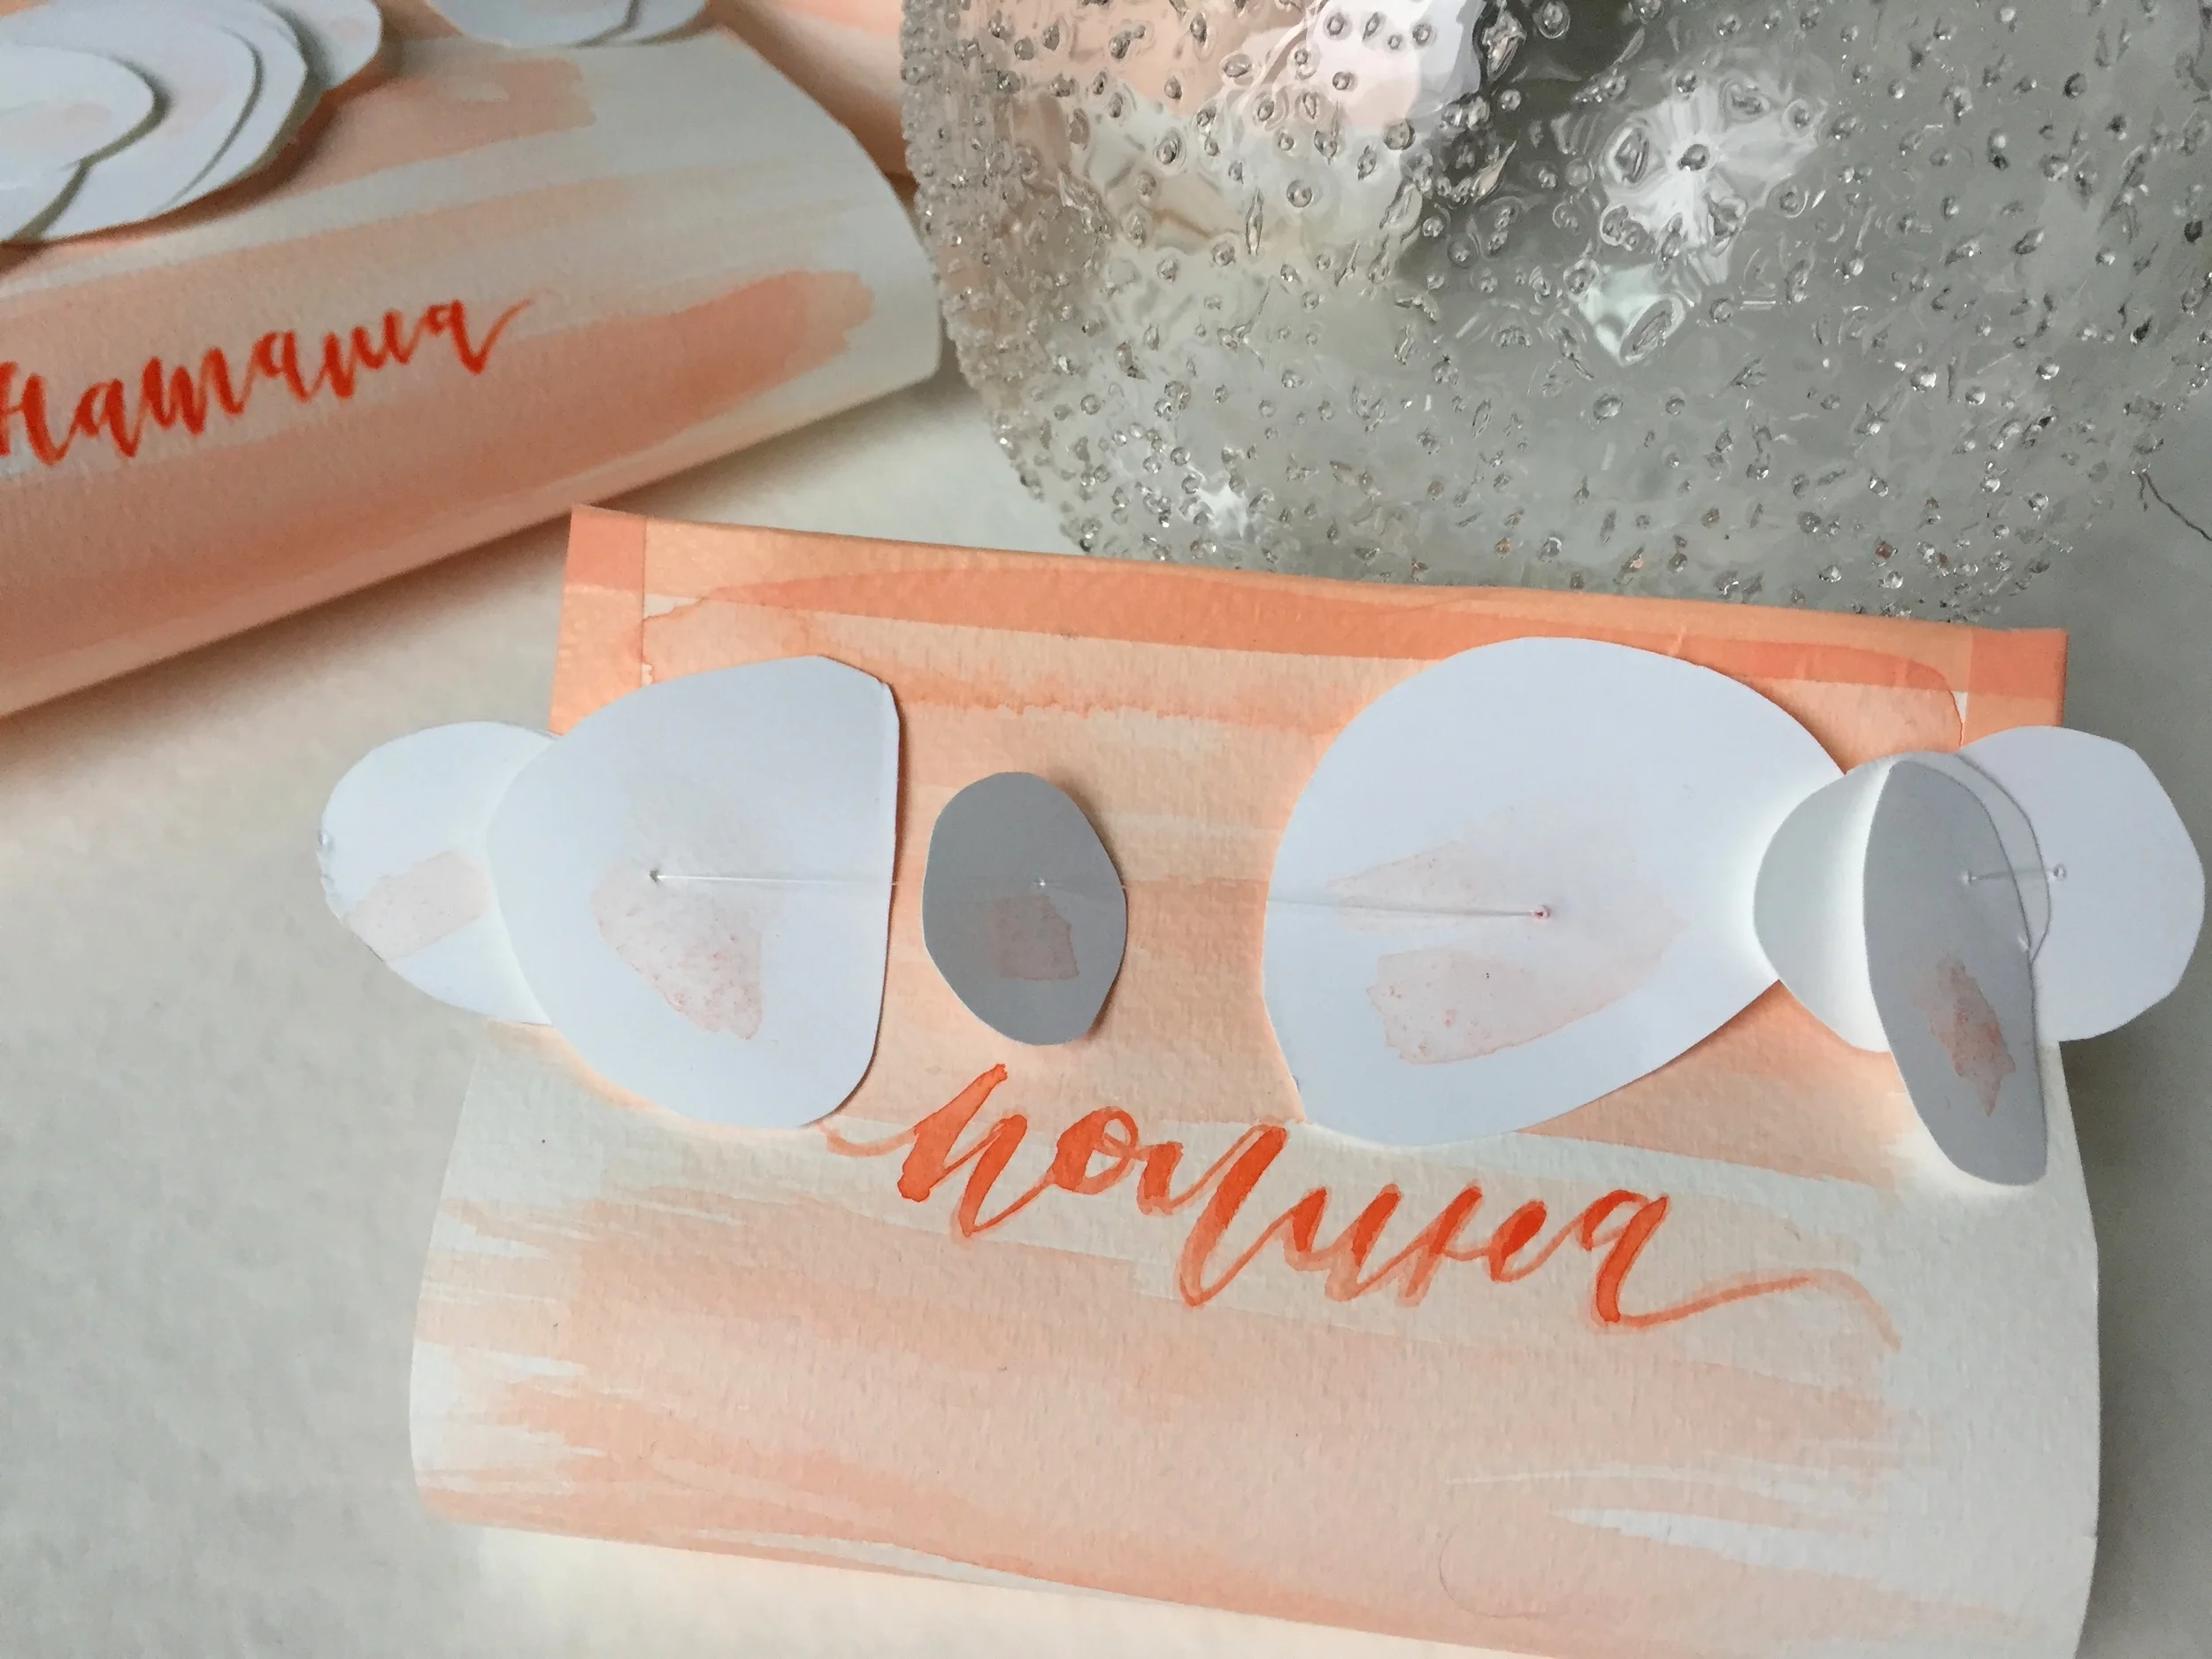
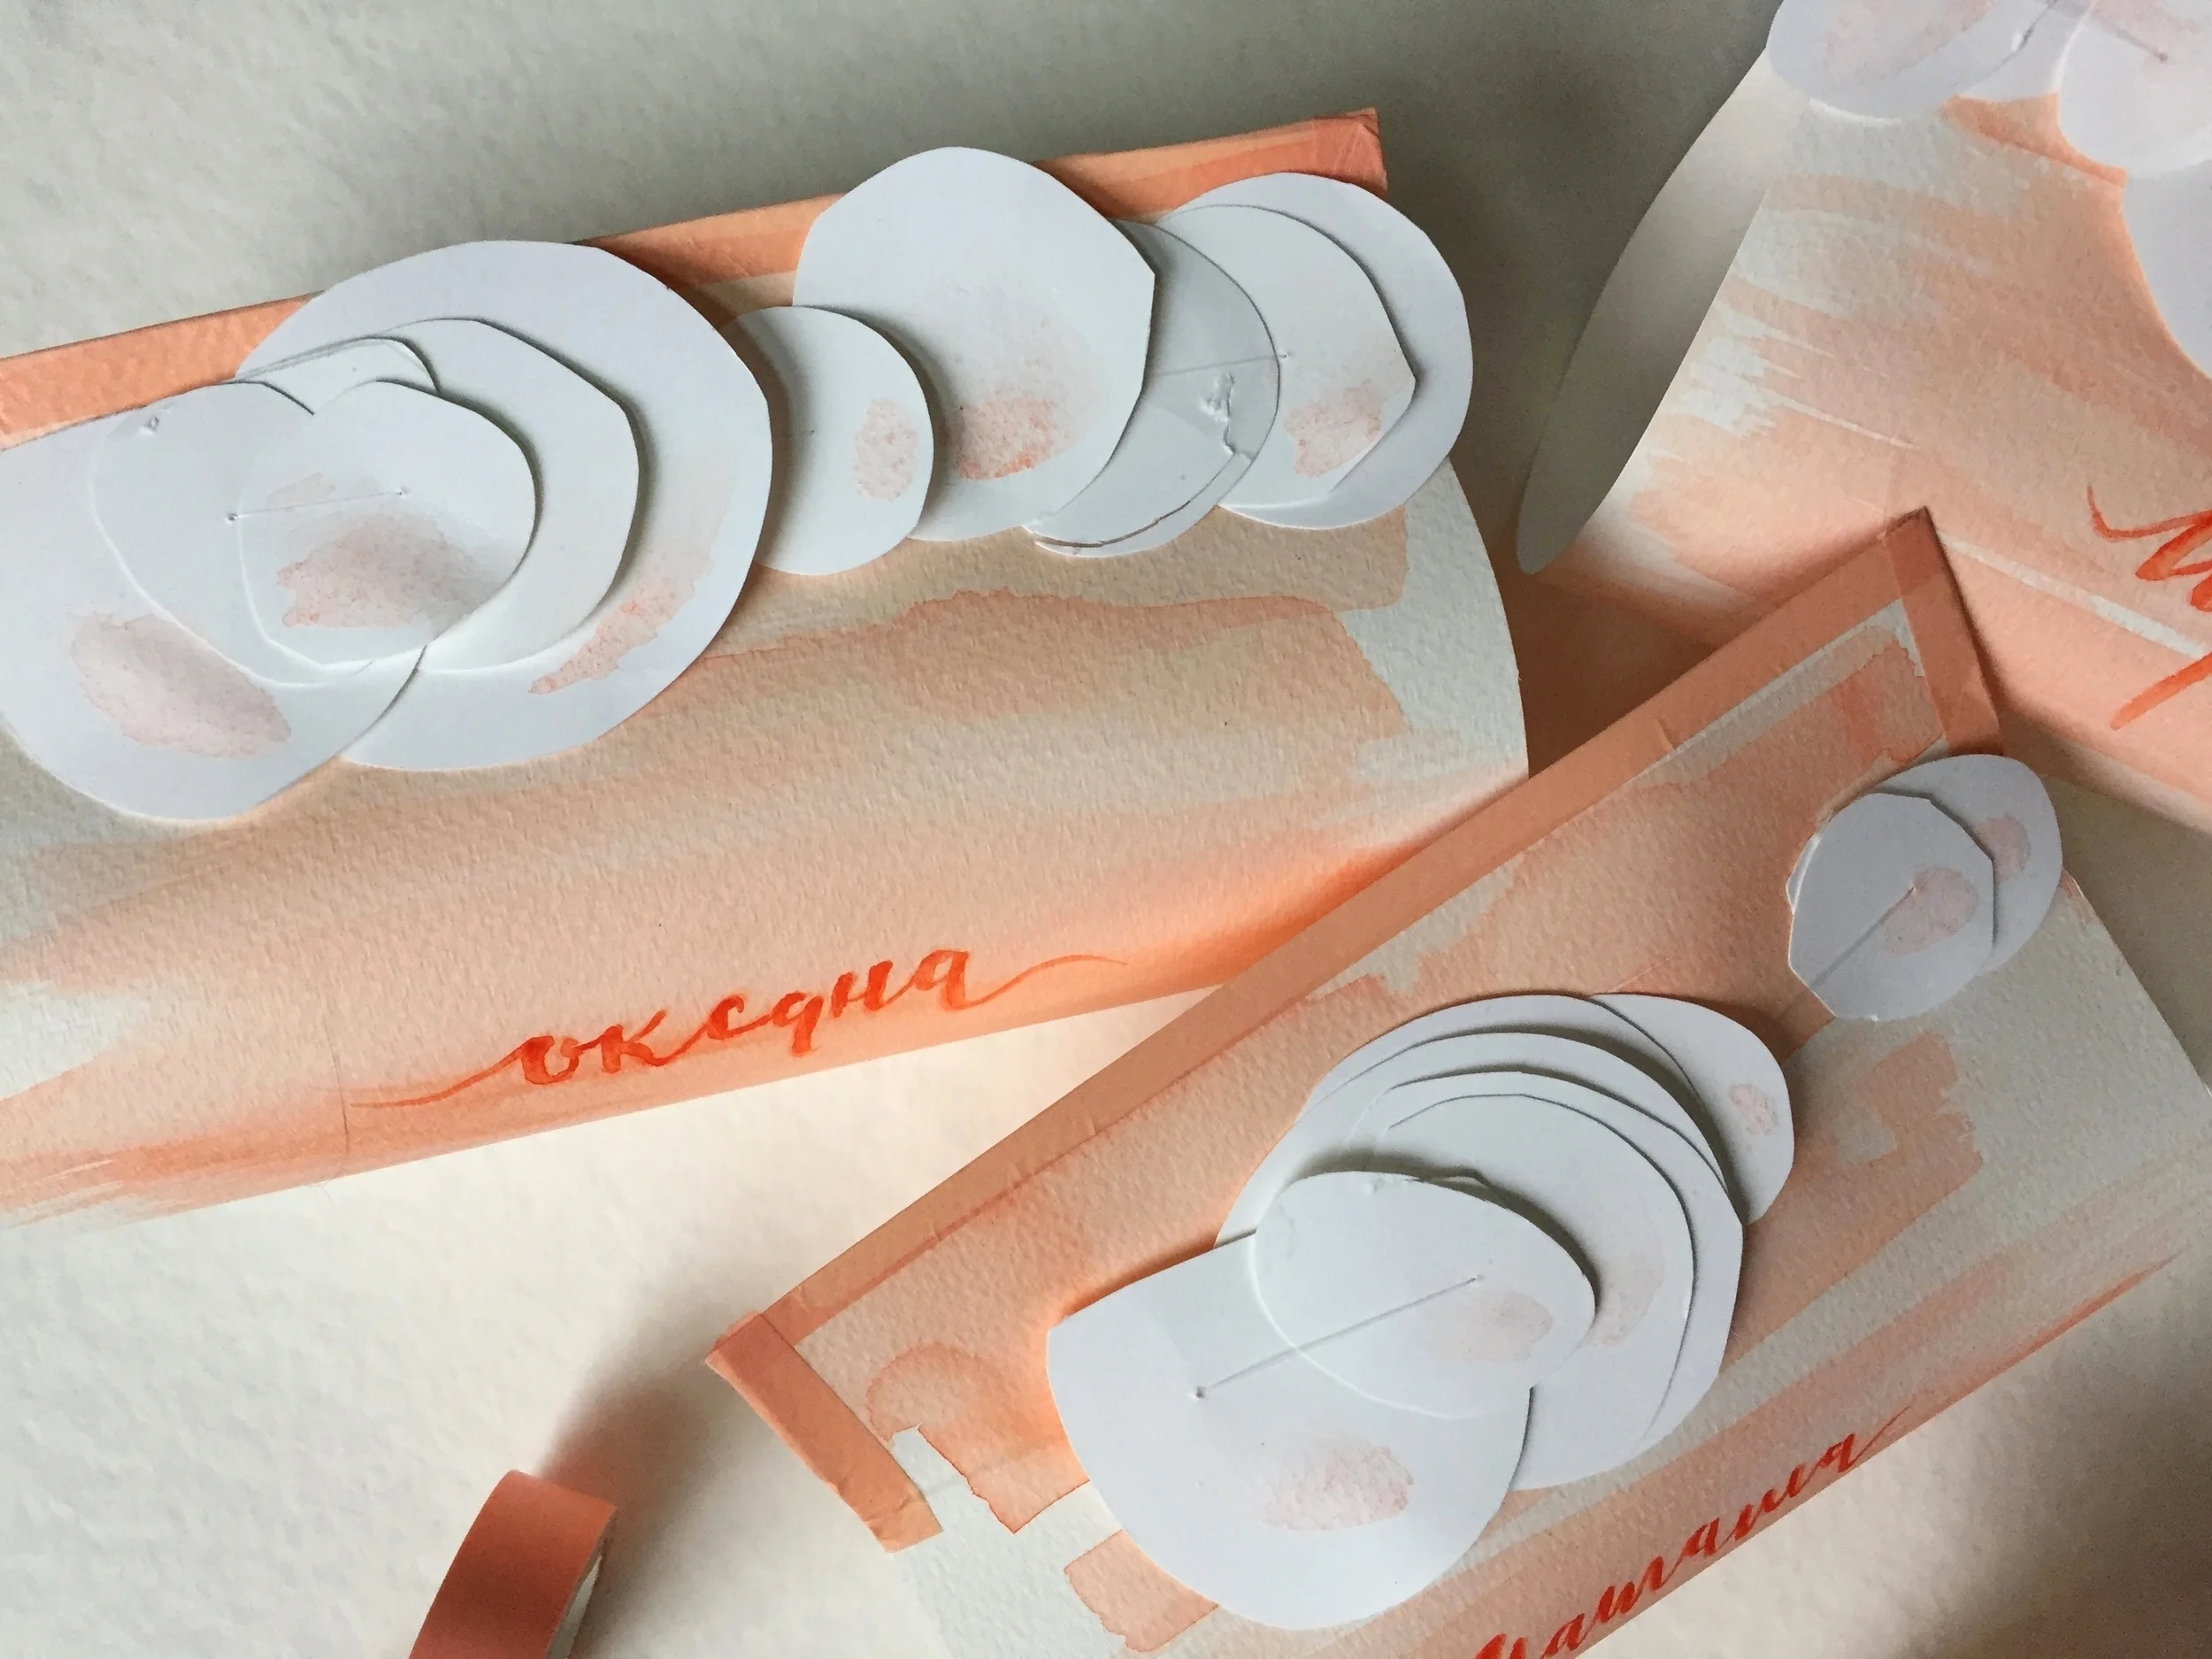
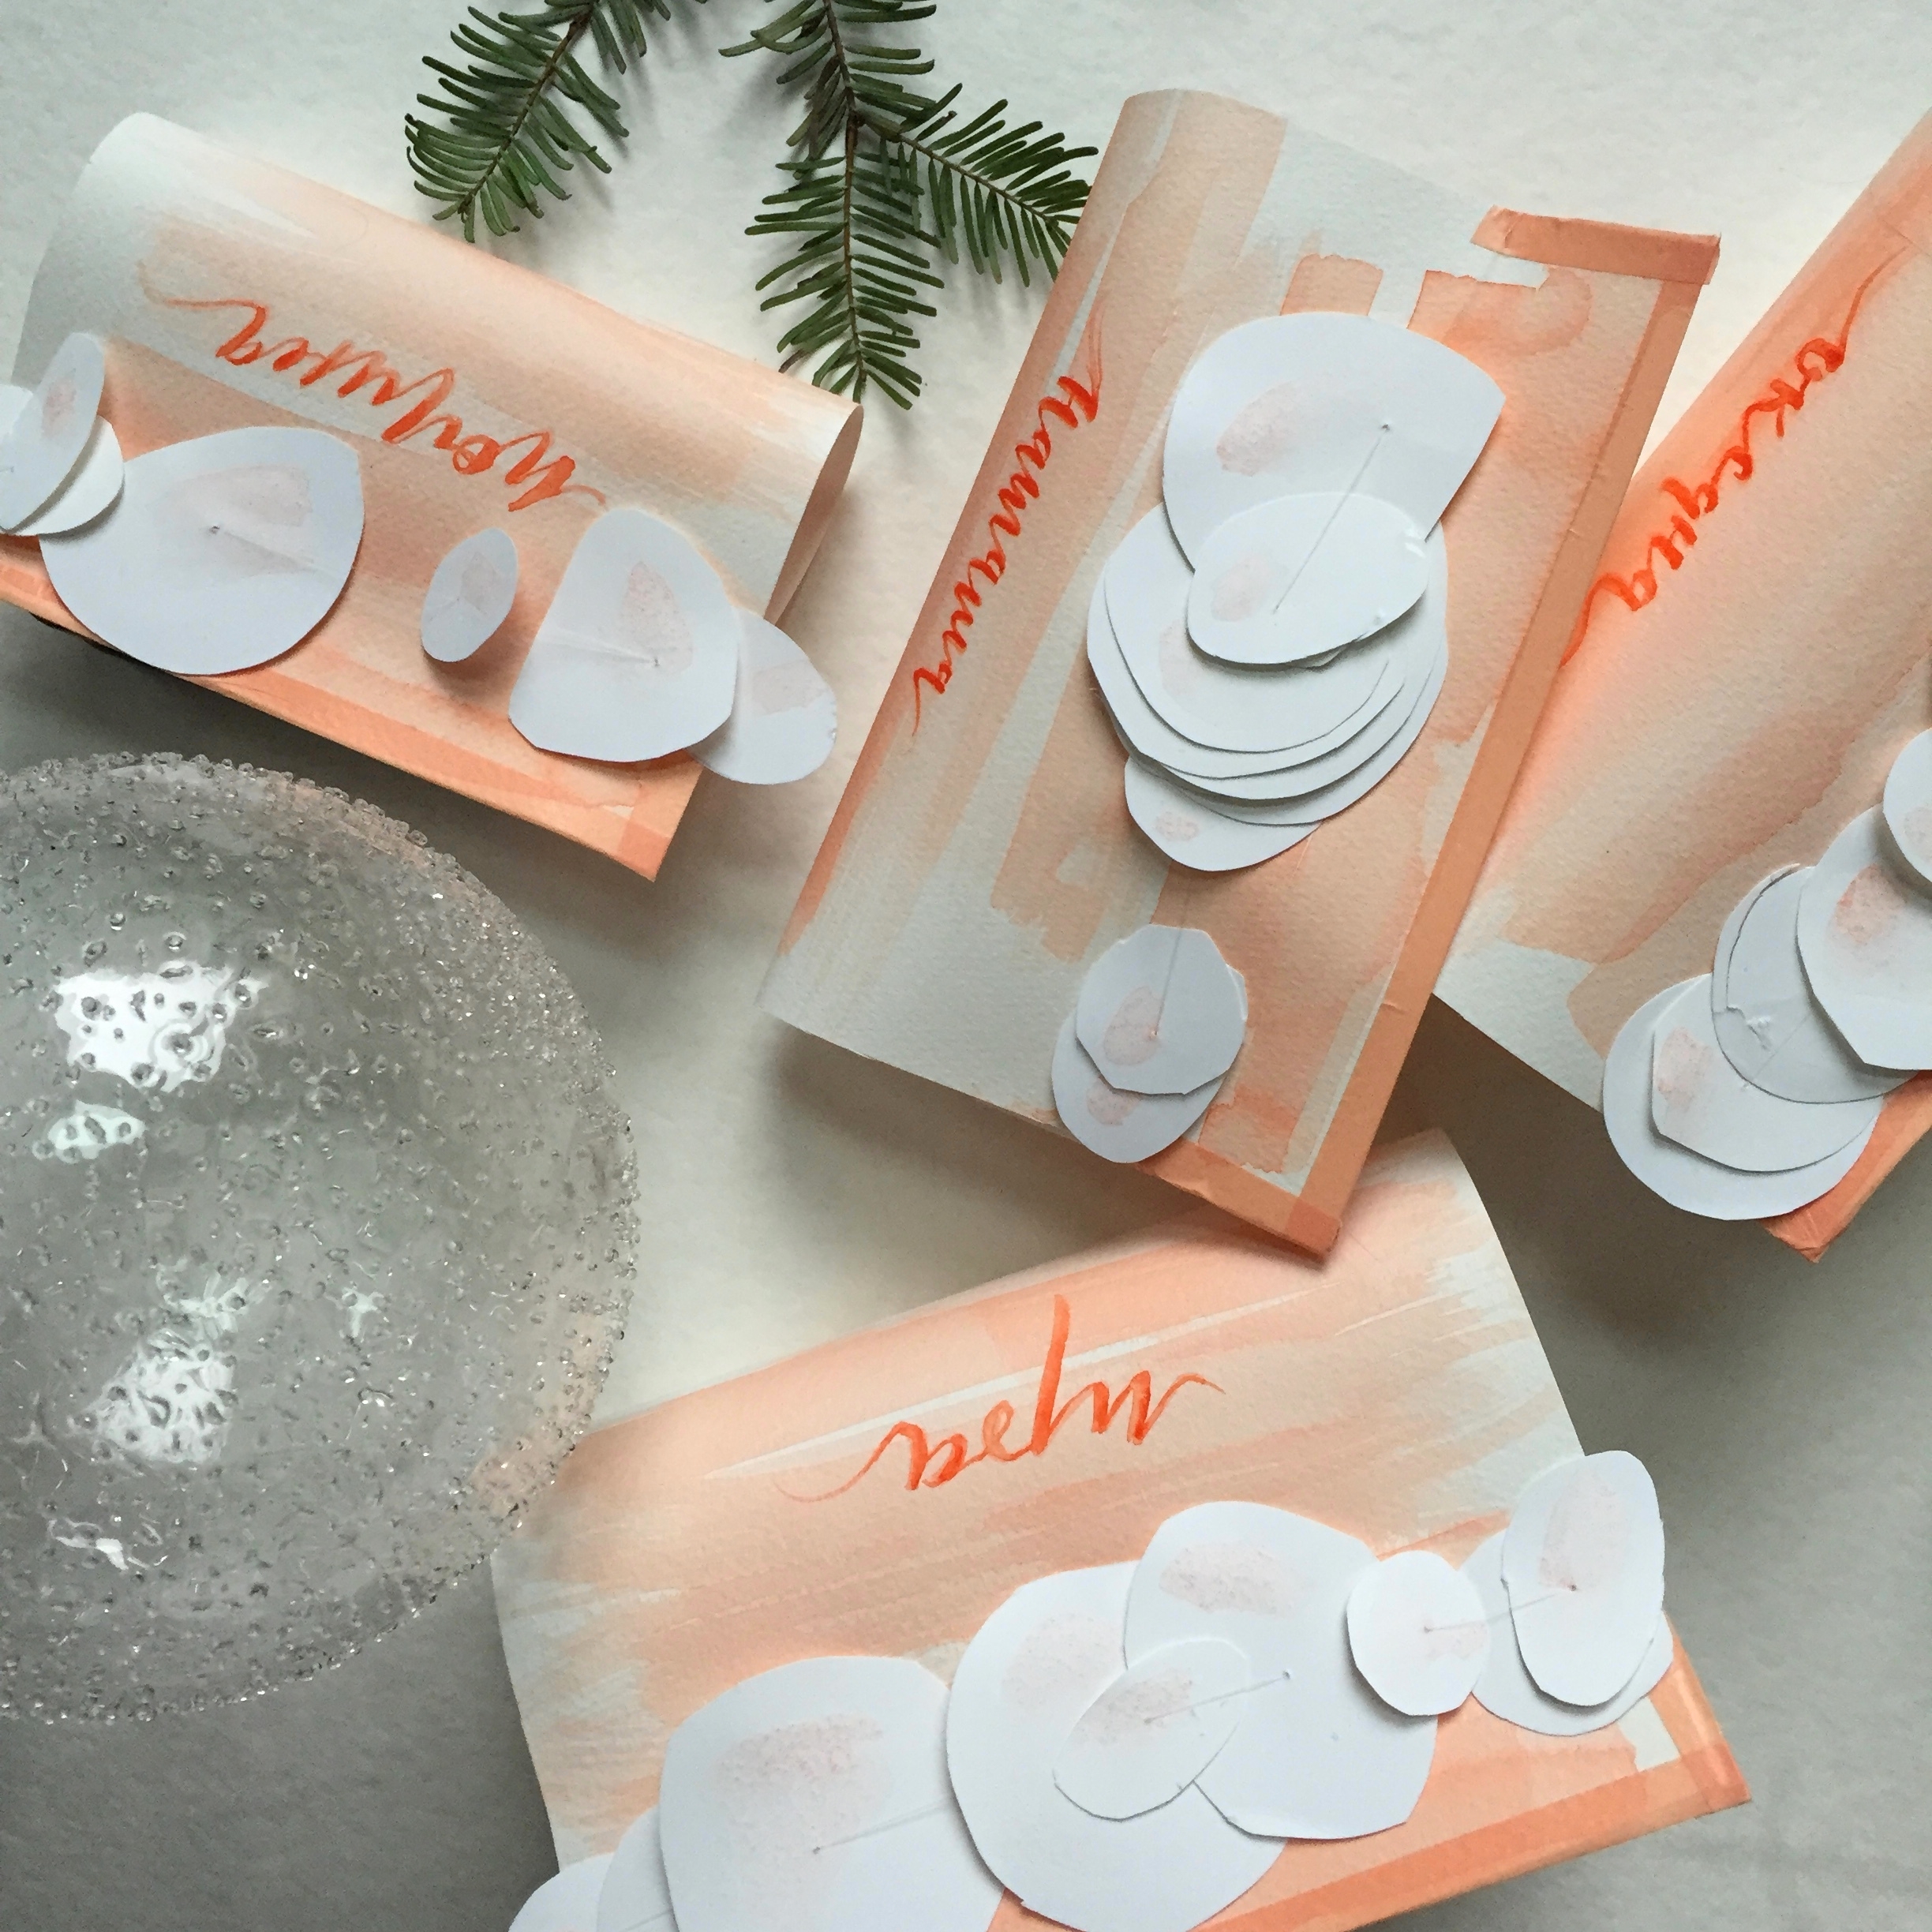
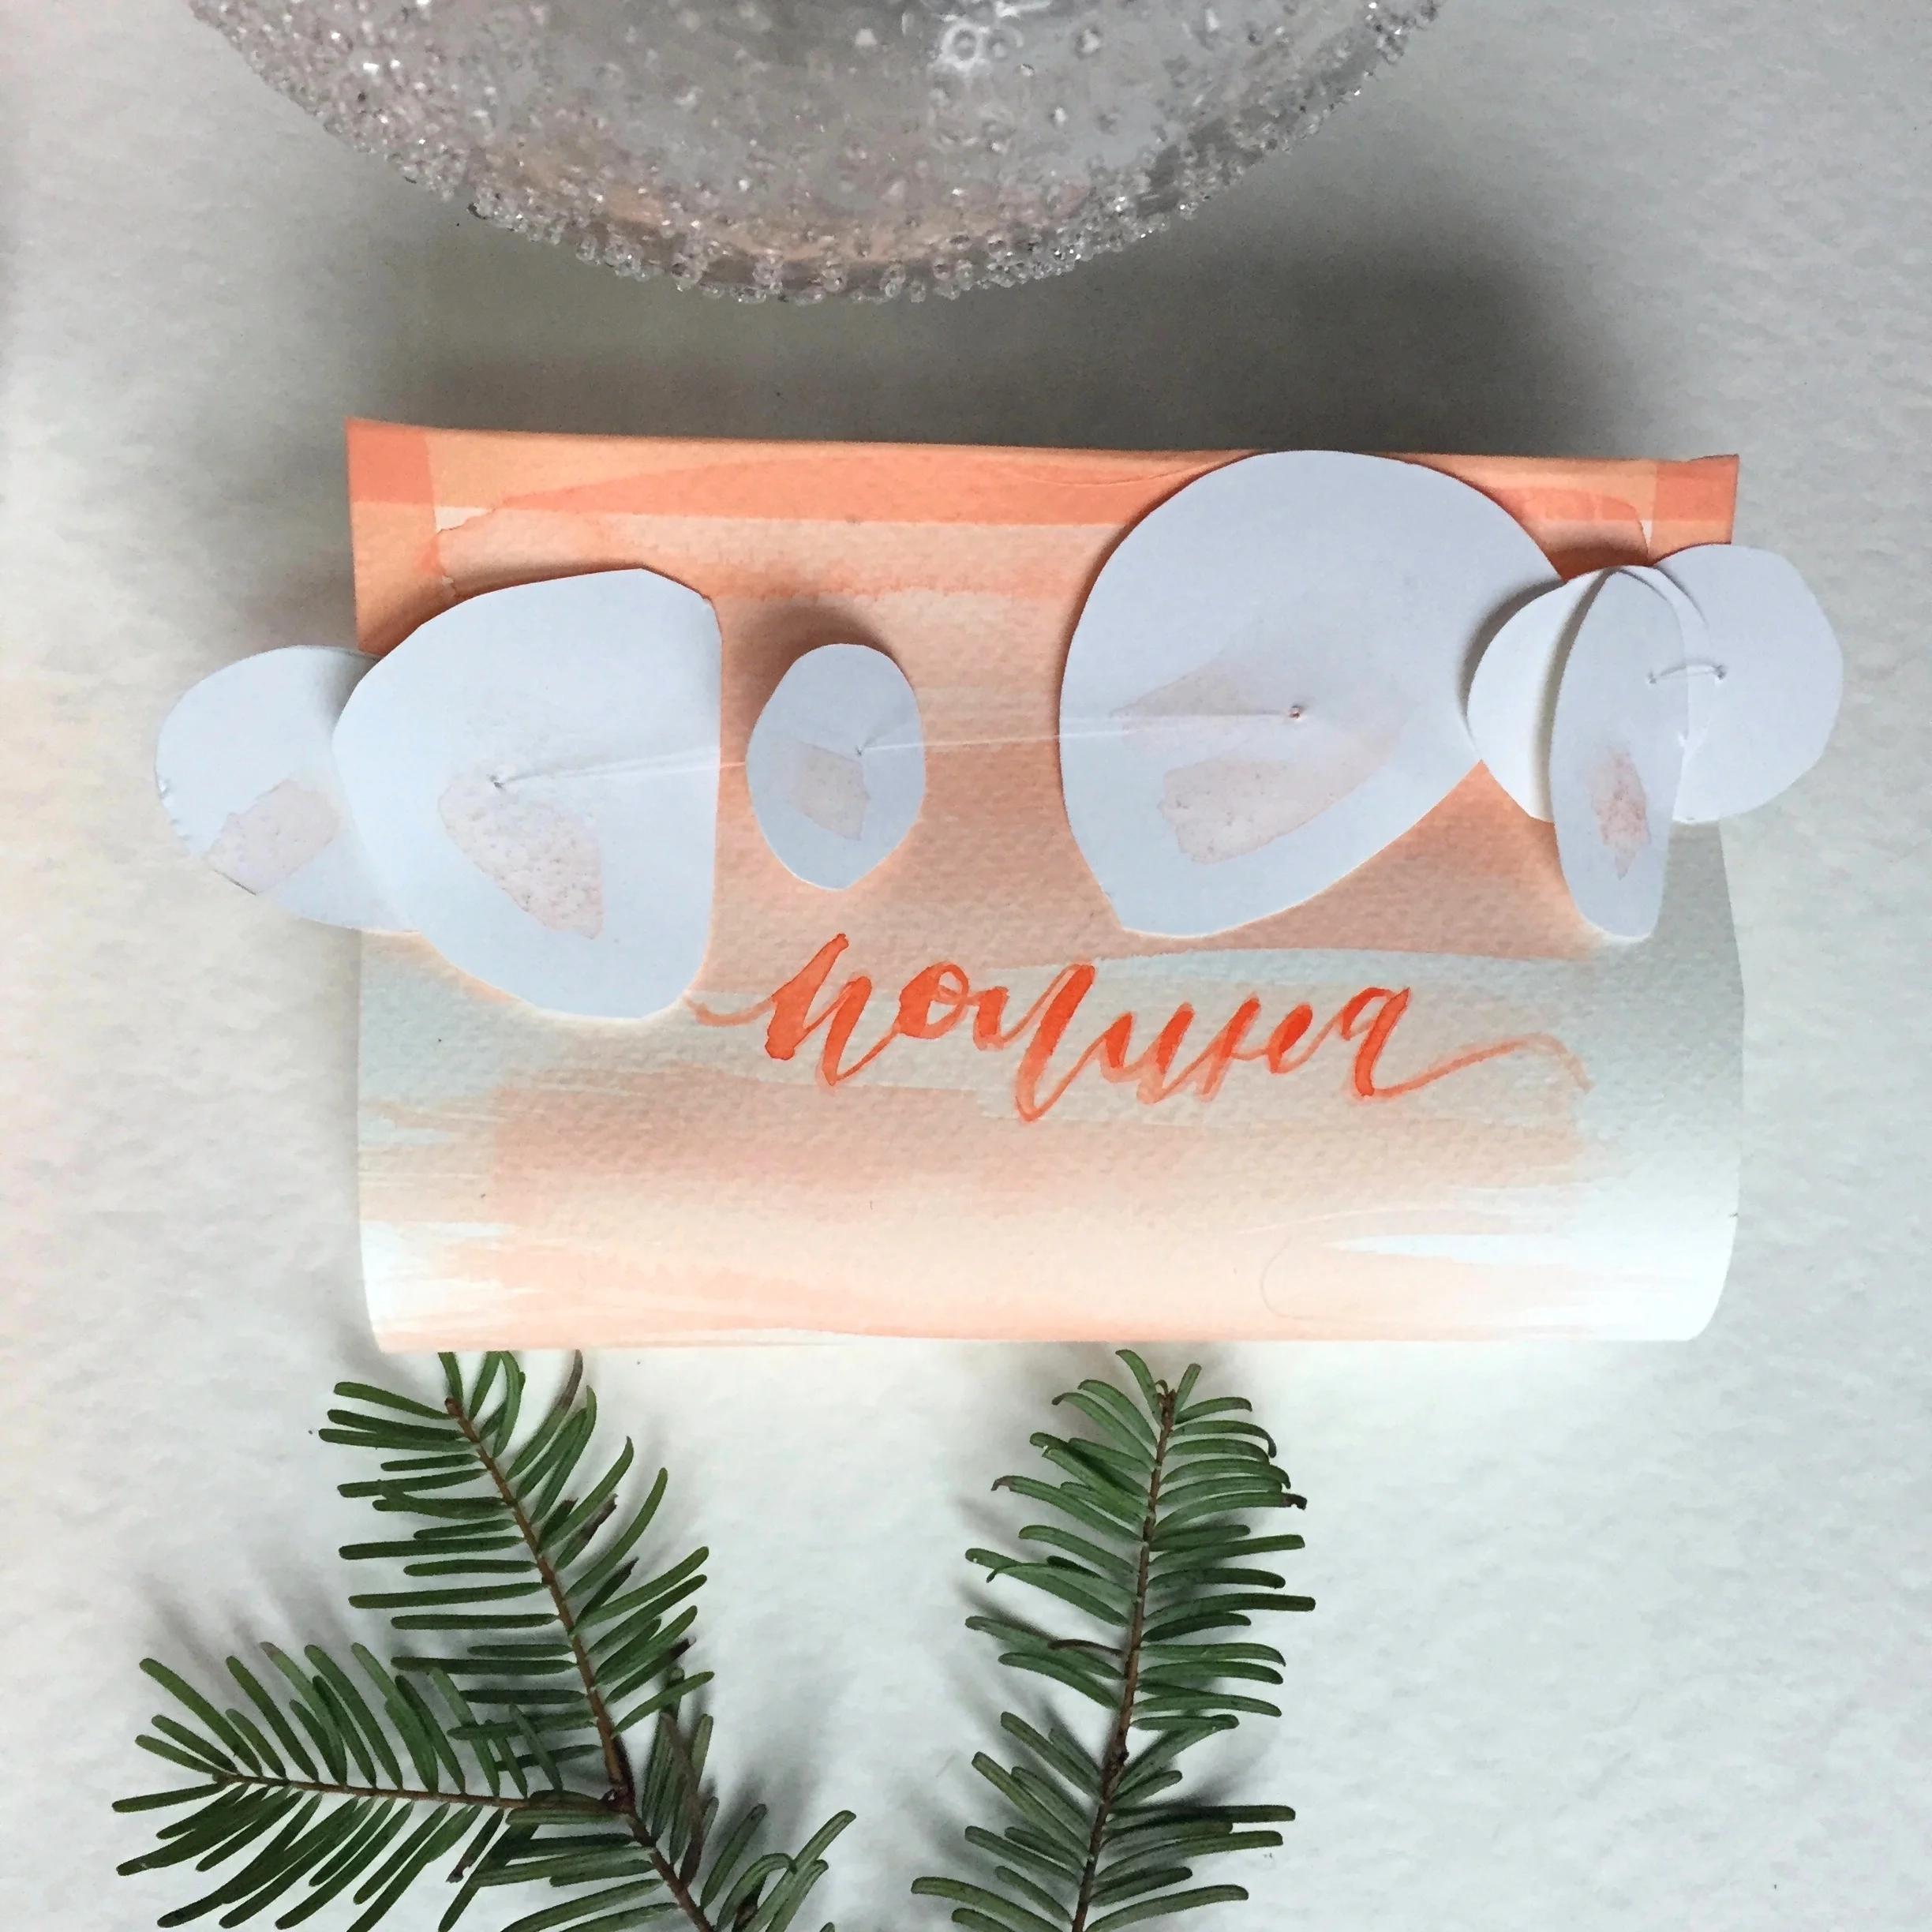
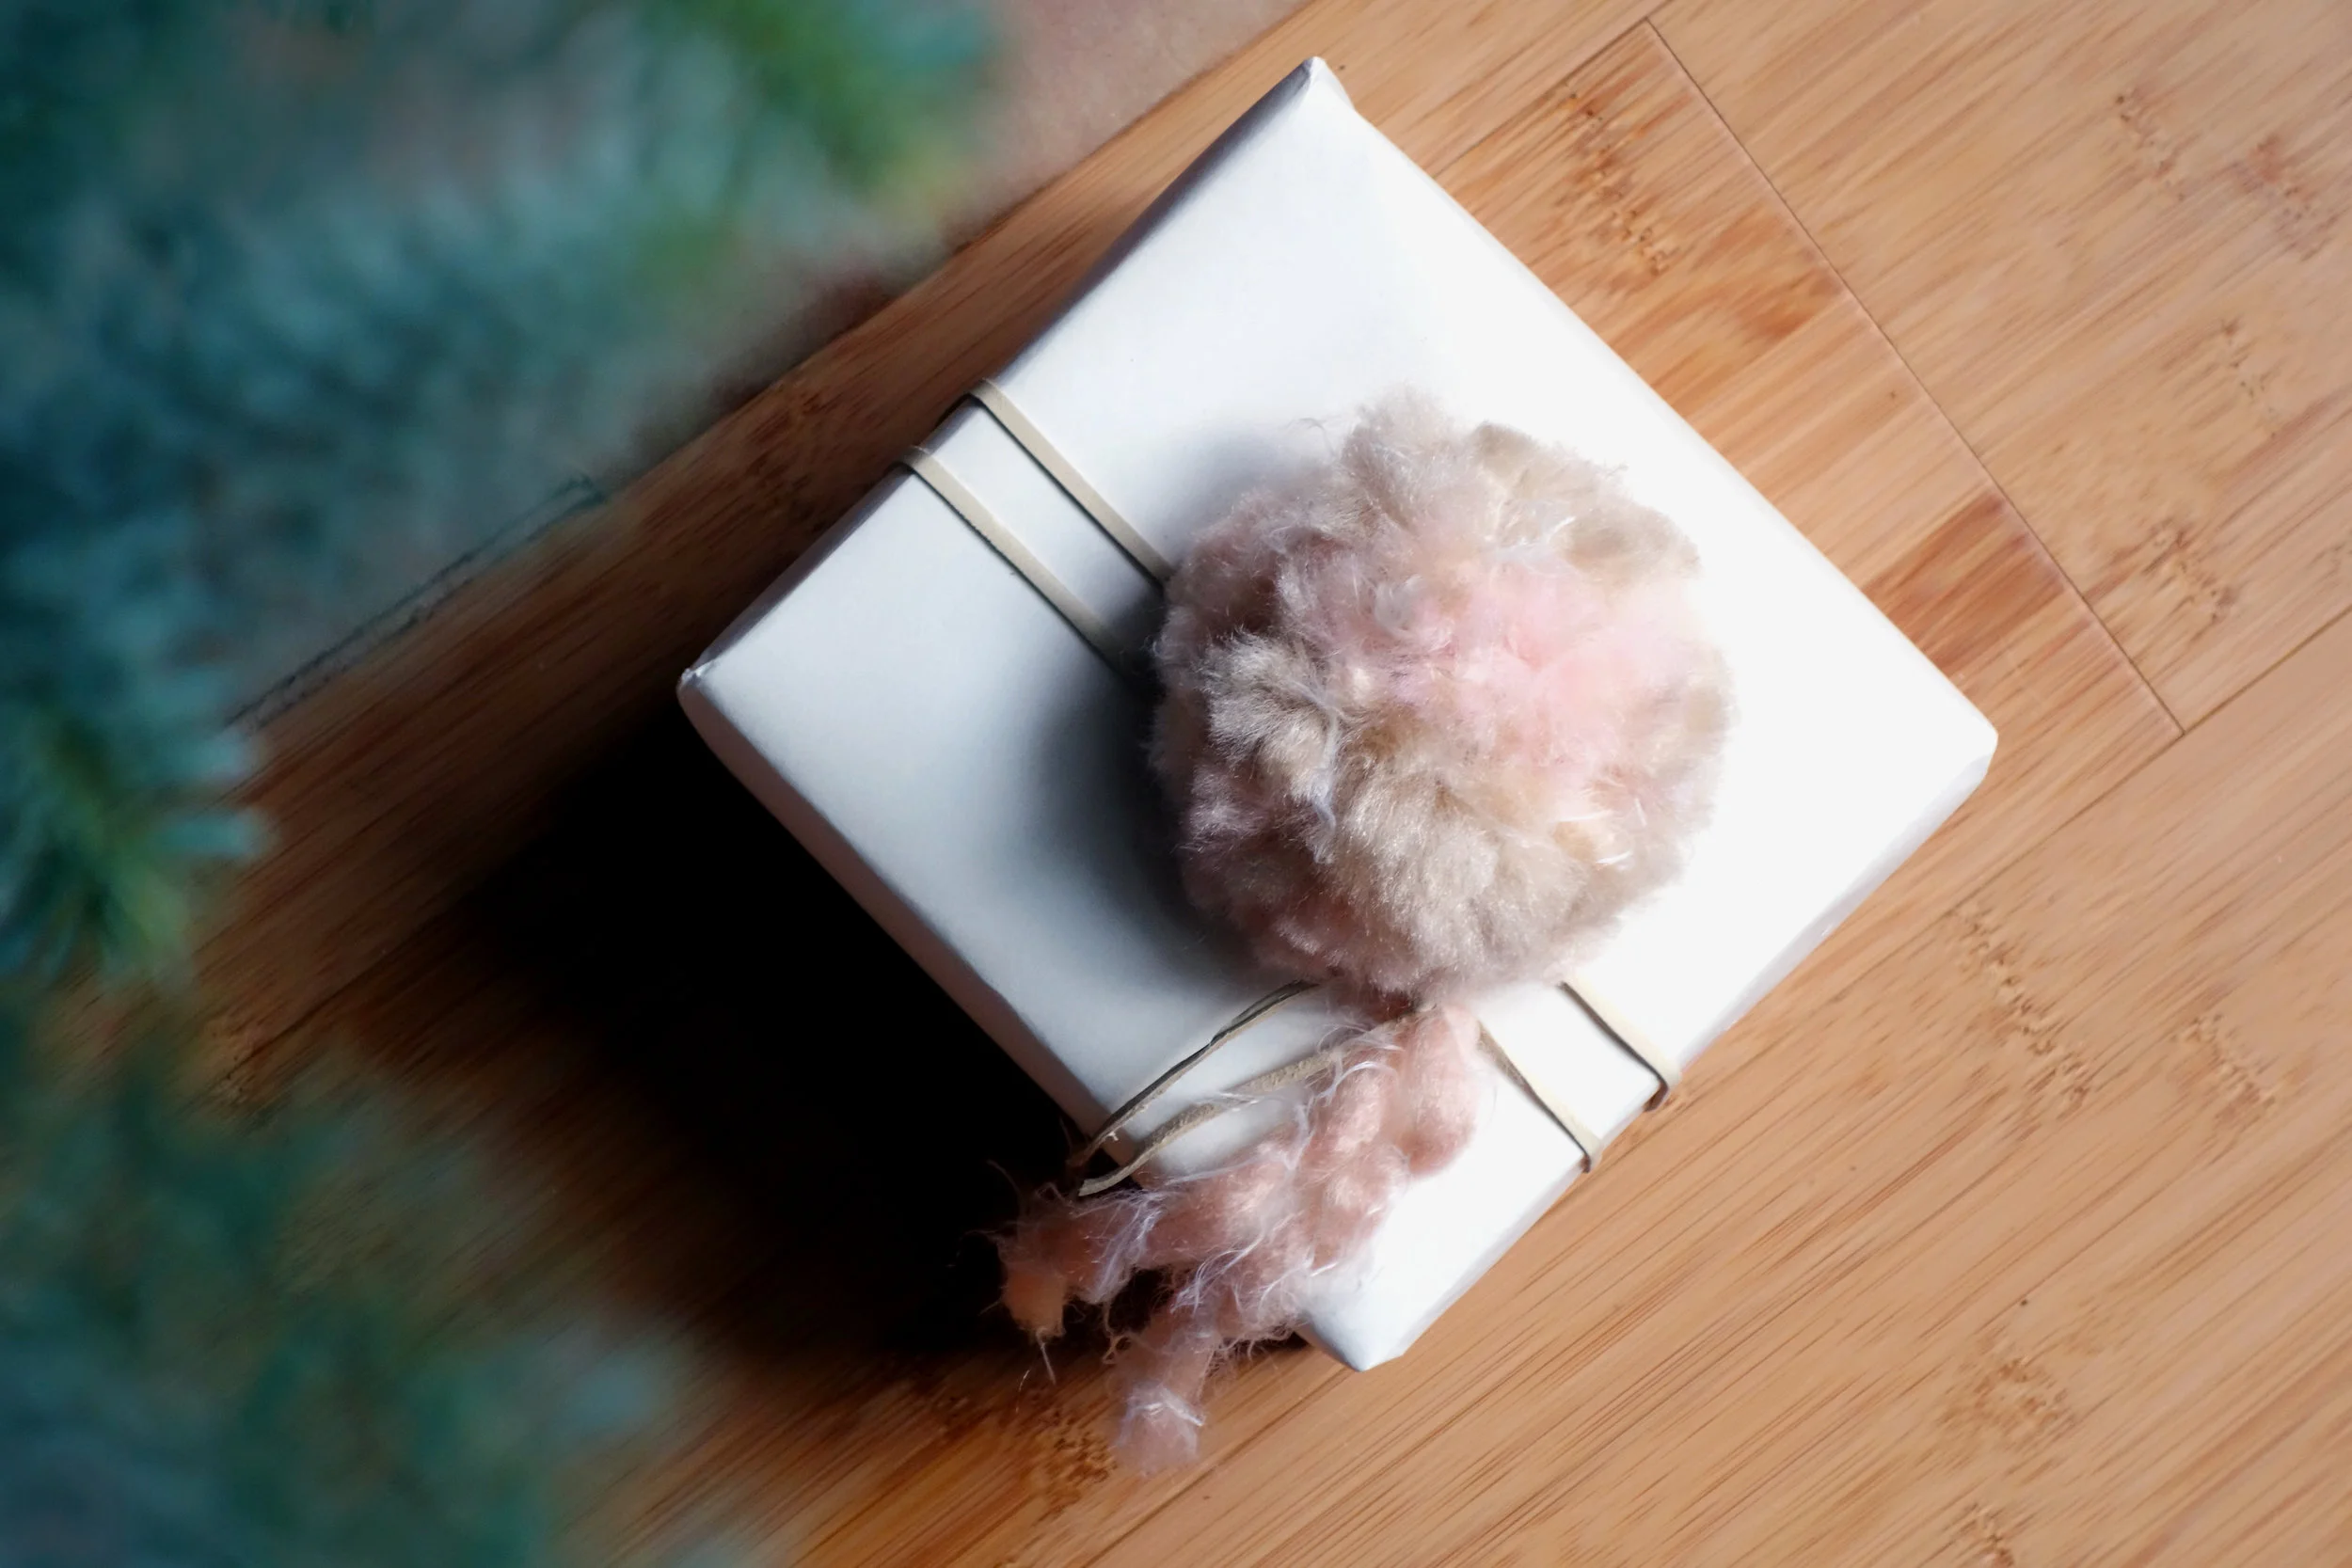
I used my favorite Ikea drawing paper for wrapping and tied it all together with a leather lace in cream. This combination of colors, textures, and materials makes for a soft and sweet gift wrap.