
<a href="http://www.bloglovin.com/blog/14894845/?claim=spydehqh27u">Follow my blog with Bloglovin</a>
Trees are blooming, the sun is shining, and the rain is almost gone. Its still brisk outside. The trees sway in the breeze, their delicate blossom petals coming down like snow. Spring is such a wonderful time of the year and it is finally here. And that means Easter is soon. This year it's very soon, March 27th to be exact. I'm revising a simple egg decorating idea from a few years back. It's got a natural earthy feel to it, supplemented by springy pops of color in the table setting. This dyeing technique has roots in the way my grandmother dyed eggs, and the way we dyed eggs growing up in Ukraine, but with a slight modern twist, substituting leaf motifs for line patterns.
This is the easiest egg decorating you will ever have to do, I promise. And probably one of the cleanest too (no nasty dye to turn your hands green and stain your clothes and no messy clean up of wild colors). Its nontoxic, so the eggs are safe for consumption, and the colors will not bleed. What you get is natural-looking eggs in a range of warmand earthy shades of terra cotta, brown, and red, with simple, but unique and modern patterns for a beautiful display at your Easter table.
WHAT YOU NEED //
eggs
rubber bands of various thickness
onion skins (you can blueberries or red cabbage for blue colors, or any other dye of your choice)
pot + water, slotted spoon, paper towel, vinegar
WHAT YOU DO //
First off, you will need to boil the onion skins to get that terra cotta brown color for dyeing the eggs. For stronger color, use yellow or red onions. Remove the colored skin from the outsides of the onion. Fill a medium pot with cold water, place the skins in, and bring to a boil (apprx. 10 mins). Bring the heat down and let simmer for about 20 minutes for richer color. The process is the same for red cabbage, or whatever it is you are using to dye the eggs with. Adding a few table spoons of vinegar to the mixture will help make the color stronger.
While the onion skins are boiling, grab the eggs and start wrapping the rubber bands around. Don't worry about making it perfect, the more imperfect, the more unique the resulting pattern. Once you are done wrapping, set aside.
Strain the onion skins from the pot (you may keep them in there if you wish for deeper color). Drop the eggs with the rubber bands on them into the pot and bring to an easy boil. After, put the heat on low and let simmer for an additional 10 minutes. Swish the eggs around in the pot to get even coloring. Do not cook for longer than 20 minutes. If it has been longer than that but the color is still not what you desire, remove the pot from heat and cool to room temperature, letting the eggs soak in more color.
Once the desired color has been achieved, remove the eggs from the pan with a slotted spoon and place on a paper towel. Once the eggs have cooled down, remove the rubber bands to reveal the pattern.

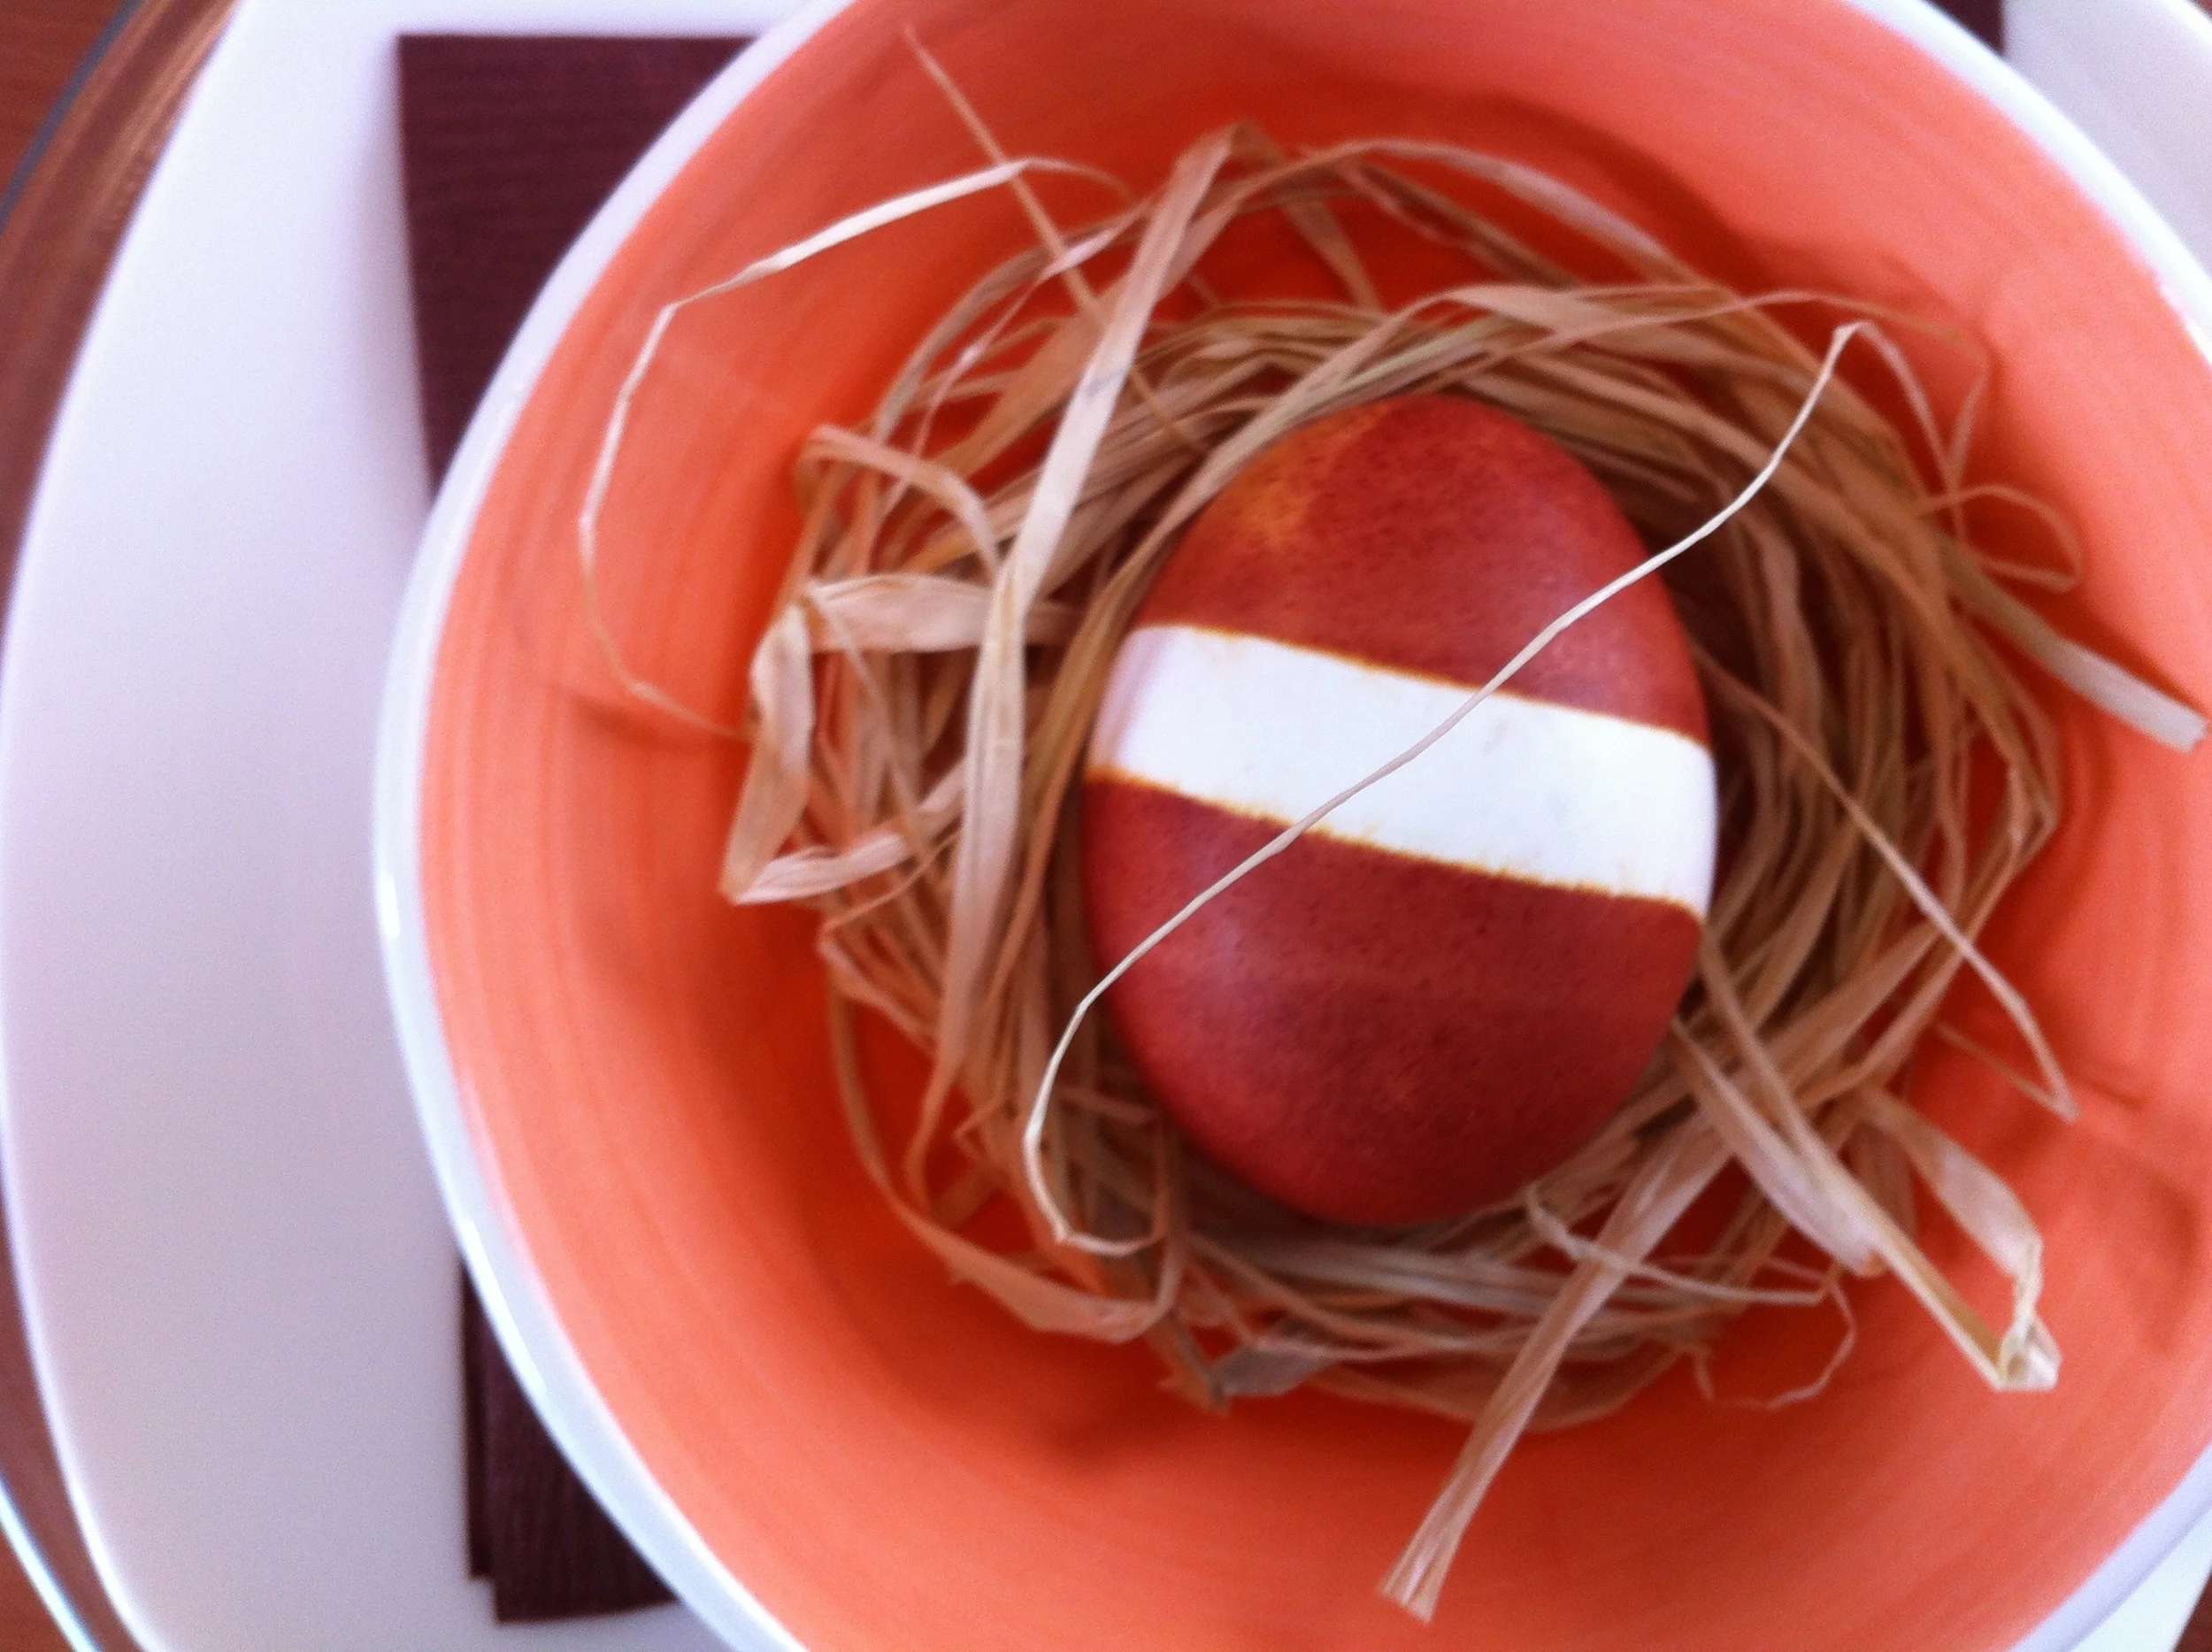
WHAT YOU GET //
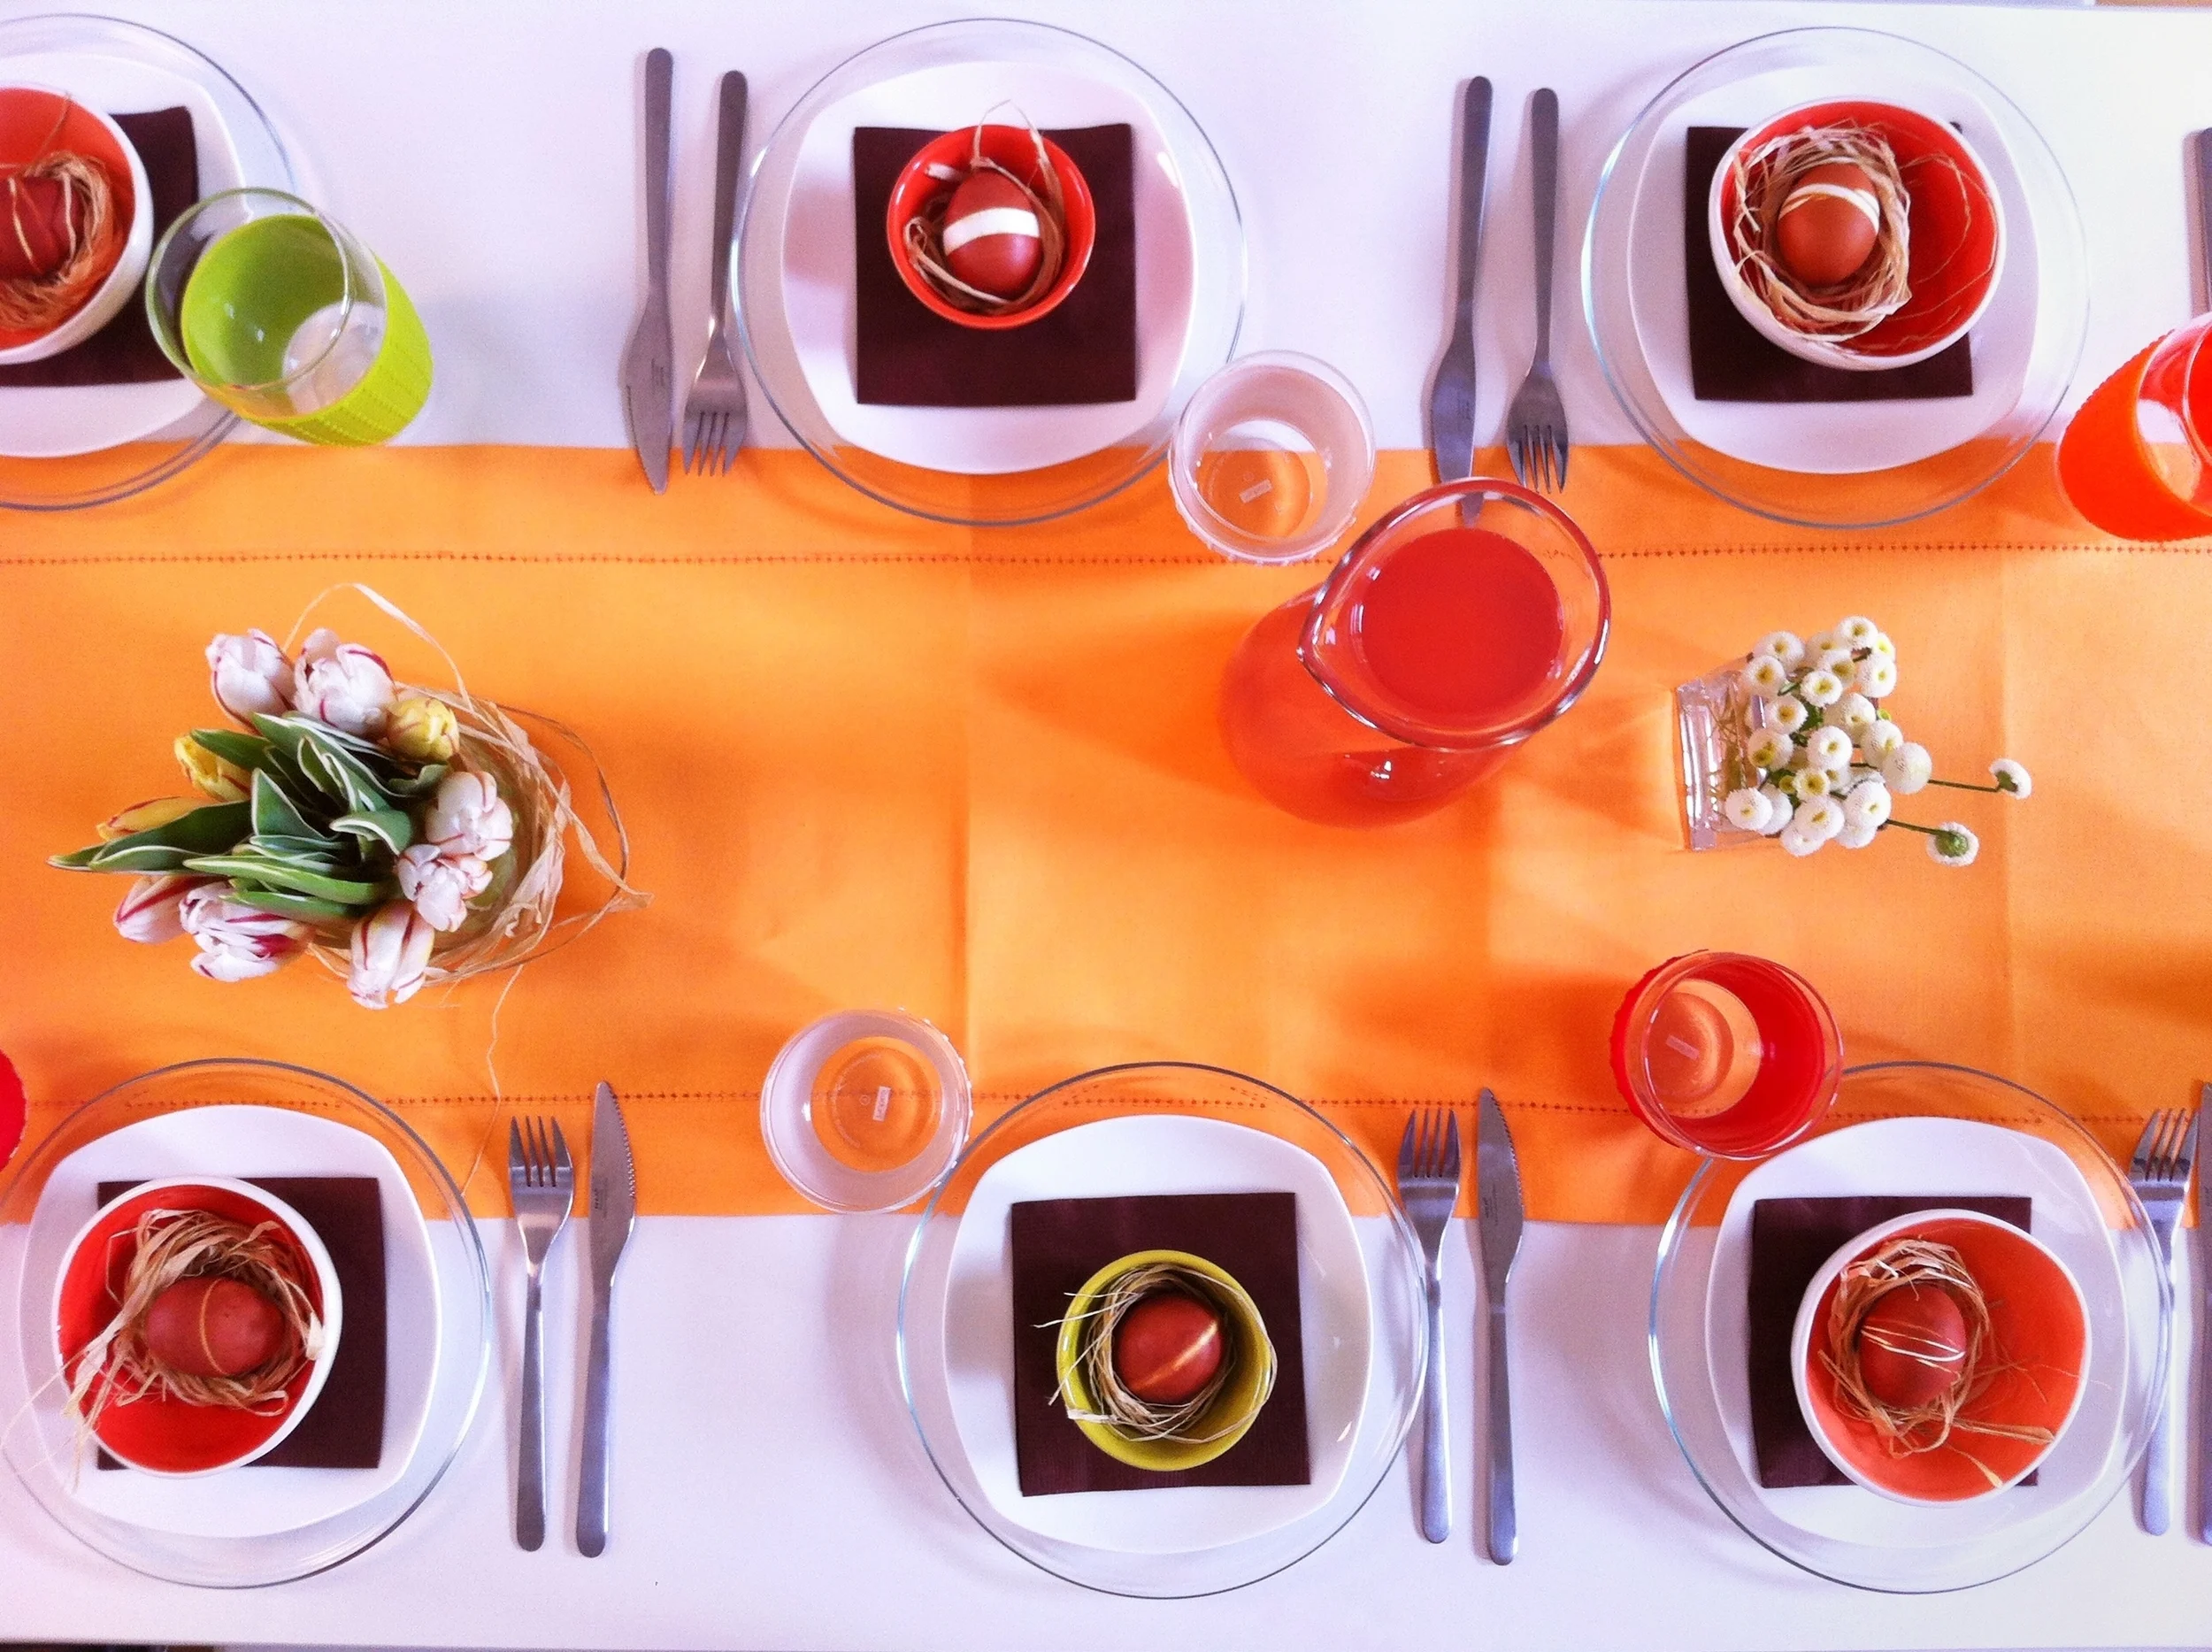
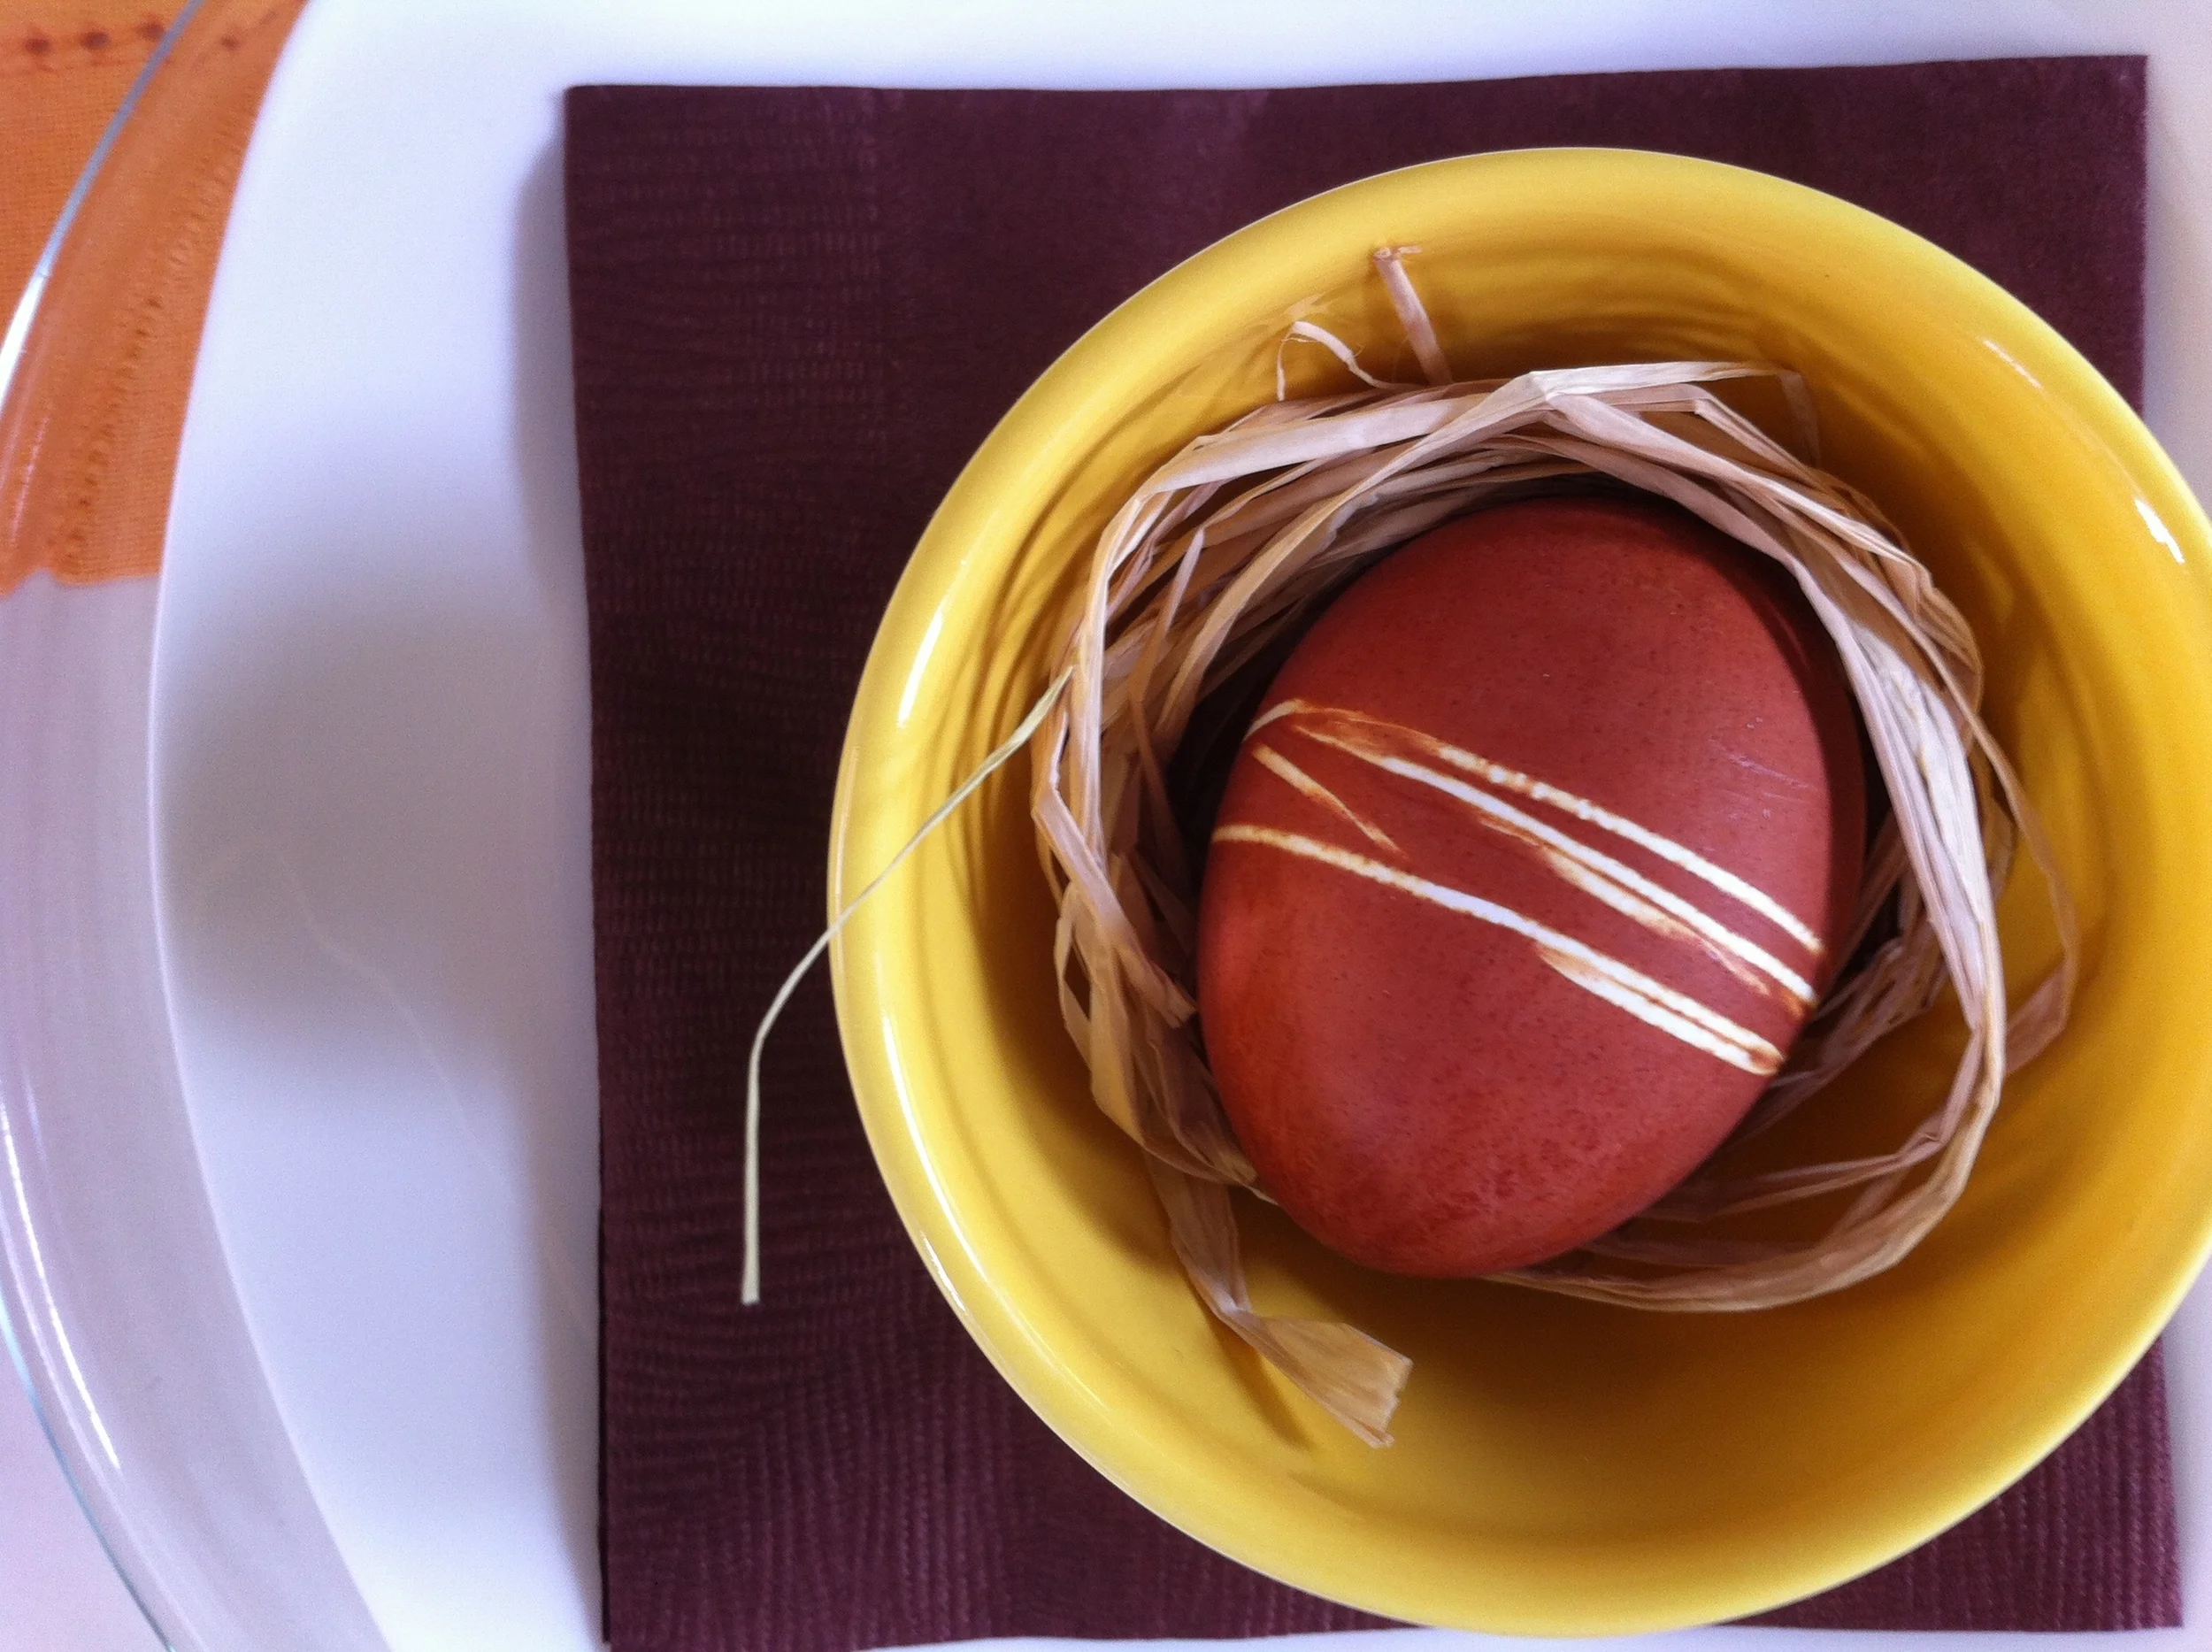
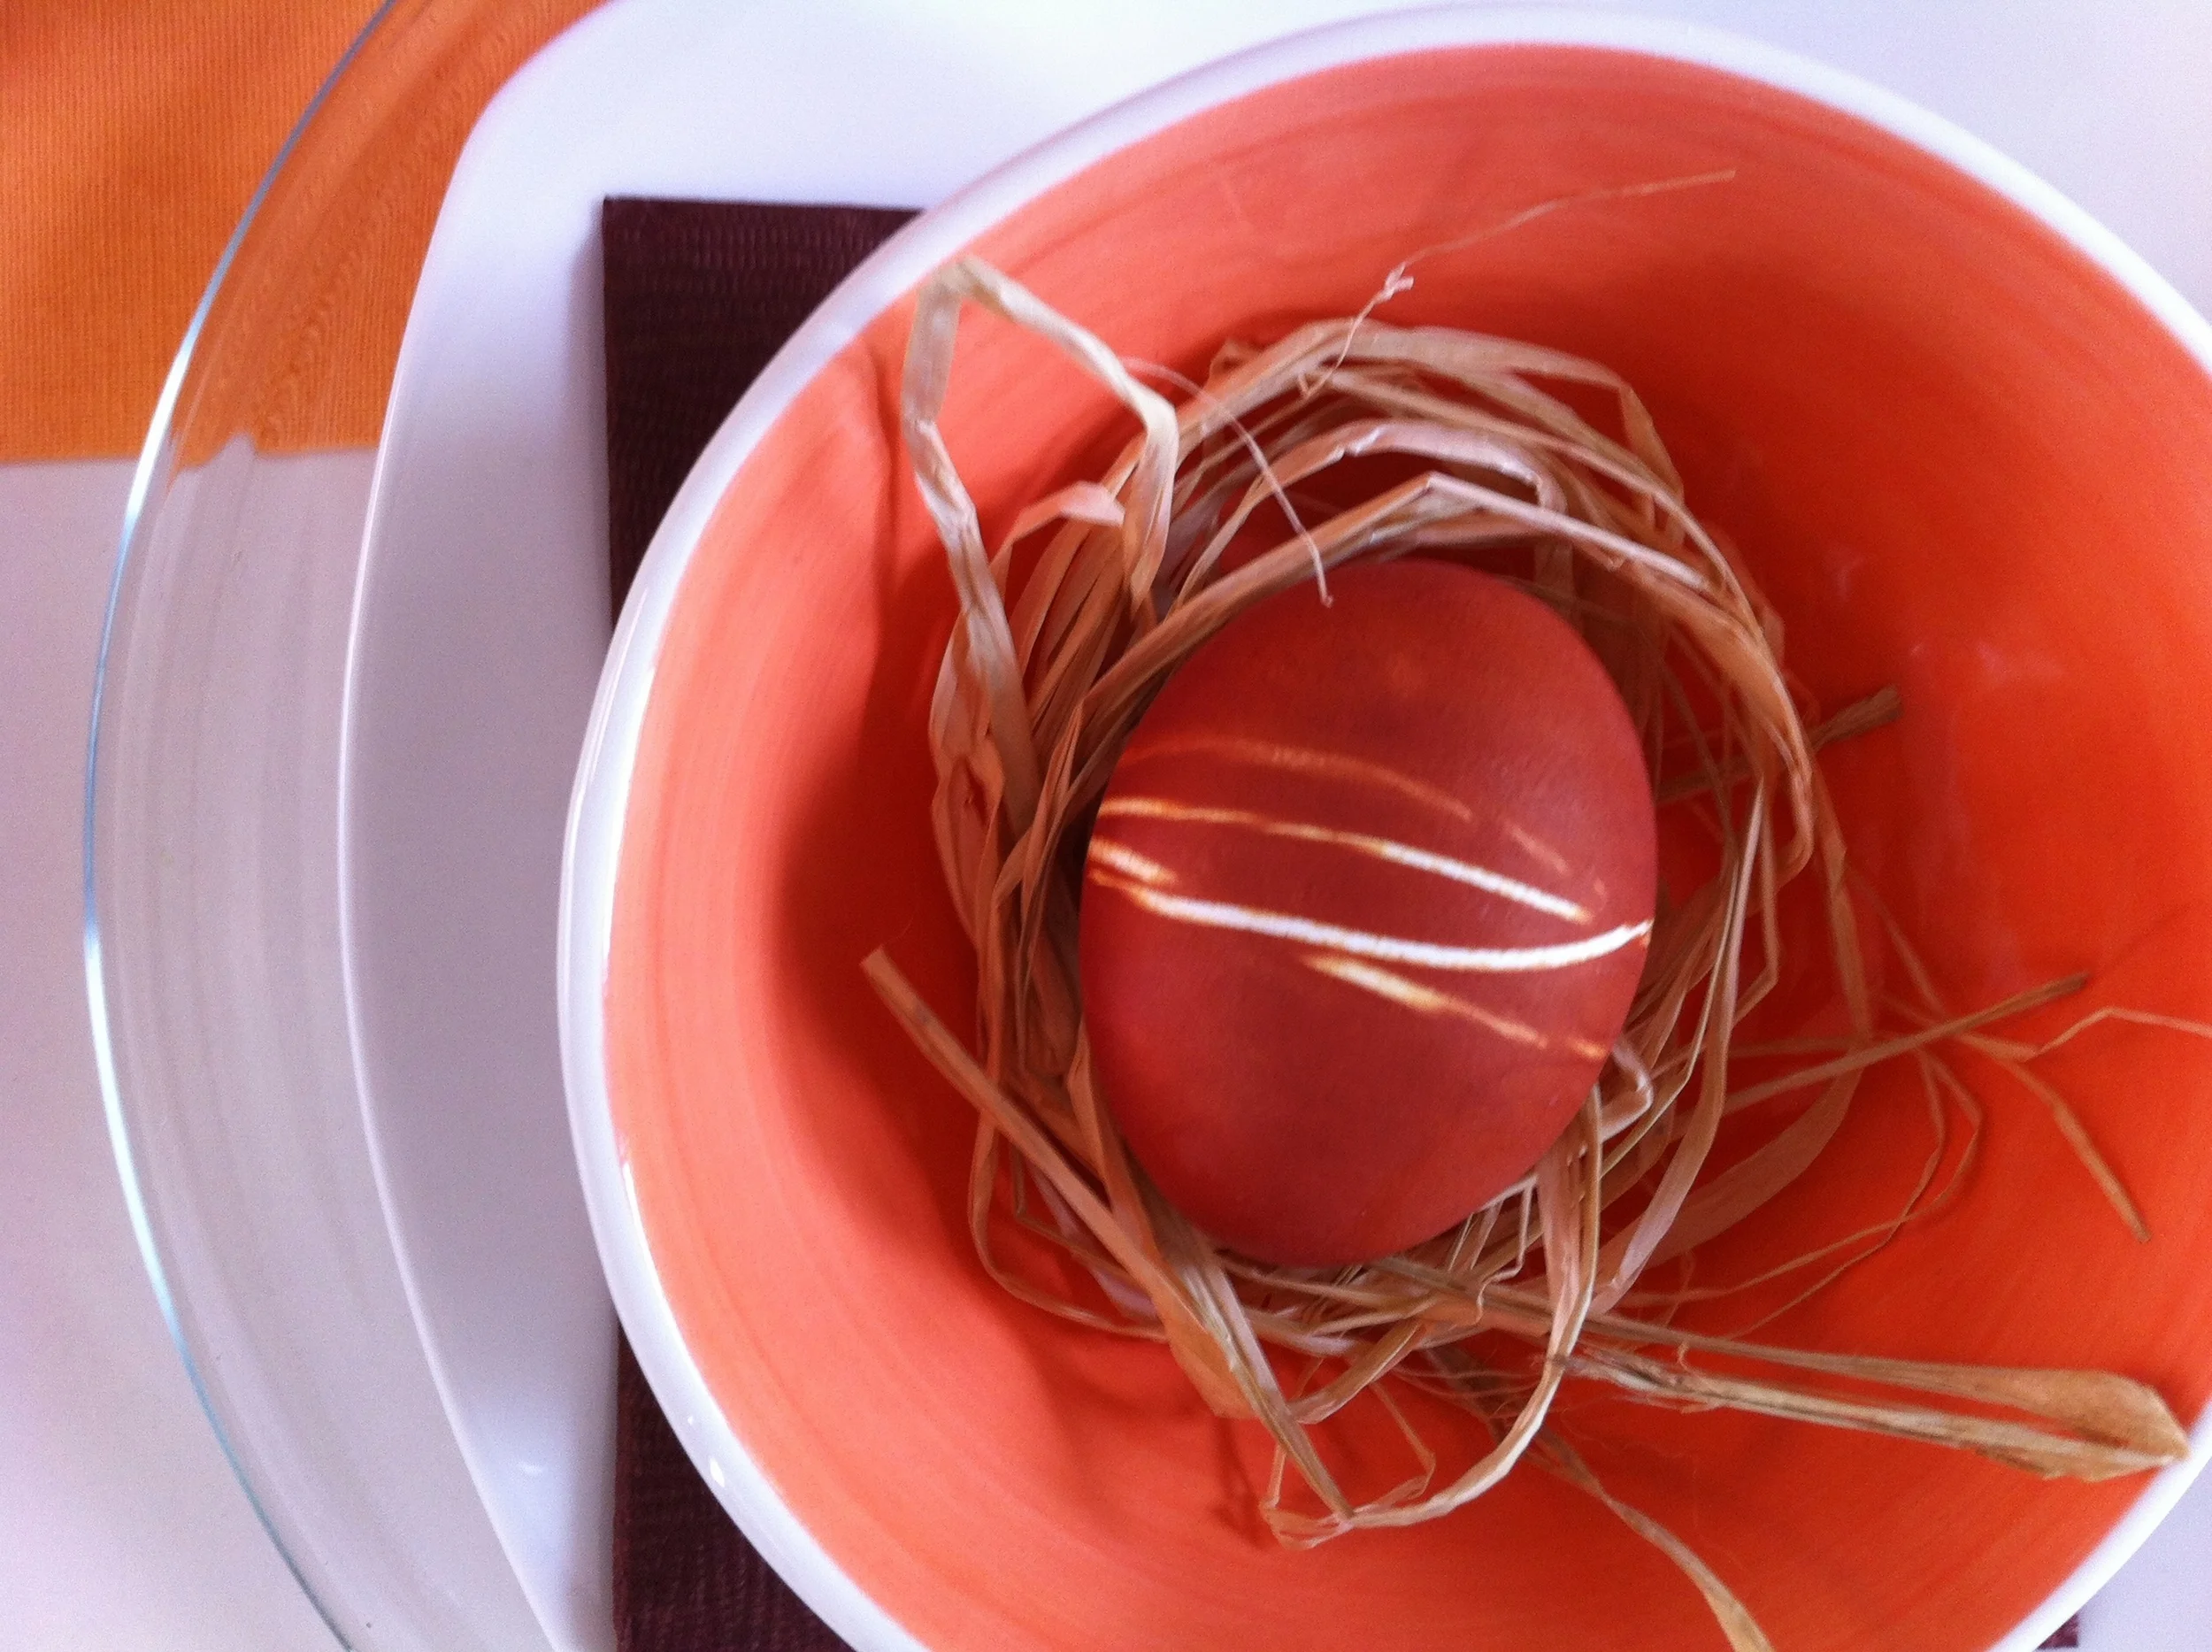
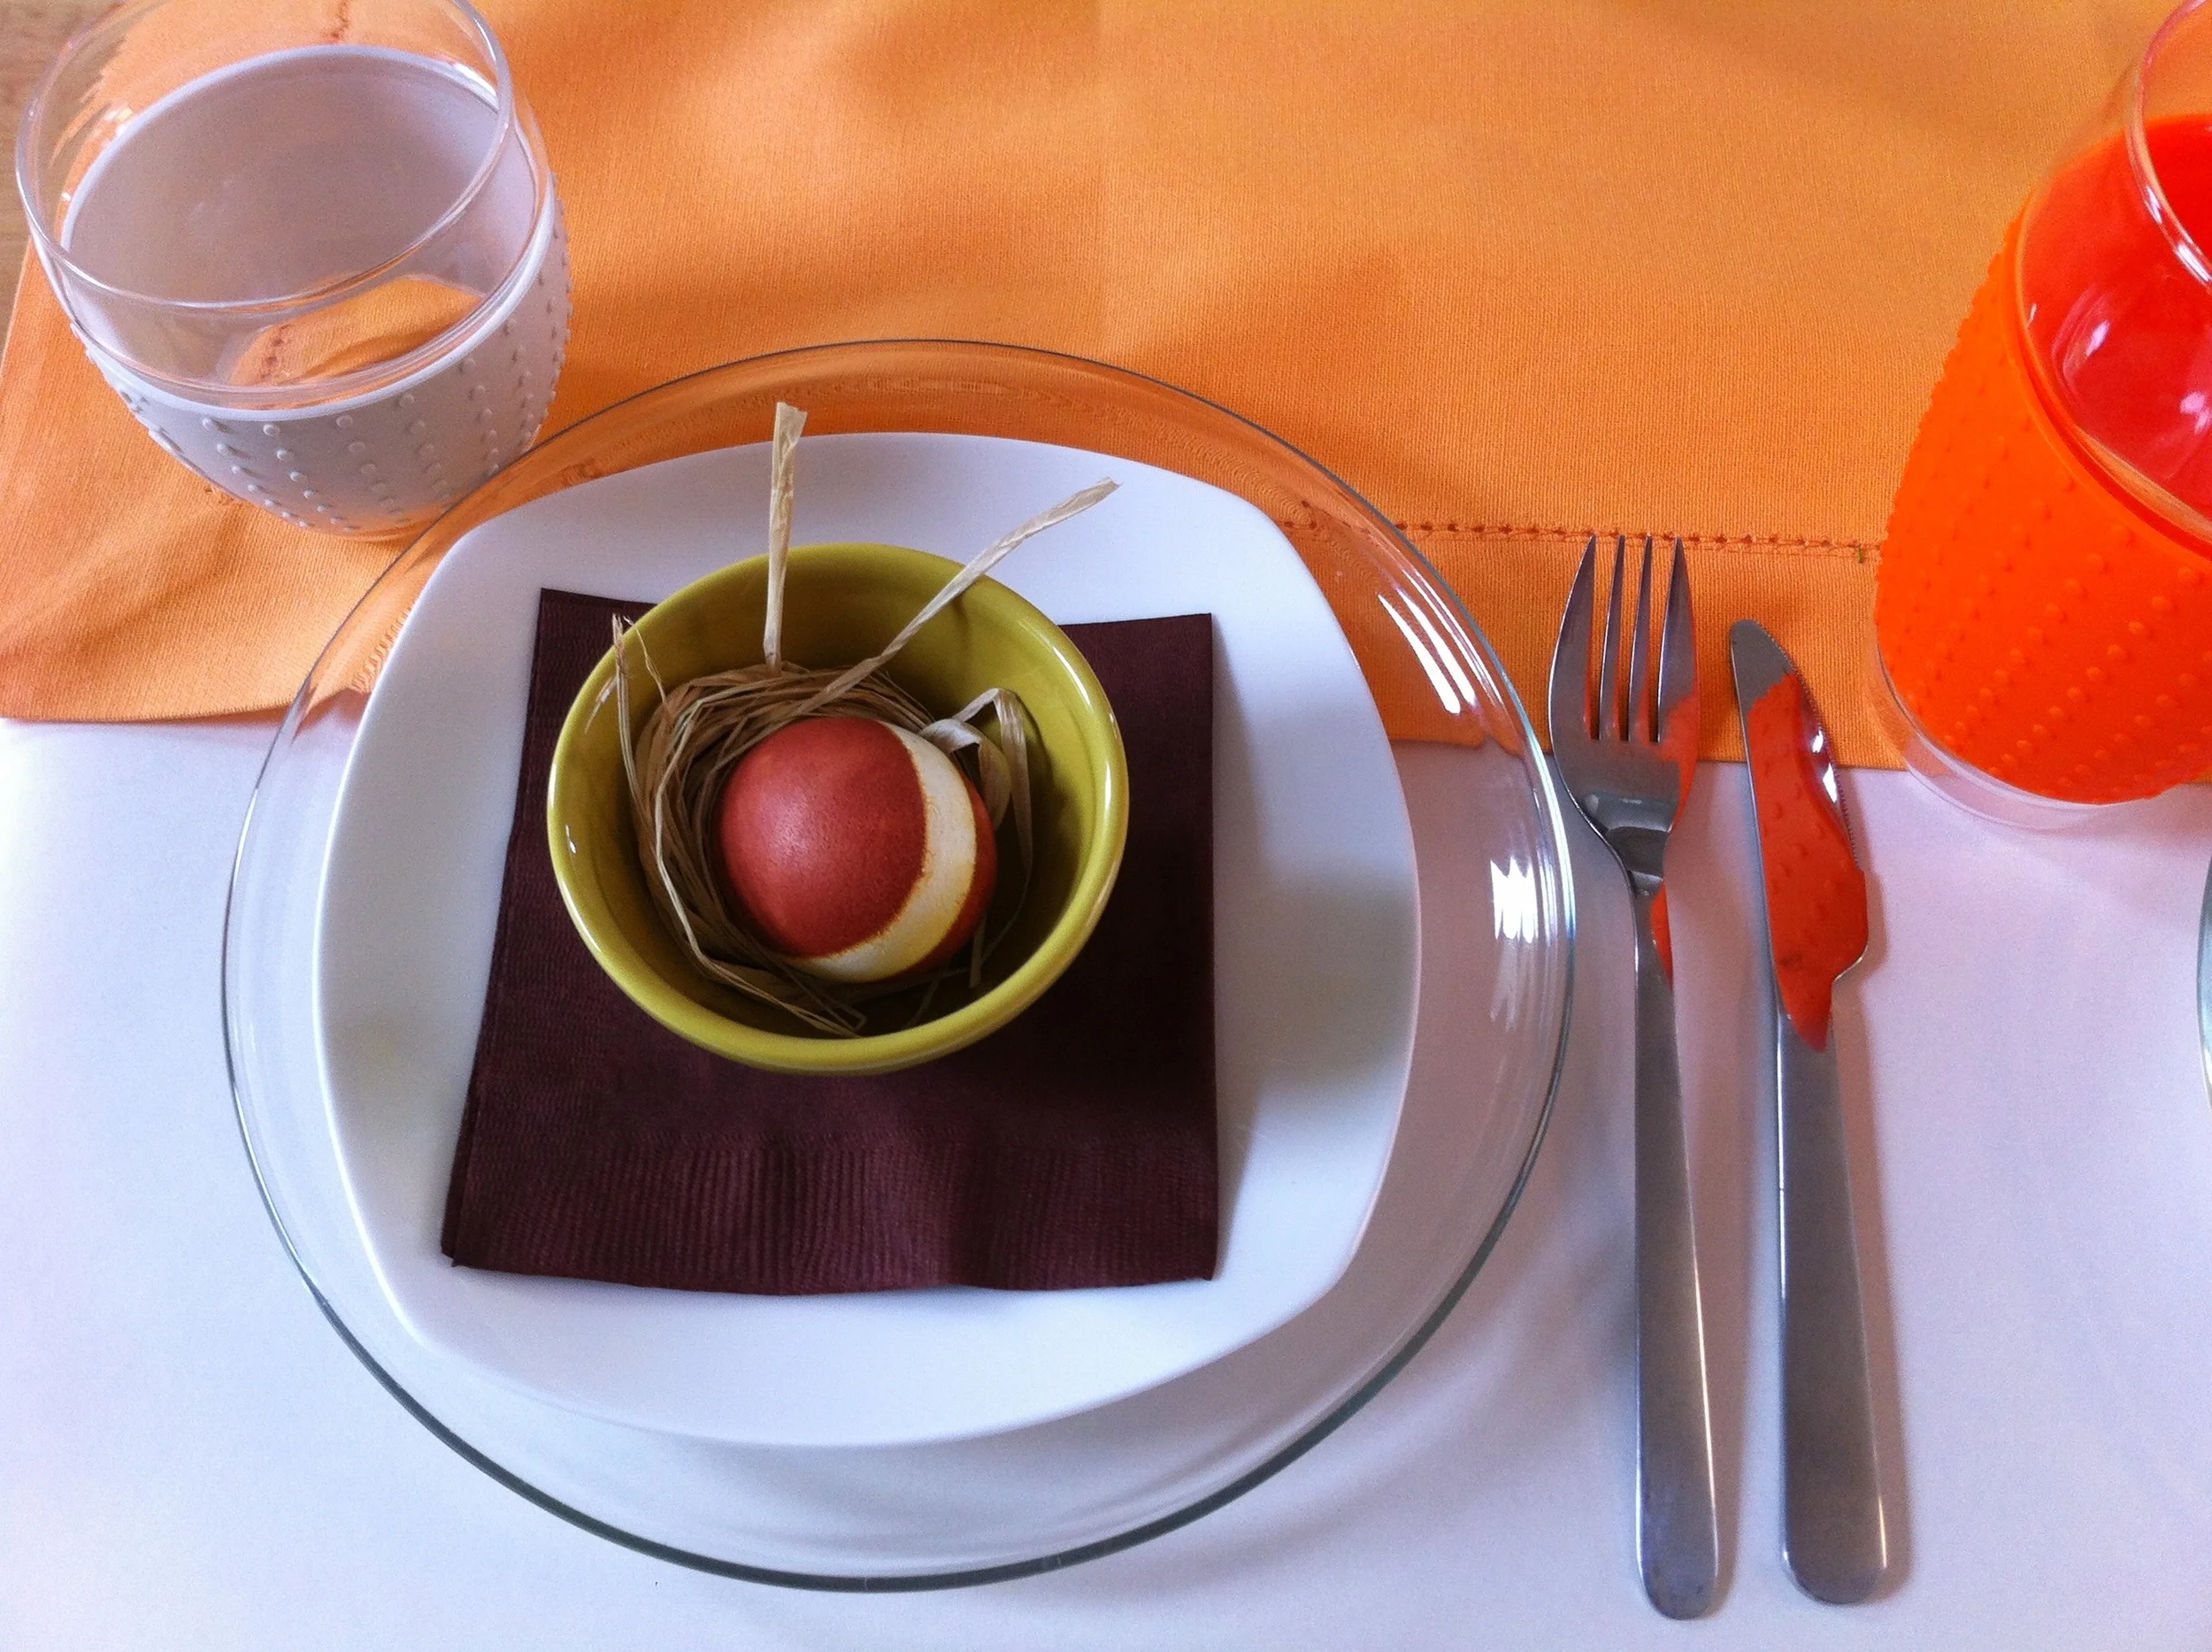
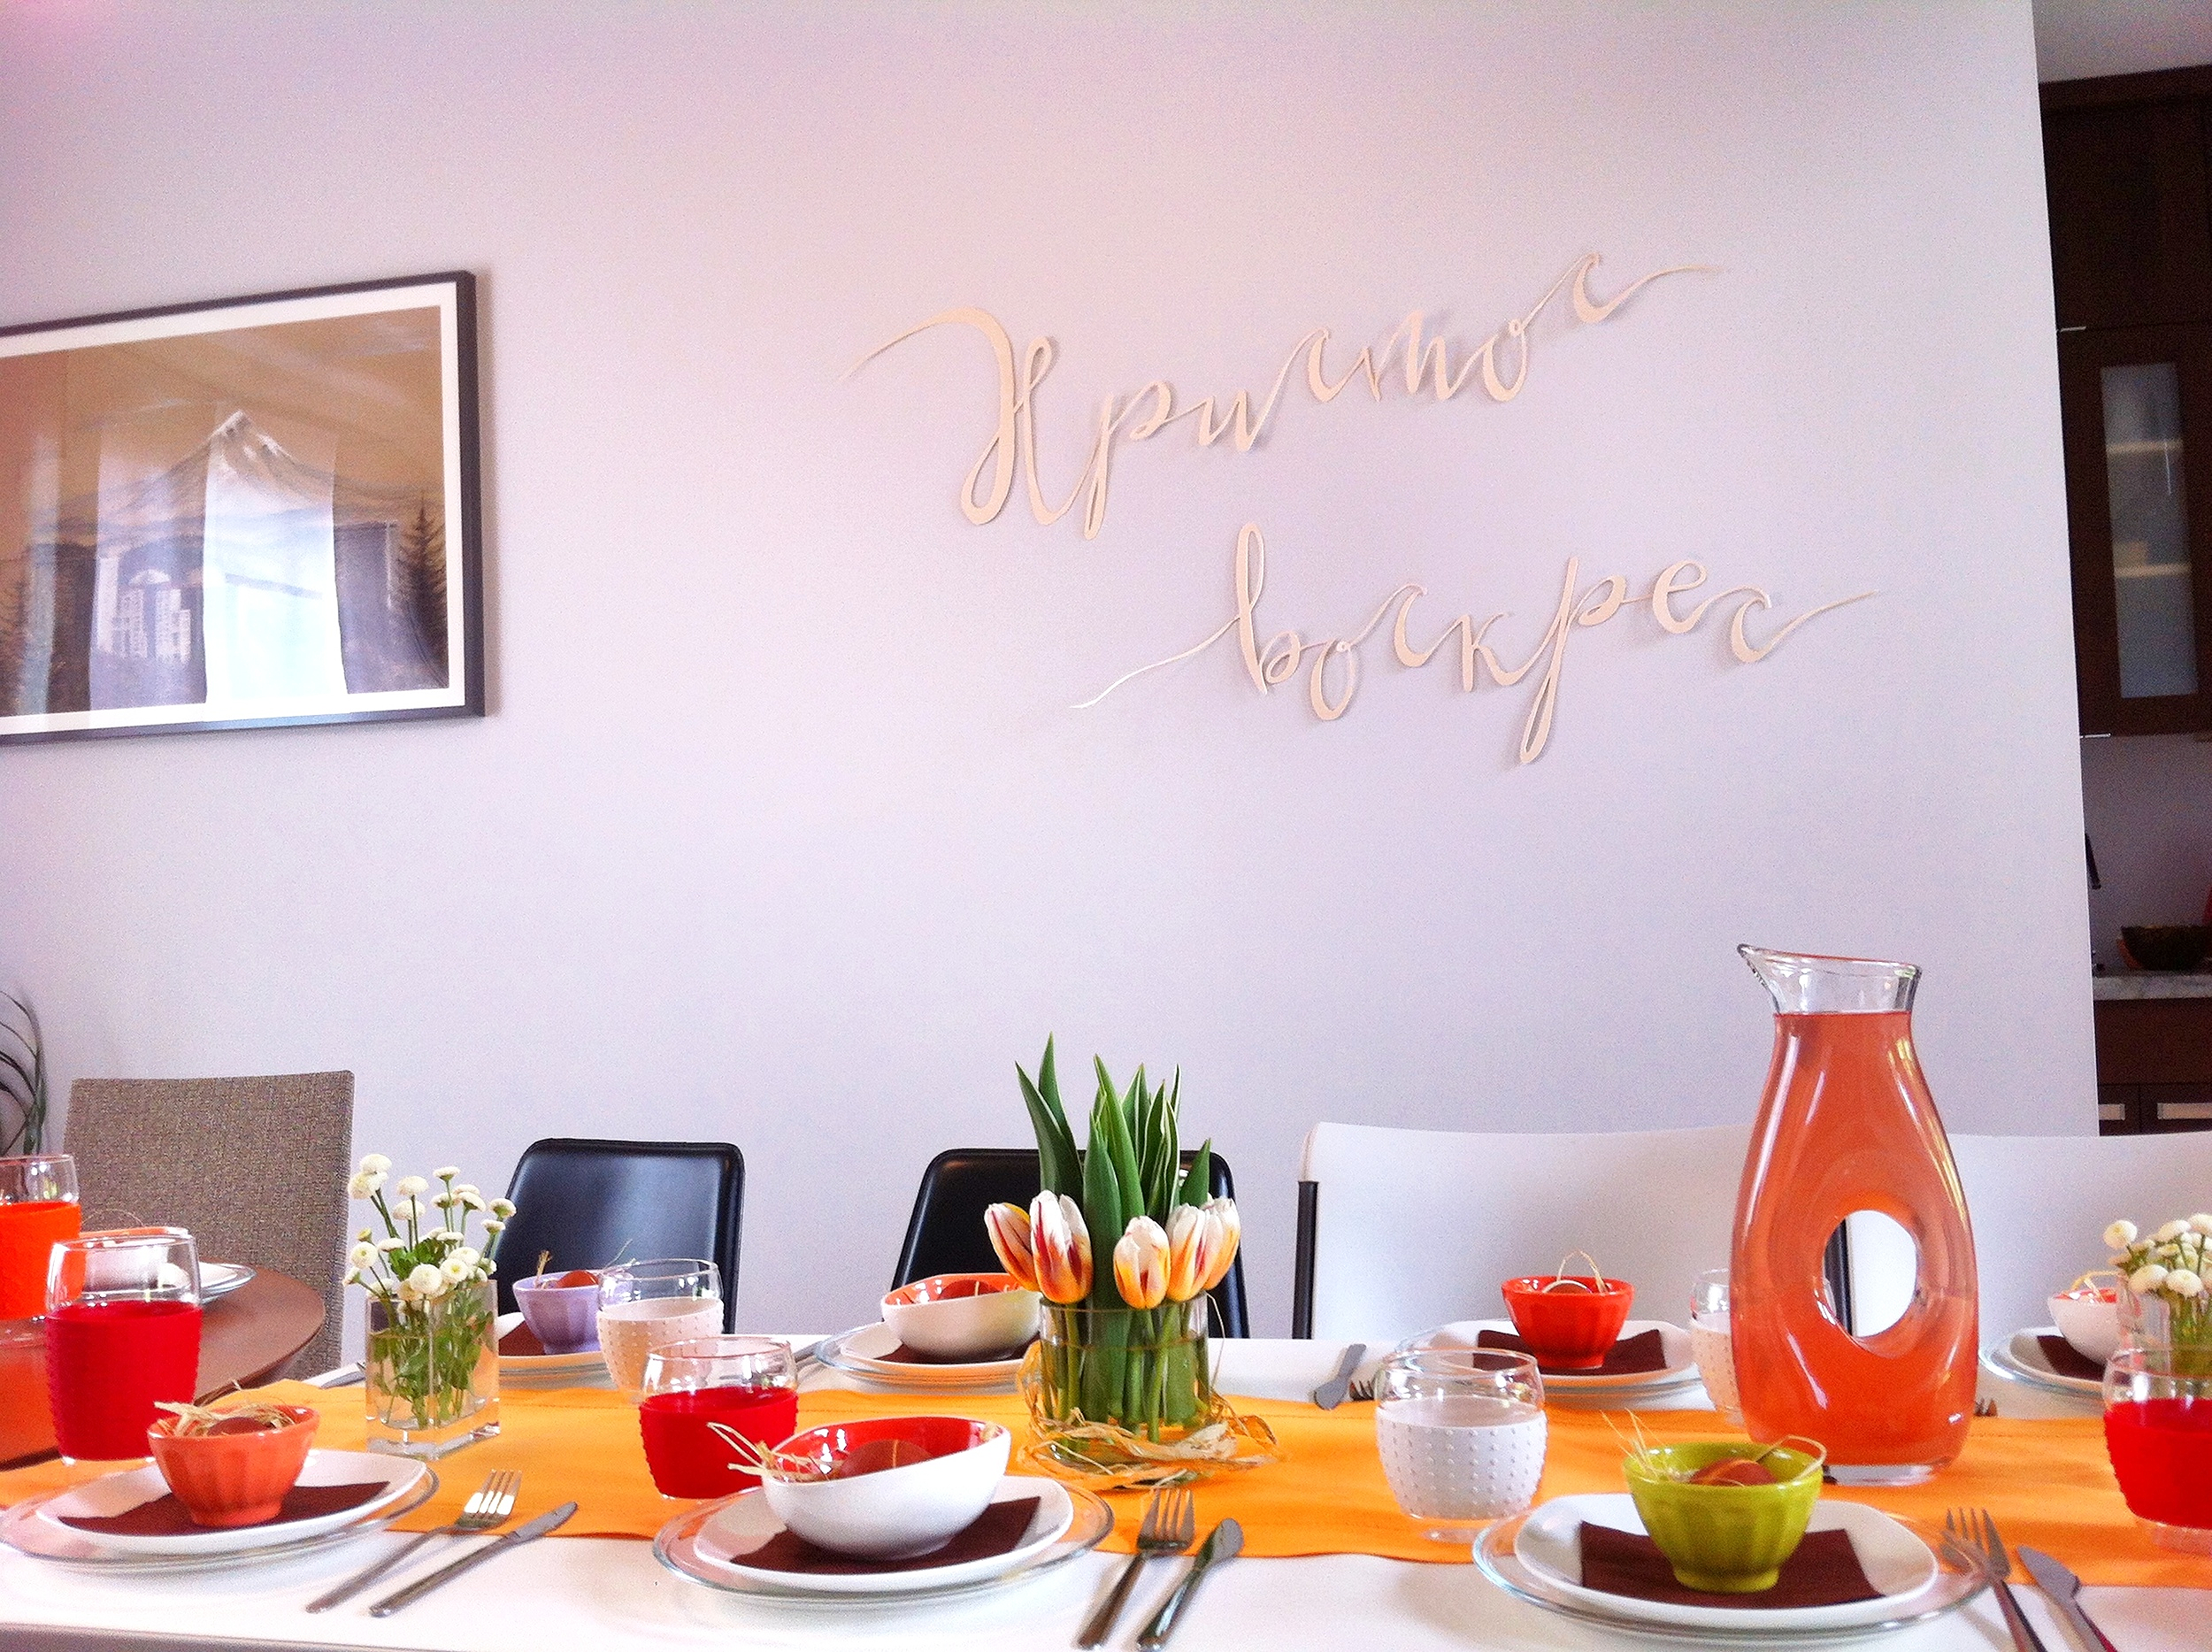
You get beautiful eggs in natural earthy hues of red and brown with a simple and unique pattern to display at your Easter table. We used a brightly colored table runner and a variation of small colorful bowls filled with some raffia to cradle each egg, creating a springy pop of color for the tablescape. For a layered look, we used clear round dinner plates, topped with white squarish dessert plates, and dark chocolate brown napkins to offset the color of the bowls. Finish off your table décor with a few simple flower arrangements. Wildflowers would look particularly lovely, but you can also go with tulips for a more modern look. We cut the tulip stems shorter and arranged them around the tulip leaves for a unique take.


Have a happy and blessed Easter! Although eggs, chocolates and decorations are all great, remember what Easter is really about. Christ is risen! Risen indeed.